
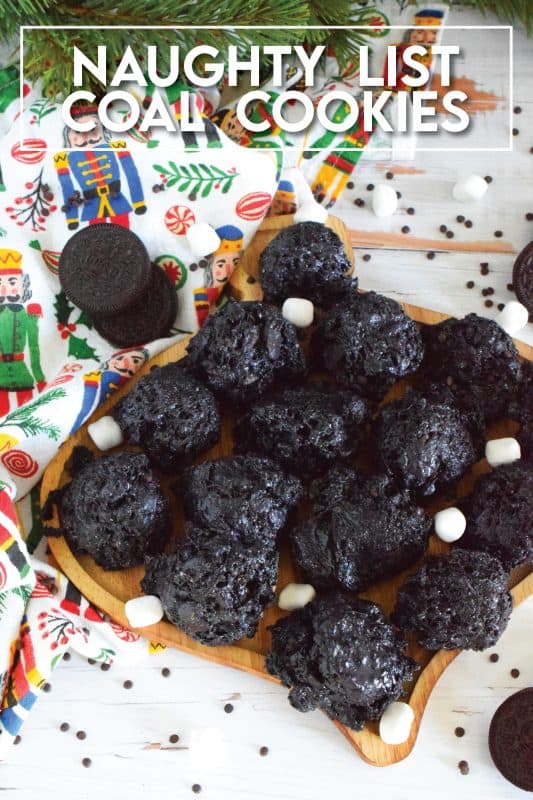
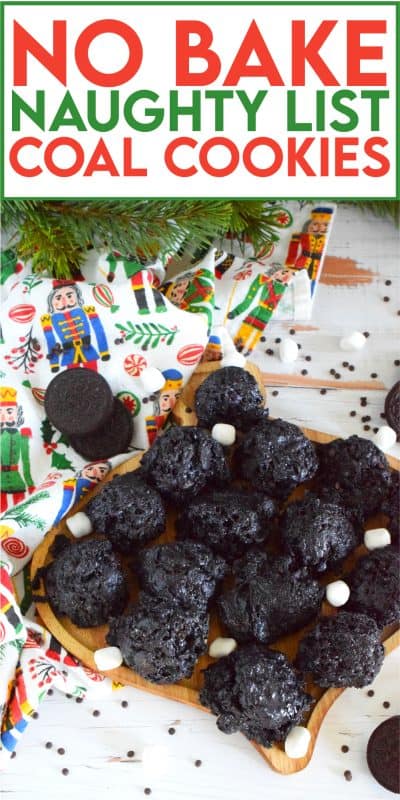
These No Bake Naughty List Coal Cookies are quick, easy, and fun to make! With only three main ingredients, you can whip up several batches of these and hand them out as a tease to that coworker who is always late, that friend who does not return text messages, or that neighbour who plays their music too loudly!
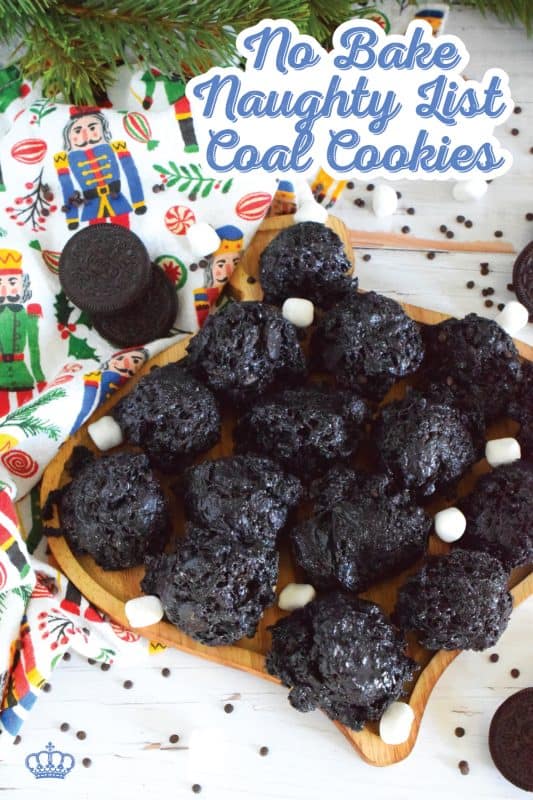
I used to not make many confections like these No Bake Naughty List Coal Cookies until recently. I do love them, but after just one or two, I seem to go into sugar shock. When it comes to snacks and treats, I’m all about salty snacks. I can easily forego sugary snacks. I’m one of those people who will eat one or two of something and then I don’t want to see it anymore. I bake a lot, so it’s quite common to try one or two of whatever it is and package the rest up for a friend or a neighbour. In some cases, especially if I make something with chocolate, John.e refuses to let me get rid of it. He loves chocolate!
As you know, Dear Reader, John.e is a vegetarian and marshmallows have gelatin in them. Gelatin is made with collagen from animal parts, so obviously, he isn’t going to eat anything with marshmallows in it. Sounds gross, doesn’t it!? So, I was quite happy to find vegan marshmallows, and now I can make more marshmallow treats. You can 100% use Dandies Vegan Marshmallows in this recipe. I did, however, use regular mini marshmallows in this recipe, so he didn’t get to eat any of them. I gave them to our neighbour kids. And, in case your wondering about Dandies Vegan Marshmallows…
Make your own online recipe box!
Click the in the lower right corner of your screen
& follow the quick and easy instructions!
DANDIES VEGAN MARSHMALLOWS
Now, if you just so happen to click on the link for Dandies in the last paragraph, you will note that the brand has both large and mini marshmallows. Depending on the time of year, they also have flavours like pumpkin and peppermint – and now maple too!
This post is not sponsored by Dandies, and I don’t want you to think that I’m preaching veganism at you, because I am far from vegan. However, whenever I find a product that I love, I always share it with you. You most certainly don’t have to be vegan to enjoy Dandies marshmallows. They also have no artificial colours or flavours, which is always a bonus.
If you have any friends or family with food allergies, you might want to consider using Dandies as well. Unlike real marshmallows, there’s no corn syrup, they are kosher, and have no GMOs. Dandies are manufactured in a gluten-free environment and are free from many common allergens such as wheat, peanuts, tree nuts, dairy, eggs, shellfish, fish, mustard, corn, and sesame. Seriously, what do you have to lose!?
NO-BAKE RECIPES
I used to think that the term no-bake meant that a recipe was more of an assembly-type recipe. Something like a salad, for example. It sounds simple enough, right? Toss the lettuce and any other veggies you want into a bowl. Top it with cheese, croutons, avocado, hard-boiled egg, etc. Add some dressing and you’re all done! But, no-bake actually just means no baking. There still might be some stove-top cooking needed – or even a microwave, for that matter.
Some other no-bake-type holiday recipes you might enjoy are these Rudolph’s Red Nose Cookies. Hairy Moose Droppings are delicious and always quite the conversation starter! Just like these Caramel Peanut Slices were a favourite of my mom’s so were these Marshmallow Coconut Balls and so were these Christmas Crunch Cookies. You can find many more no-bake cookie recipes here at Lord Byron’s Kitchen by using the search field at the top of this page.
WELCOME TO A LORD BYRON CHRISTMAS!
I’m going to tell you all about this recipe and how you can make it in your home this holiday season, but first, I want to tell you about what you can expect from Lord Byron’s Kitchen this Christmas. I know we’re getting closer to the big day, so it’s time to get to the holiday-themed recipes! Over the past decade, I have built a reputation for sharing series-type recipes. The most popular would be my annual 24 Cookies of Christmas, which was fashioned after an advent calendar. But, I have others that are only 12 days, which were fashioned after the 12 Days of Christmas.
This particular recipe is a part of my annual 24 Cookies of Christmas series. It’s my fourth series so far this year! And, I’m seriously contemplating publishing a fifth series too! So, welcome, Dear Reader, to Lord Byron’s 24 Cookies of Christmas – Volume 9! Just like every other series that I’ve shared over the years, this one will also see a new recipe shared each day for the next 24 days – even on Saturday and Sunday! You might be asking yourself, how many Christmas recipes could one possibly have or need? Well, I say you can never have too much of a good thing. And, I love having lots of choices. Who wants to prepare the same holiday recipes year after year?
Looking For More Christmas Confections?
Lord Byron’s Kitchen has more than enough to satisfy your sweet tooth! Click on the links below to see a countdown series of holiday recipes from that category!
SUBSCRIBE NOW AND NEVER MISS ANOTHER RECIPE!
Traditionally, every year I share a series of recipes that you might already be familiar with. For example, I’ve previously shared 12 Holiday Trifles, 12 Holiday Bars & Squares, and even these 12 Edible Holiday Wreath recipes! Also, some of my favourite recipe collections from previous years are my 75 Homemade Gifts from Your Kitchen, my 50 Make Ahead Freezer Friendly Christmas Recipes, and my 30 No-Bake Christmas Recipes post.
You really don’t want to miss one of these recipes, so if you have not yet subscribed to Lord Byron’s Kitchen, I encourage you to do so. That way, a new recipe will be emailed to you every day. You won’t have to bother to come looking for it! And, just in case you’re curious, you can see previous annual posts for my 24 Cookies of Christmas Series here!
Lord Byron’s Annual Christmas Cookie Series
Did you know that Lord Byron’s Kitchen has been sharing a 24 Cookies of Christmas Series for the past several years? Click on the links below to see all of the recipes from each series on one page!
INGREDIENTS NEEDED TO PREPARE THIS RECIPE
The following is a list of the ingredients needed to prepare this recipe. For exact amounts and measurements, refer to the printable recipe card located near the bottom of this post.
- Butter – Salted butter works best. The salt will help to offset the sweetness a little.
- Black Food Colouring – This optional, however, the finished cookie will not be as black in colour without it.
- Marshmallows – Use mini white marshmallows. You can use vegan marshmallows too.
- Oreo Cookies – You will need 39 cookies, which luckily, is exactly the number of cookies found inside the family-sized pack of Oreos.
HOW TO MAKE NO BAKE NAUGHTY LIST COAL COOKIES
Measure the butter, food colouring (if using), into a saucepan and set over medium heat. Stir to melt the butter and incorporate the food colouring into the melted butter. Once the butter is melted, add the marshmallows and continuously stir with a rubber spatula to prevent burning until the marshmallows are fully melted.
Remove the melted marshmallows from the heat and immediately add the crushed Oreos. Stir until fully incorporated. Spoon the mixture into heaping tablespoons onto a parchment-lined baking sheet. Set the cookies aside to cool until firm – about 2-3 hours.
Once firm, transfer the cookies to a cookie jar or tin with an airtight seal to prevent them from drying out. Store the cookies at room temperature on your countertop for 3-5 days.
STORING, PACKAGING, & FREEZING
When it comes to most no-bake cookies, they taste best at room temperature, but they don’t hold up well to being left out on your countertop. Store them in a food-safe container in your fridge. When you want one, two, or half a dozen, take them out of the container and place them in a single layer on a plate. Let them sit at room temperature for 5 minutes and they’re ready!
If you plan to freeze them, pile them into a food-safe, freezer-friendly container. You’ll want to ensure a very tight-fitting lid too. (I use these quite often when freezing baked goods.) I like to place a sheet of plastic wrap over the top of the container before pushing the lid on. This helps to create a better seal. The goal is to keep all of that freshness locked in! You can freeze these for up to three months. Enjoy!
QUESTIONS?
If I have not answered all of your questions in the text above, don’t hesitate to reach out to me! You can contact me by sending me a message in the comments section further down the page. I will try my best to answer as soon as possible! You might reach me even faster by following me on Facebook and sending me a private message. Scroll down below the recipe card to find my Follow Me on Social Media box and never miss another recipe!
Finally, as I stated previously, every day I will be posting a new recipe. If you miss one, don’t fret. You can find my entire collection of Christmas Recipes right here! There are over 200 Christmas recipes and counting. There’s something for everyone! Cheers!
Do You Like This Recipe?
You should consider trying these other delicious recipes too!




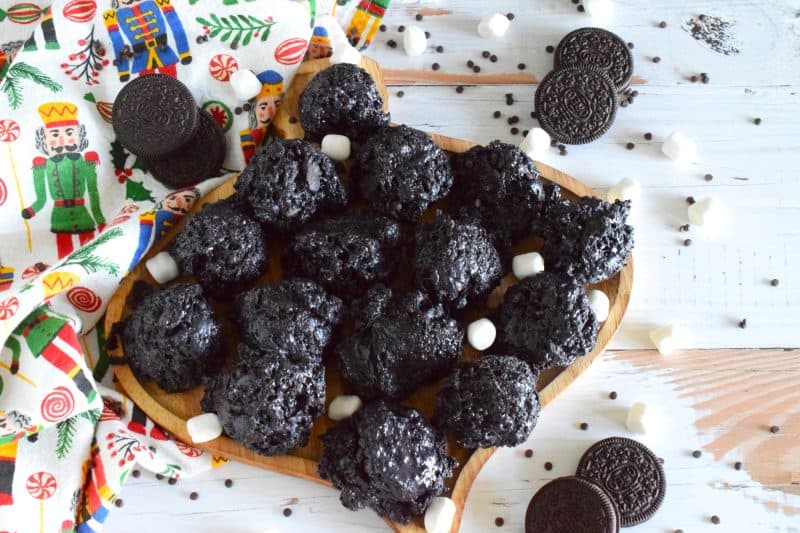
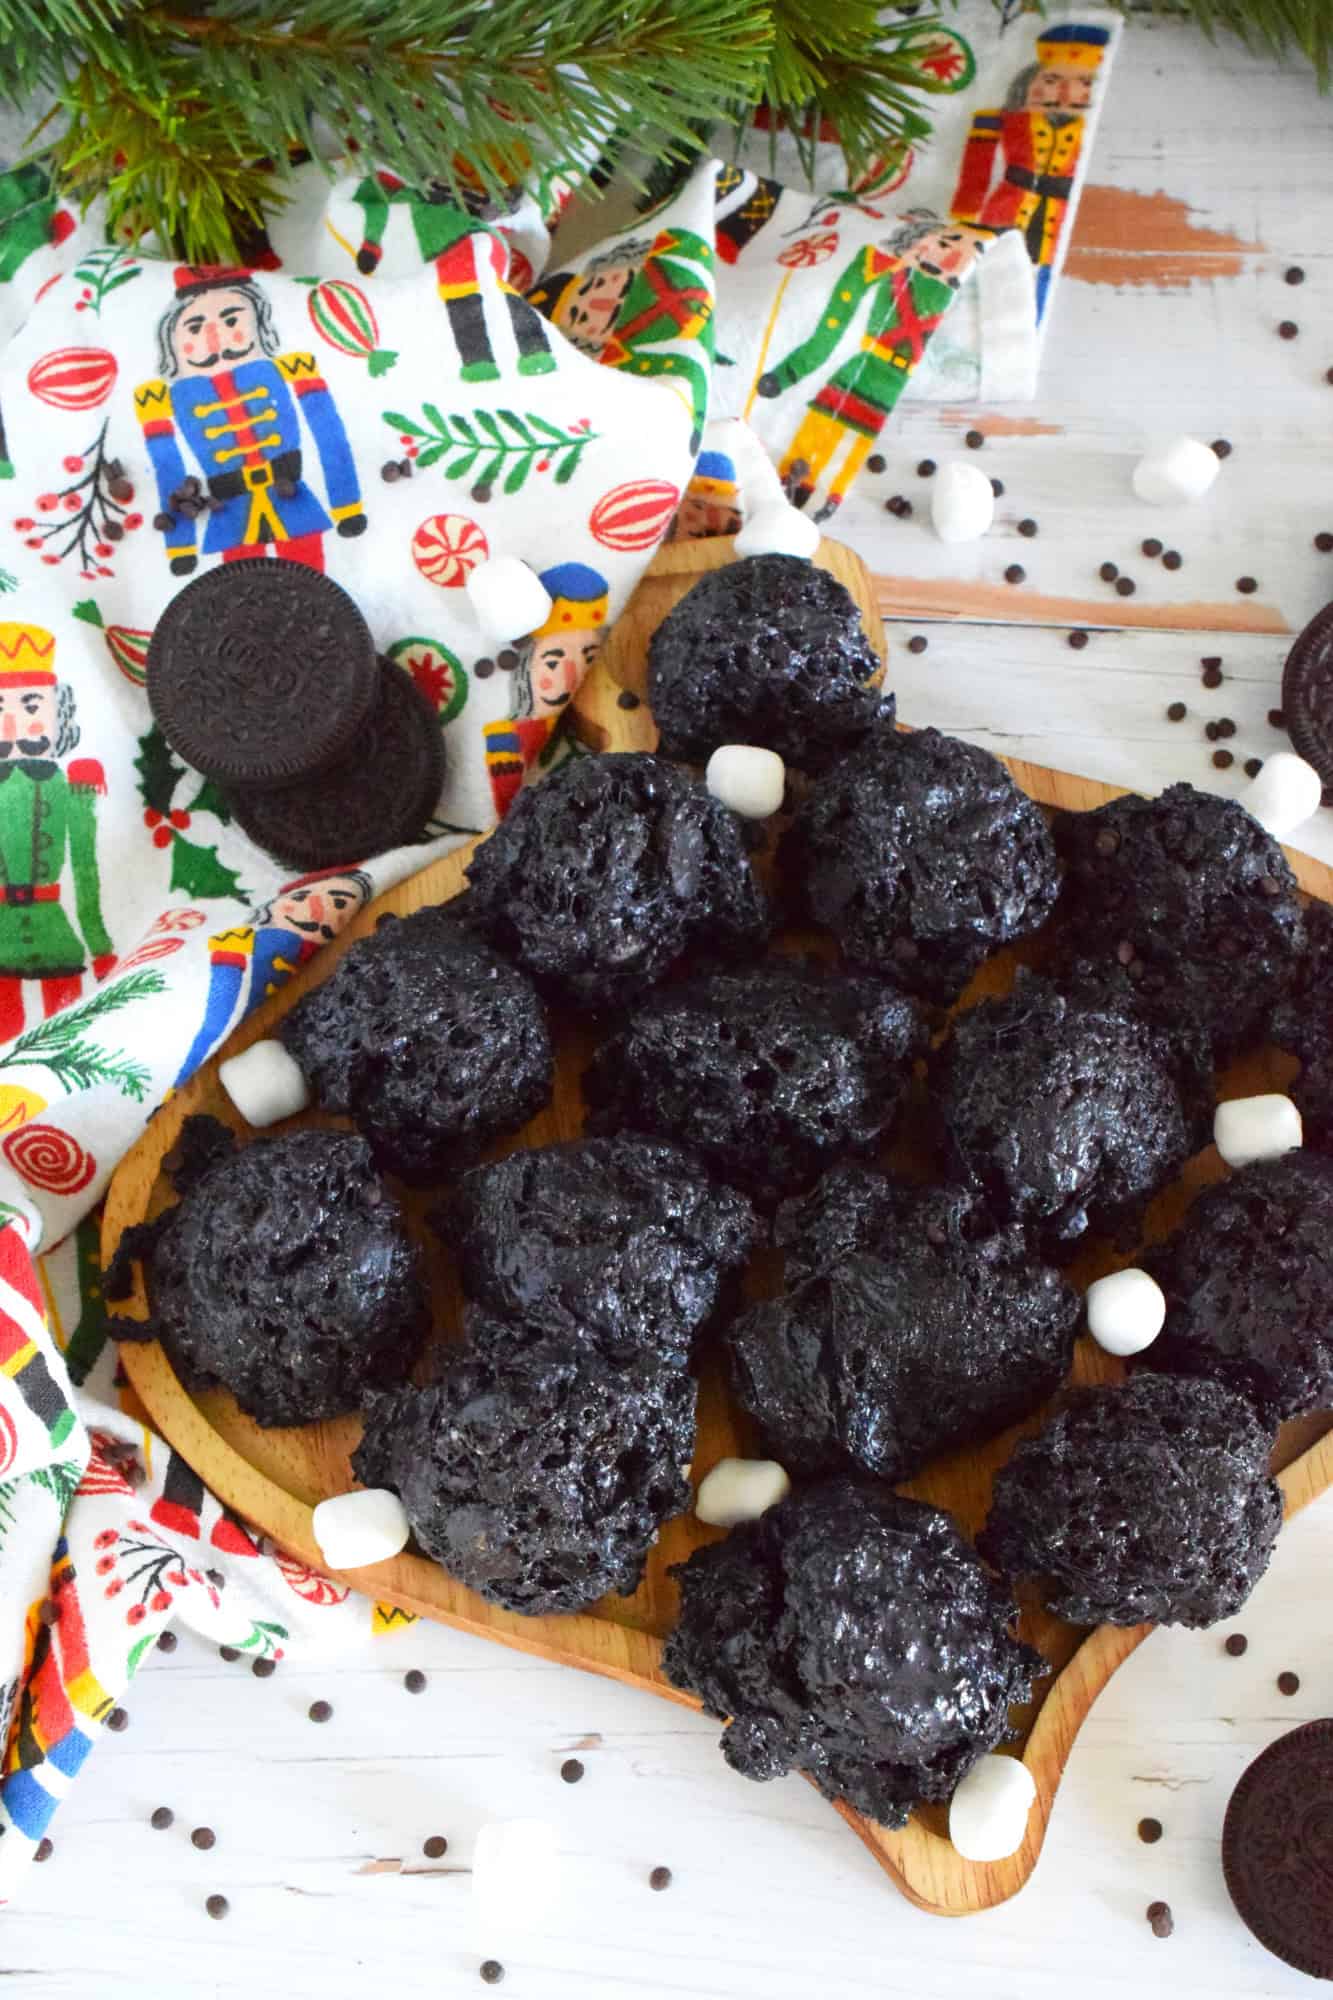
No Bake Naughty List Coal Cookies
Ingredients
- 1/4 cup salted butter
- 4-6 drops black gel food colouring, optional (but your cookie will not be as black without it)
- 4 cups mini marshmallows
- 39 whole Oreo Cookies, crushed
Instructions
- Measure the butter, food colouring (if using), into a saucepan and set over medium heat. Stir to melt the butter and incorporate the food colouring into the melted butter.
- Once the butter is melted, add the marshmallows and continuously stir with a rubber spatula to prevent burning until the marshmallows are fully melted.
- Remove the melted marshmallows from the heat and immediately add the crushed Oreos. Stir until fully incorporated.
- Spoon the mixture into heaping tablespoons onto a parchment-lined baking sheet.
- Set the cookies aside to cool until firm – about 2-3 hours.
- Once firm, transfer the cookies to a cookie jar or tin with an airtight seal to prevent them from drying out. Store the cookies at room temperature on your countertop for 3-5 days.
Nutrition
Did you make this recipe?
Upload a photo and tag me so that I can see it!








Leave a Reply