
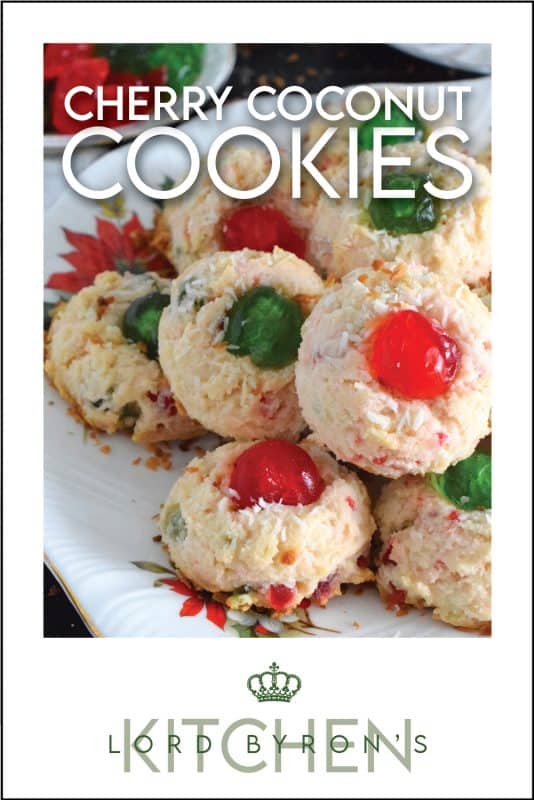
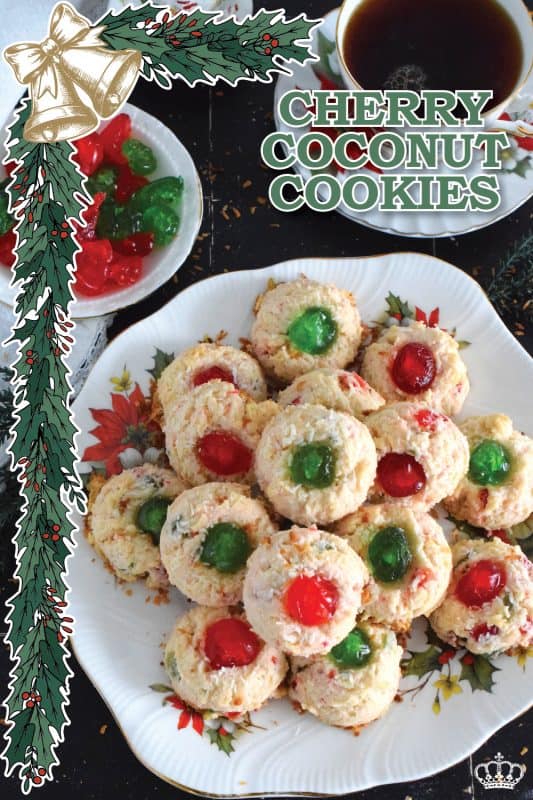
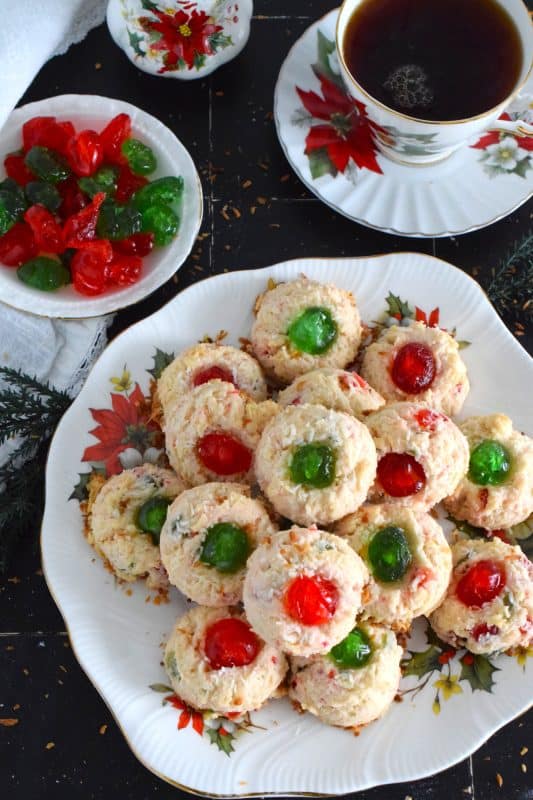
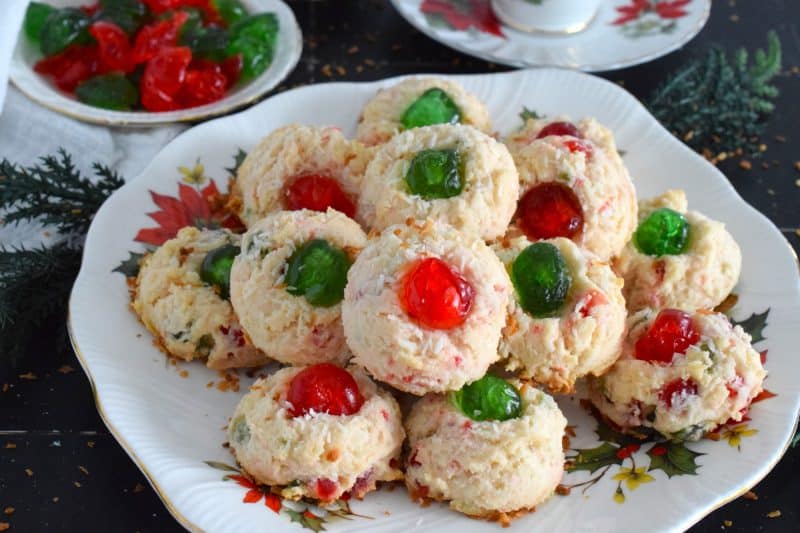
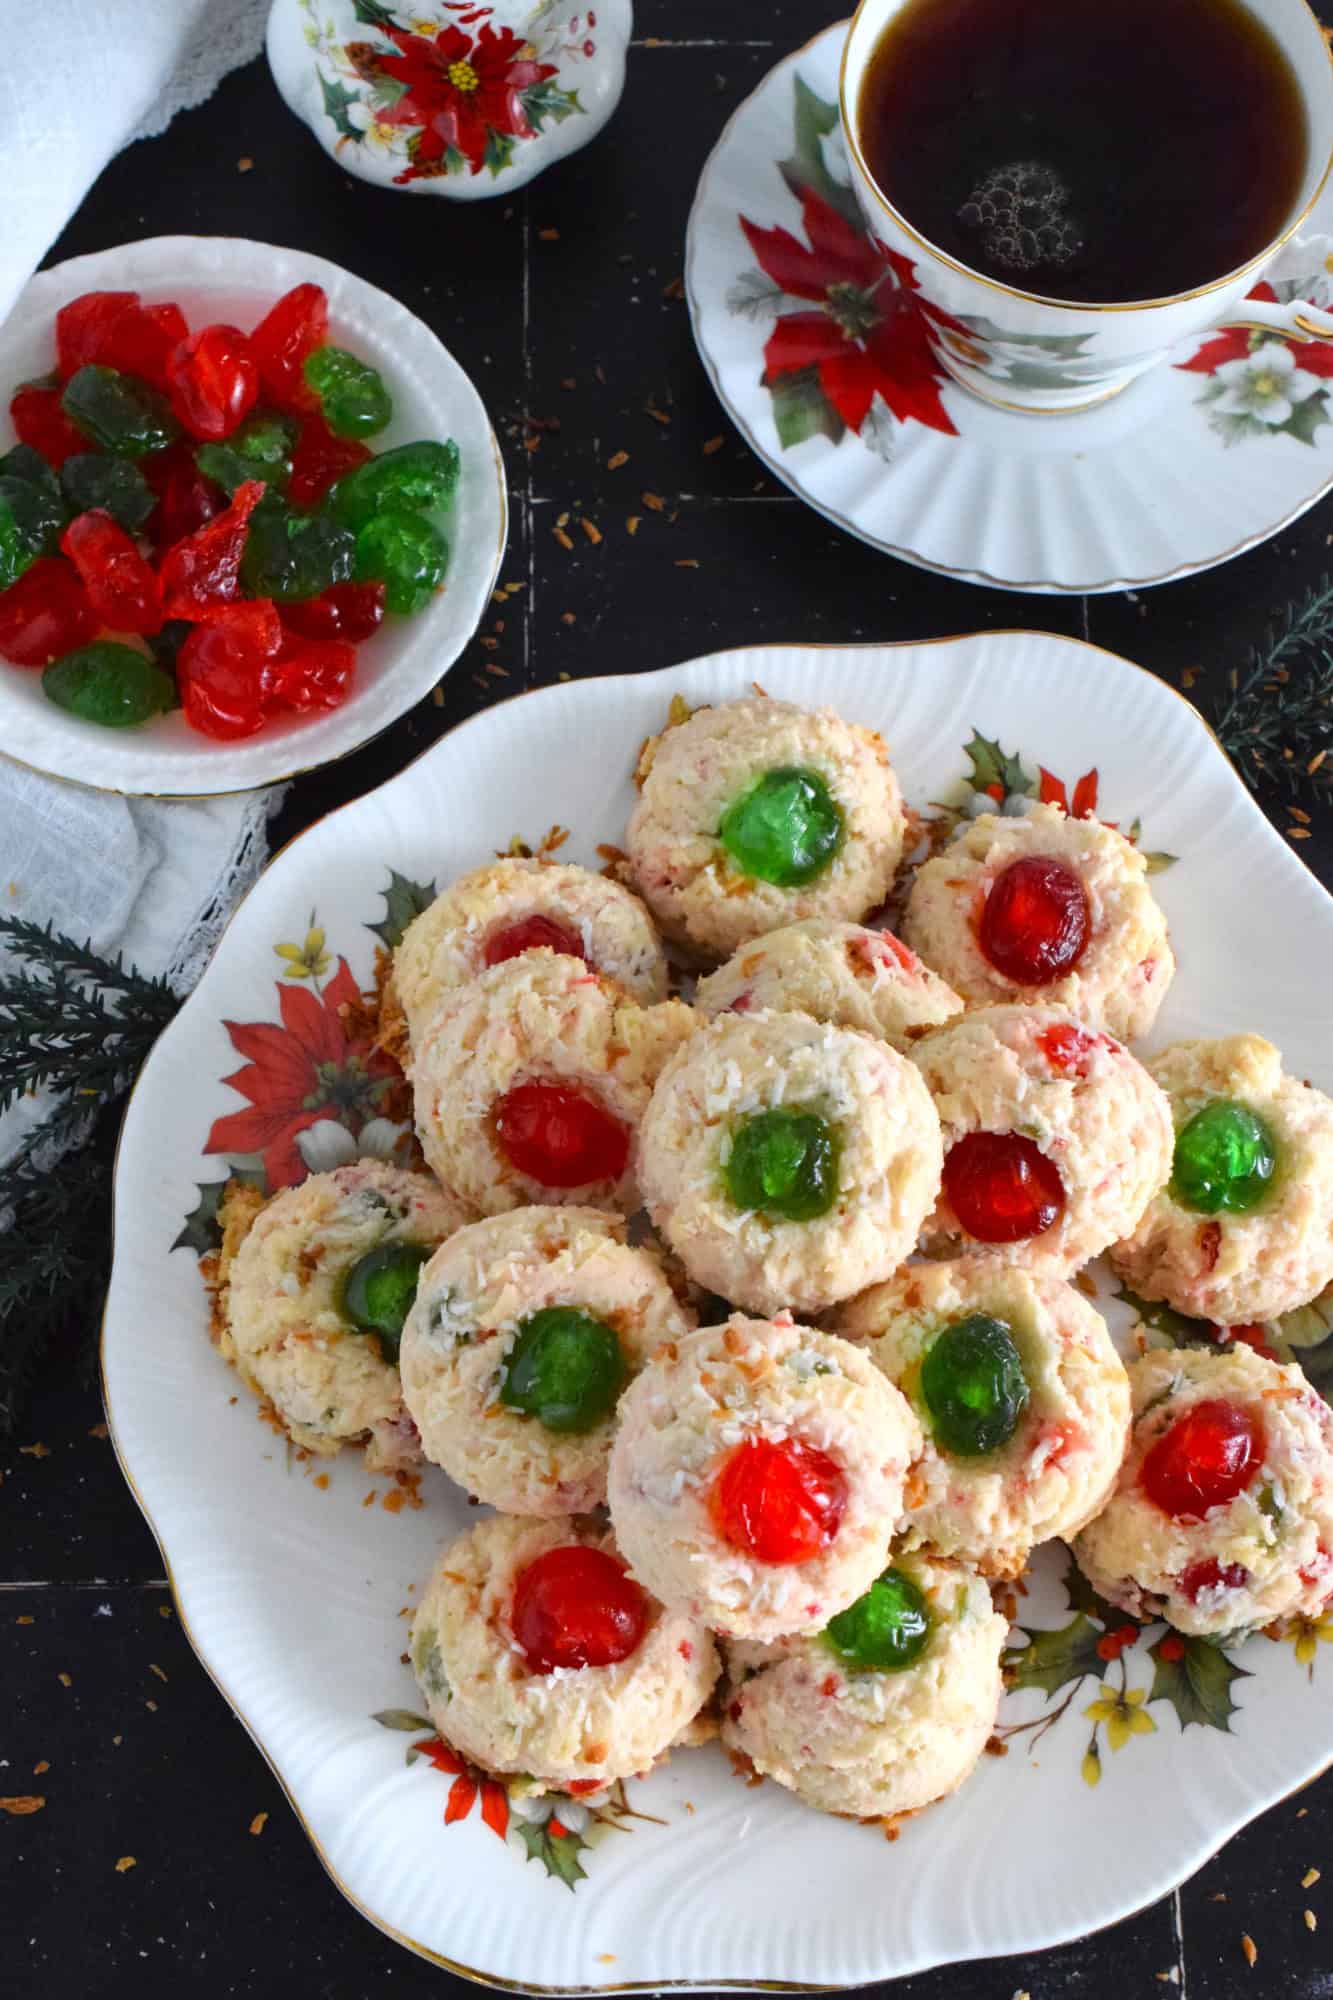
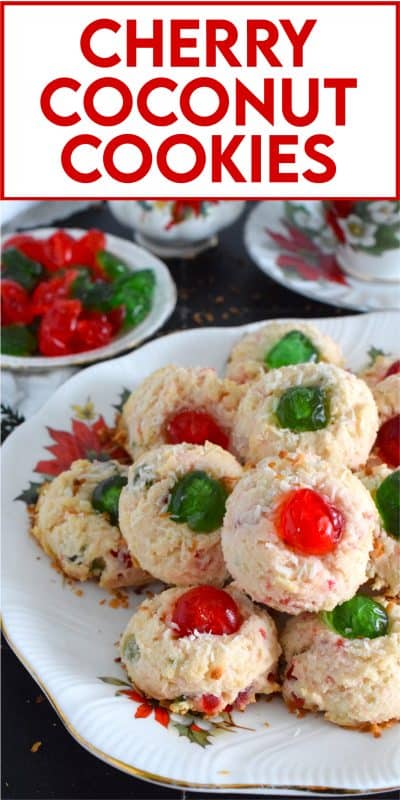
The combination of toasted shredded coconut with the chewy sweetness of candied cherries is unbeatable – especially in a holiday cookie recipe! Cherry Coconut Cookies are light and fluffy, and there’s no risk of them drying out with all of those cherries packed in! Delicious and pretty too, these would be a great addition to your annual cookie box!
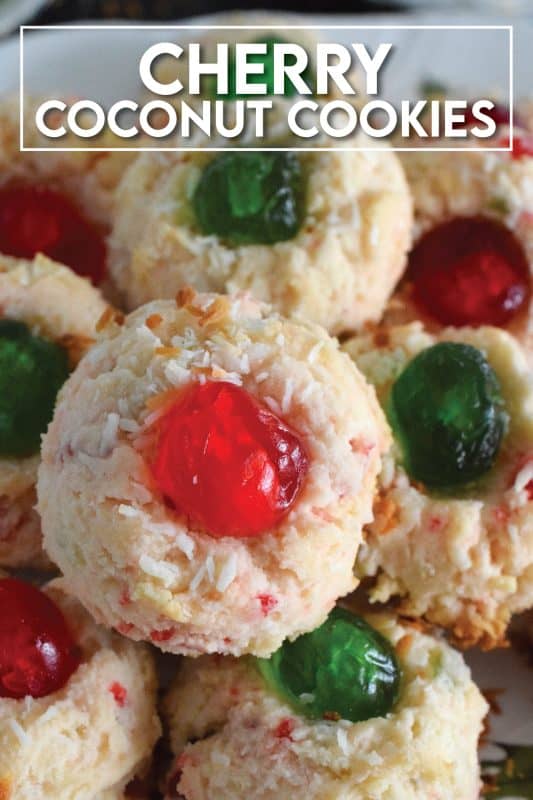
Cherry Coconut Cookies are a great sweet treat to start with if you’re new to baking. They’re easy to make with very inexpensive ingredients, and the results are pretty much guaranteed to be perfect every time. Seriously, Dear Reader, it would be extremely difficult to mess up this recipe!
Even though my mom never made this particular recipe; not that I can recall anyway, this recipe reminds me so much of her. My mom loved to cook and bake and I credit much of my love of food to her. Our home was never without a homemade square, bar, cookie, cake, or pie. And, she learned everything she knew about cooking and baking from her mom.
I wish I could say the same thing! My mom never let me near the kitchen – except to help with the dishes or something like that. Much like me, she liked to be alone in the kitchen. Having someone help or having to show someone what to do, only slowed her down.
Make your own online recipe box!
Click the in the lower right corner of your screen
& follow the quick and easy instructions!
In my own life, there are many times when I will complain about having to take care of all of the cooking and baking in our home despite the fact that when John.e will often offer to help and so will McKenna when she’s visiting. Nonetheless, I always politely decline. If I have to tell someone how to crack an egg or how to properly measure a cup of flour, I’d prefer just to do it myself. But, they’re both great with the cleaning up! Even on the weekends when I bang out two or three recipes back to back for this blog, John.e is right there to wash up the dishes! I appreciate that much more.
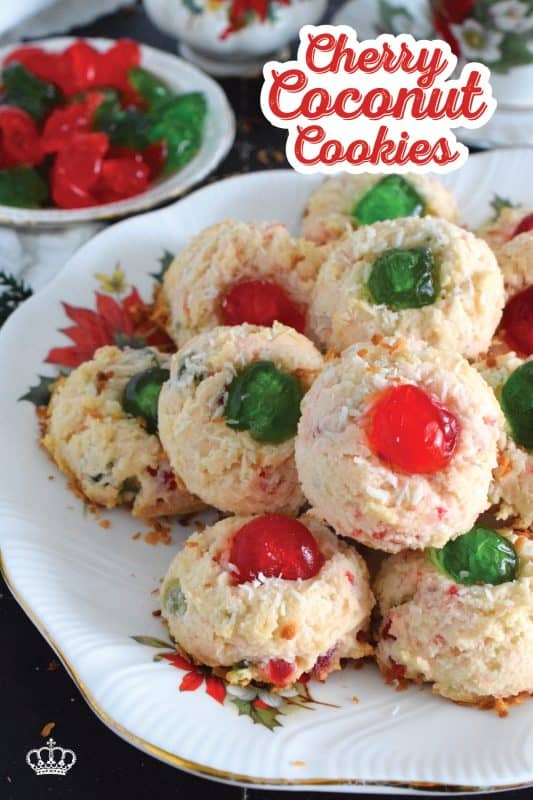
WELCOME TO A LORD BYRON CHRISTMAS!
I’m going to tell you all about this recipe and how you can make it in your home this holiday season, but first, I want to tell you about what you can expect from Lord Byron’s Kitchen this Christmas. I know we’re getting closer to the big day, so it’s time to get to the holiday-themed recipes! Over the past decade, I have built a reputation for sharing series-type recipes. The most popular would be my annual 24 Cookies of Christmas, which was fashioned after an advent calendar. But, I have others that are only 12 days, which were fashioned after the 12 Days of Christmas.
This particular recipe is a part of my annual 24 Cookies of Christmas series. It’s my fourth series so far this year! And, I’m seriously contemplating publishing a fifth series too! So, welcome, Dear Reader, to Lord Byron’s 24 Cookies of Christmas – Volume 9! Just like every other series that I’ve shared over the years, this one will also see a new recipe shared each day for the next 24 days – even on Saturday and Sunday! You might be asking yourself, how many Christmas recipes could one possibly have or need? Well, I say you can never have too much of a good thing. And, I love having lots of choices. Who wants to prepare the same holiday recipes year after year?
Looking For More Christmas Confections?
Lord Byron’s Kitchen has more than enough to satisfy your sweet tooth! Click on the links below to see a countdown series of holiday recipes from that category!
SUBSCRIBE NOW AND NEVER MISS ANOTHER RECIPE!
Traditionally, every year I share a series of recipes that you might already be familiar with. For example, I’ve previously shared 12 Holiday Trifles, 12 Holiday Bars & Squares, and even these 12 Edible Holiday Wreath recipes! Also, some of my favourite recipe collections from previous years are my 75 Homemade Gifts from Your Kitchen, my 50 Make Ahead Freezer Friendly Christmas Recipes, and my 30 No-Bake Christmas Recipes post.
You really don’t want to miss one of these recipes, so if you have not yet subscribed to Lord Byron’s Kitchen, I encourage you to do so. That way, a new recipe will be emailed to you every day. You won’t have to bother to come looking for it! And, just in case you’re curious, you can see previous annual posts for my 24 Cookies of Christmas Series here!
Lord Byron’s Annual Christmas Cookie Series
Did you know that Lord Byron’s Kitchen has been sharing a 24 Cookies of Christmas Series for the past several years? Click on the links below to see all of the recipes from each series on one page!
INGREDIENTS NEEDED TO PREPARE THIS RECIPE
The following is a list of the ingredients needed to prepare this recipe. For exact amounts and measurements, refer to the printable recipe card located near the bottom of this post.
- Butter – Make sure your butter is at room temperature! To be perfectly honest, I have made these with both salted and unsalted butter and there’s no difference in taste or appearance once all is said and done. Use what you have on hand.
- Canned Condensed Milk – This recipe has not been tested with low fat condensed milk.
- Almond Extract – I love almond extract paired with cherries, but you can use vanilla extract here too.
- Flour – I’m using all-purpose unbleached flour. This recipe has not been tested with alternative flours.
- Baking Powder
- Coconut – Baking coconut comes in sweetened and unsweetened and in different sizes. Unless otherwise stated, use unsweetened coconut when baking otherwise the result might be too sweet. Be sure to check the size too – is it supposed to be shredded, grated, etc? The size of the coconut will affect the outcome of your recipe.
- Candied Cherries – To keep things festive, I’m using both red and green. If you’re unfamiliar with candied cherries, you can read more about them in the next section!
CANDIED CHERRIES – WHAT ARE THEY AND WHERE TO GET THEM!
Some people call them candied cherries; other people call them glace cherries. Guess what, Dear Reader!? They’re the same thing! I was always led to believe that glace cherries were the smaller diced cherries that you would find in a fruitcake, but that’s not the case. Glace cherries (as well as candied cherries) are indeed real cherries contrary to popular belief!
Candied cherries are basically maraschino cherries that have been processed in a thick, sugary syrup. They become intensely sweet and take on a chewy texture, which works very well in baked goods. You can find candied cherries anywhere, but I always get mine from Paradise Inc., out of Florida. They are the brightest and plumpest cherries I’ve ever used. They will ship them right to your door too. You can find Paradise cherries here.
In this particular version, I added chopped candied cherries to the cookie dough. I love candied cherries and I love how the red and green colours pop when you bite into them. They’re perfect for Christmas! When I’m looking to use candied cherries, Paradise Fruit Company is my go-to source. They have the brightest, most plump, most perfectly round red and green cherries. You can get all of their products online. Be sure to check out the website!
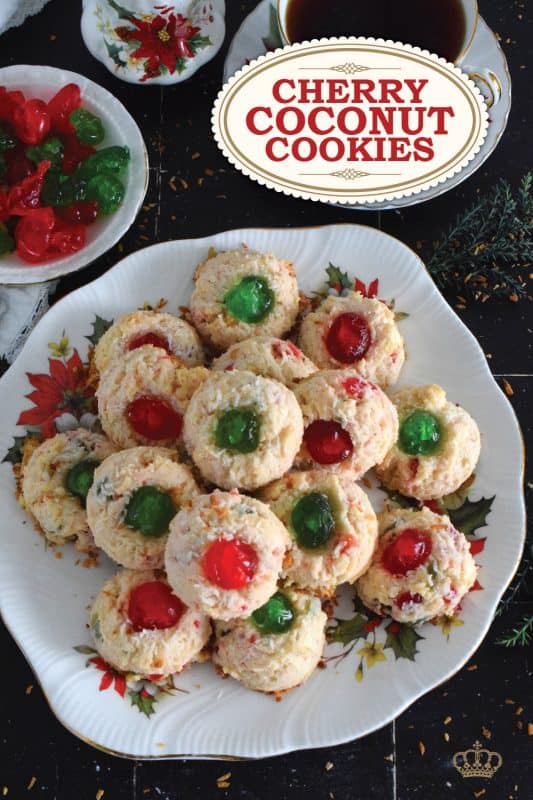
HOW TO MAKE CHERRY COCONUT COOKIES
Add the softened butter to a mixing bowl and beat until light and creamy – about three minutes. Next, pour in the sweetened condensed milk and add the almond extract. Beat into the butter for two minutes. Scrape down the sides of the bowl and beat again for another minute or two. Next, add the flour and baking powder. Beat into the butter and milk mixture until mixed through. Add the toasted coconut and chopped candied cherries. Beat until just incorporated.
Using a cookie scoop, portion the dough into mounds onto a parchment paper lined baking sheet. Be sure to leave at least two inches between each mound of cookie dough. Top each cookie with one whole candied cherry. Bake for 12 minutes at 320 degrees F.
Remove from the oven and leave the cool slightly on the pan for five minutes. Finally, remove from the baking sheet and transfer to a wire cooling rack. Allow cookies to fully cool before storing.
SWEETENED CONDENSED MILK
I have a lot of recipes here at Lord Byron’s Kitchen with sweetened condensed milk as one of the ingredients. (Click here to see them!) Growing up in Newfoundland, it was always something I’ve been aware of. But, that’s not the case for everyone. I get many questions from readers about it. For someone not familiar with the gooey, sticky canned milk, it might be easily confused with canned Carnation condensed milk, for instance. Let me explain what it is here.
So, first of all, it’s condensed. The milk is condensed by removing water. This can by accomplished by applying heat. The water will evaporate causing the milk to condense, which thickens the milk. Sugar is added to sweeten the condensed milk. The main purpose of adding sugar is to prolong the shelf life of condensed milk, which can sit on room temperature shelves for years. Sugar prevents microorganisms from growing in the milk and helps to thicken it even further—it’s added after the milk has been boiled, reduced, and pasteurized.
If you find an unsweetened condensed milk, it’s most likely that it’s simply evaporated milk or condensed milk, which is thick, but not gooey and sticky. Evaporated milk is often used as a cream added to tea or coffee. If you are unfamiliar with it, please read the can carefully. Also, shake it – can you feel the liquid splashing about inside the can? If so, it’s not sweetened condensed milk; it’s evaporated or condensed milk only!
HOW TO TOAST COCONUT
When toasting coconut, all you need is a skillet, a whisk, and some patience. Place the coconut into the skillet and turn the heat to medium. Do not for one minute think that you can walk away from the skillet to do something else. And, don’t ever think that you can stop moving the coconut around the pan. It will burn. And, it will burn fast!
Use a stainless steel skillet; not one of those non-stick types. Use a metal whisk or wooden spoon. Continuously – and, I mean continuously! – move the coconut around the skillet. Slowly, but eventually, you’ll notice that the coconut is losing that bright white colour. It will fade into an off-white until finally, it begins to turn a nice golden, yellowish-brown colour.
Turn off the heat and get the coconut out of the hot skillet. The residual heat will continue to brown the coconut and you don’t want that to happen. Transfer the coconut to a wide, shallow bowl so that it can spread out. This will stop the toasting and you’ll be left with the most delicious coconut ever!
Do you have a question or comment?
Would you like to leave a review?
Scroll down to the comment section and write me a message.
I will personally respond as soon as possible!
STORING, PACKAGING, & FREEZING
When it comes to most cookies, they taste best at room temperature, but they don’t hold up well to being left out on your countertop for long periods of time. Cookies will stay fresh in a cookie jar or food-safe container with a lid for 3-5 days if left to sit on your kitchen countertop. You can store them in a food-safe container in your fridge. When you want one, two, or half a dozen, take them out of the container and place them in a single layer on a plate. Let them sit at room temperature for 5 minutes and they’re ready!
If you plan to freeze these cookies, you certainly can! Once cooled, pile them into a clean, food-safe container. The container must be freezer friendly! You’ll want to ensure a very tight fitting lid too. I use these quite often when freezing baked goods. I like to place a sheet of plastic wrap over the top of the container before pushing the lid on. This helps to create a better seal. The goal is to keep all of that freshness locked in!
You can freeze these cookies for up to three months. If you plan to give previously frozen cookies as a gift, I would lay them out onto a wire cooling rack to thaw completely. If packaging, wait until the condensation has evaporated. Whenever I work with anything covered in confectioner’s sugar or chocolate, I like to use a food-safe, latex glove to prevent getting fingerprints on it as much as possible! Once thawed, pile into cellophane bags and tie with a ribbon, or stack in a cookie tin/box.
QUESTIONS?
If I have not answered all of your questions in the text above, don’t hesitate to reach out to me! You can contact me by sending me a message in the comments section further down the page. I will try my best to answer as soon as possible! You might reach me even faster by following me on Facebook and sending me a private message. Scroll down below the recipe card to find my Follow Me on Social Media box and never miss another recipe!
Finally, as I stated previously, every day I will be posting a new recipe. If you miss one, don’t fret. You can find my entire collection of Christmas Recipes right here! There are over 200 Christmas recipes and counting. There’s something for everyone! Cheers!
Do You Like This Recipe?
You should consider trying these other delicious recipes too!

At Christmas time, candied cherries are almost unavoidable and that suits me just fine because I love them! For my Candied Cherry Biscotti recipe, use both red and green candied cherries to make these biscotti look jolly and festive! A simple, easy to prepare glaze is all you need in terms of decoration.

Packed full of red and green candied cherries and whole toasted walnuts, this Walnut and Candied Cherry Loaf is loaded with familiar and cozy holiday flavour! This moist and delicious fuss-free loaf does not require or need any glaze or frosting; serve it just as is, because it is quite perfect!

A good spritz cookie should taste slightly sweet and buttery. The cookie should be slightly crumbly, but not dry, and it should feel like it’s melting in your mouth. Nothing is more Christmassy than Cherry Spritz Cookies! It’s a long-standing holiday favourite and this one screams cheerful with those brightly coloured candied cherries!

Cherry Coconut Cookies
Ingredients
- 1 cup butter, softened
- 1/2 cup sweetened condensed milk
- 1 teaspoon almond extract
- 2 cups all-purpose flour
- 3 teaspoons baking powder
- 1 cup desiccated unsweetened coconut, toasted
- 1 1/2 cups candied cherries (one cup finely chopped, save the additional 1/2 cup for topping each cookie)
Instructions
- Add the softened butter to a mixing bowl and beat until light and creamy – about three minutes.
- Next, pour in the sweetened condensed milk and add the almond extract. Beat into the butter for two minutes.
- Scrape down the sides of the bowl and beat again for another minute or two.
- Next, add the flour and baking powder. Beat into the butter and milk mixture until mixed through.
- Add the toasted coconut and chopped candied cherries. Beat until just incorporated.
- Using a cookie scoop, portion the dough into mounds onto a parchment paper lined baking sheet. Be sure to leave at least two inches between each mound of cookie dough.
- Top each cookie with one whole candied cherry.
- Bake for 12 minutes at 320 degrees F.
- Remove from the oven and leave the cool slightly on the pan for five minutes.
- Finally, remove from the baking sheet and transfer to a wire cooling rack. Allow cookies to fully cool before storing.
Nutrition
Did you make this recipe?
Upload a photo and tag me so that I can see it!







Leave a Reply