
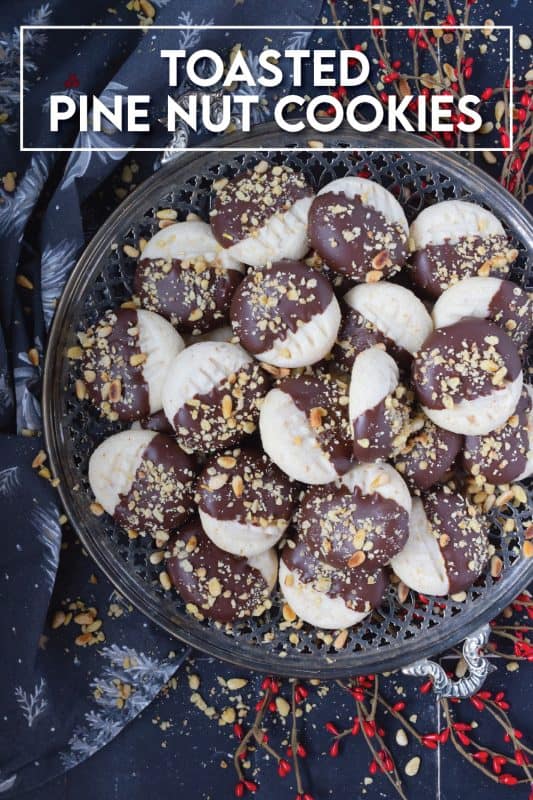
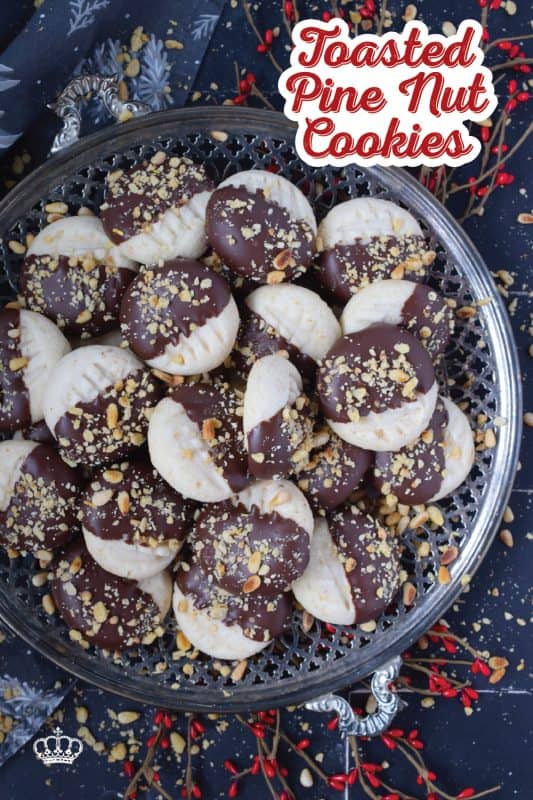
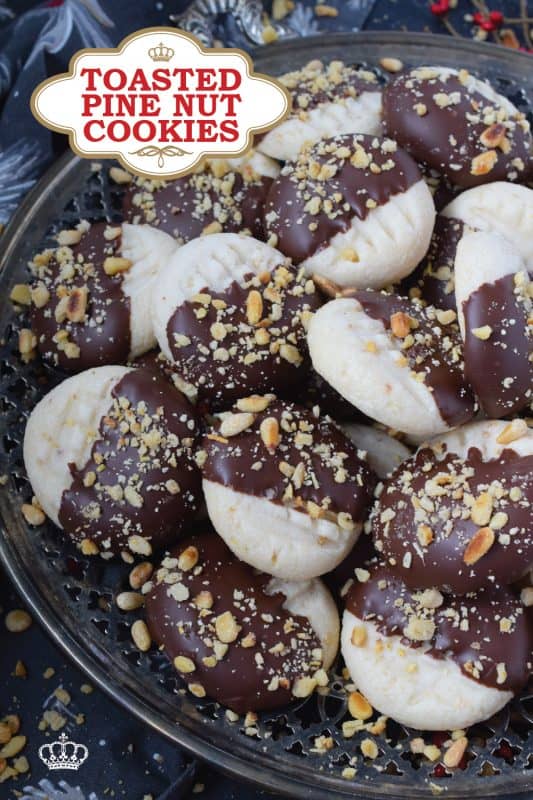
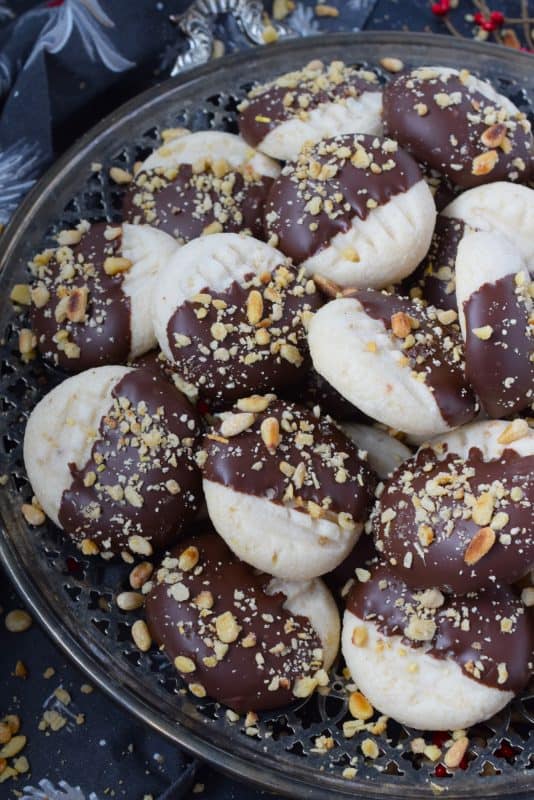
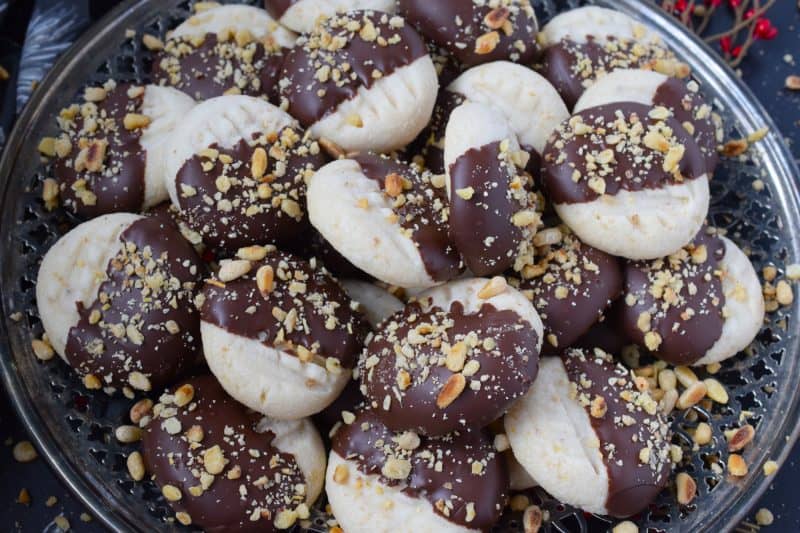
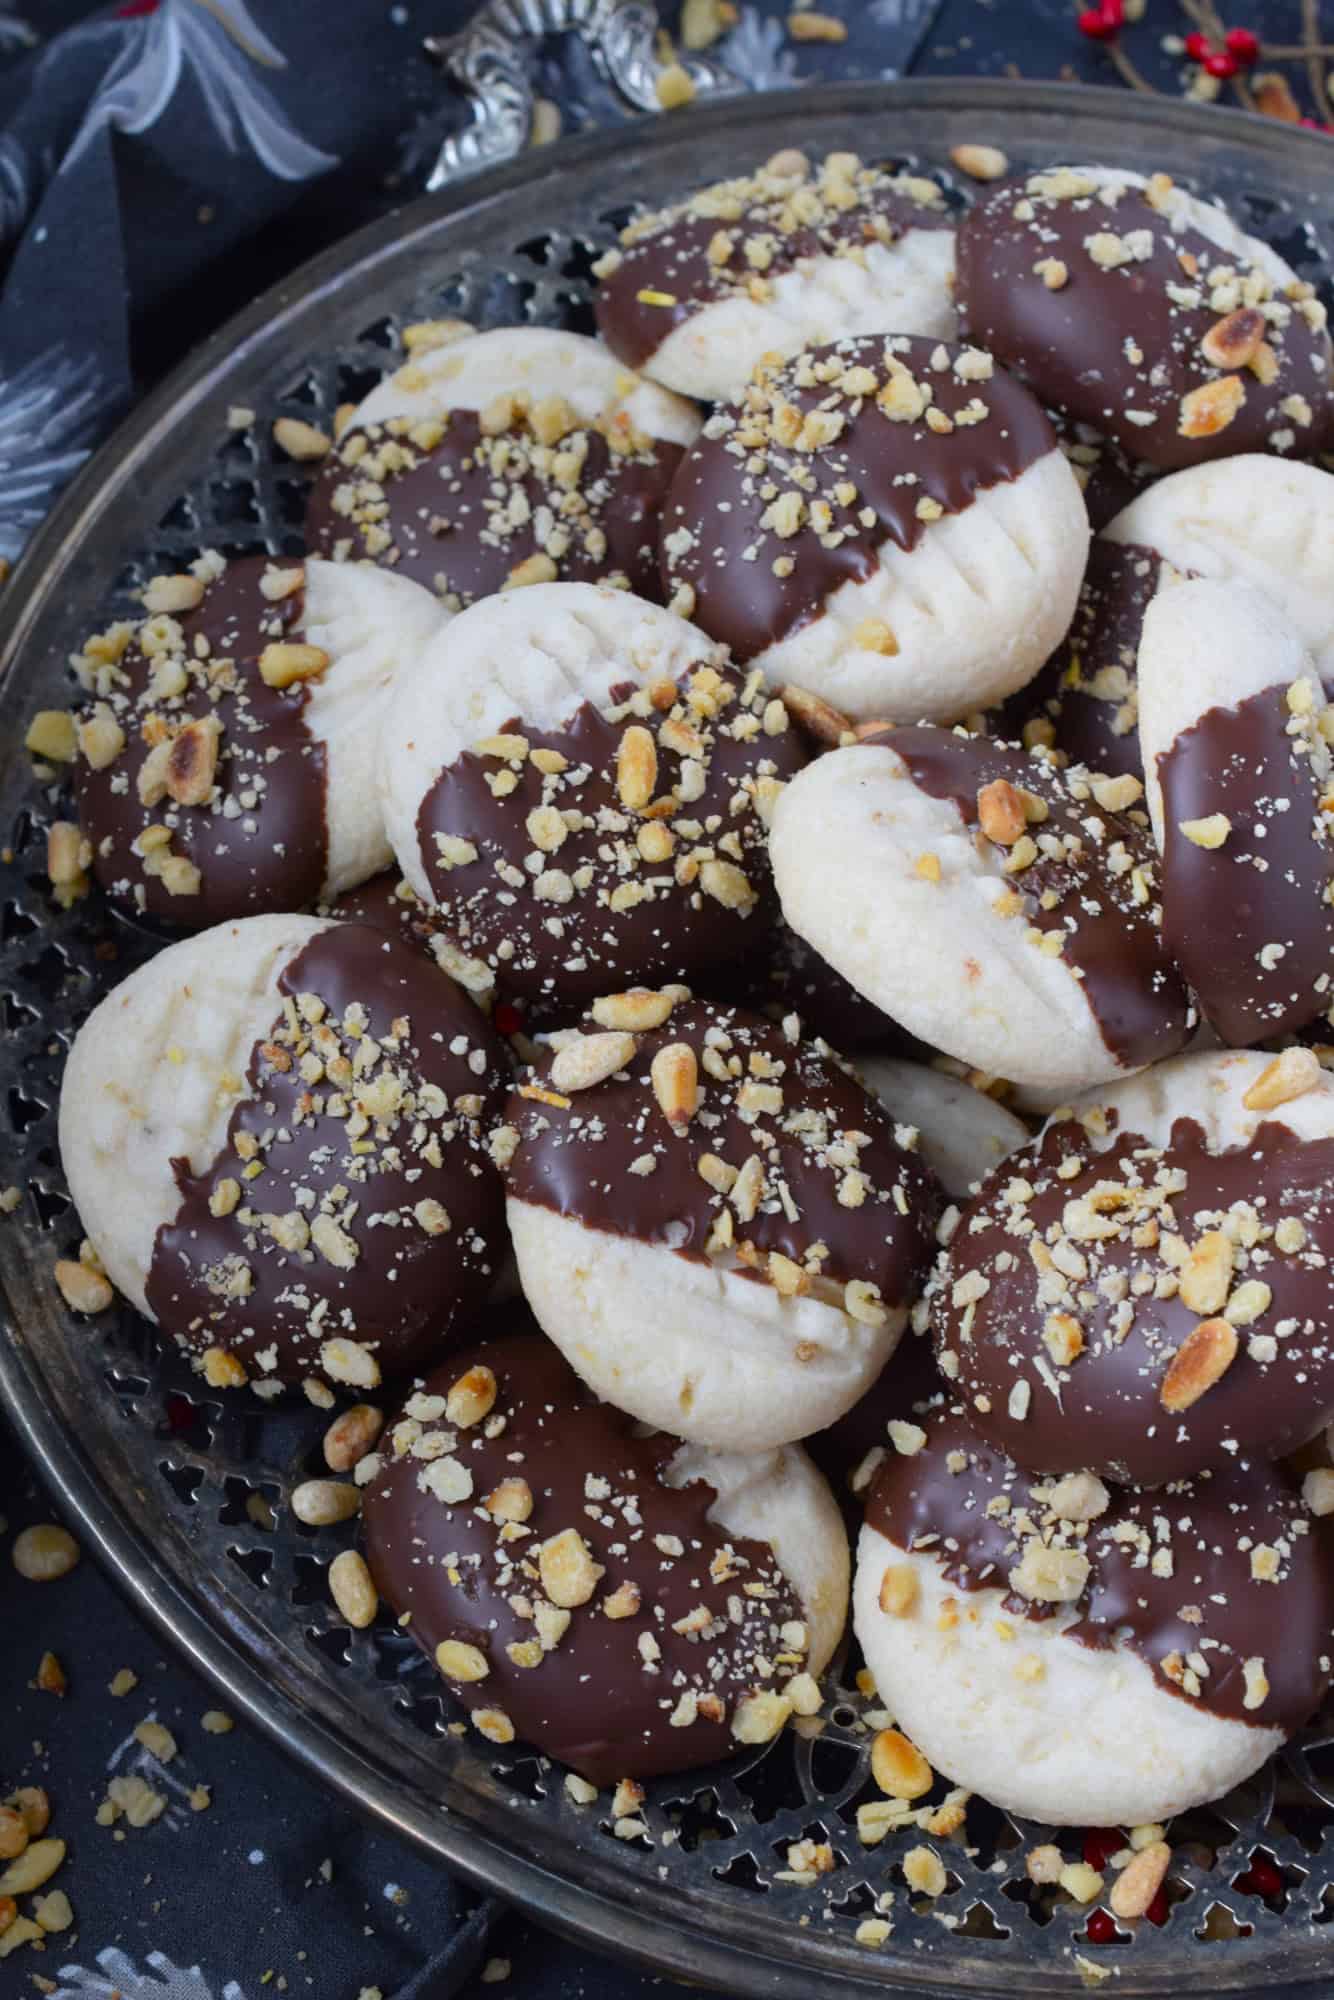
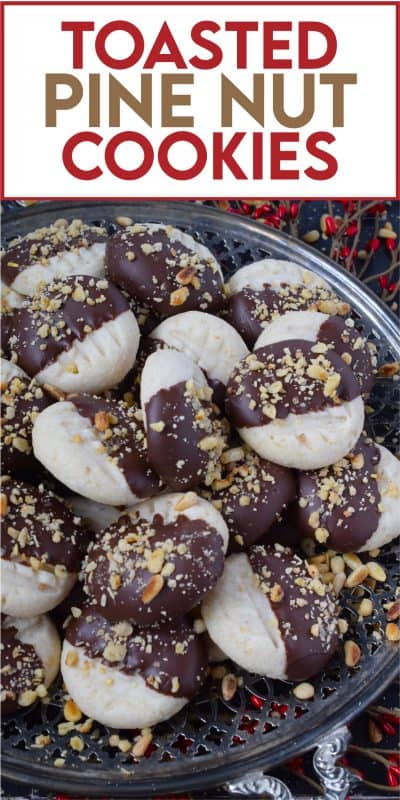
Despite the addition of the ground toasted pine nuts, these cookies are a delightfully light and airy confection packed with delicious holiday nutty flavour. Prepared with ground and whole pine nuts, vanilla extract, powdered sugar, and vegetable shortening, they’re a feast for the eyes once they are dipped in melted chocolate and topped with even more crushed pine nuts!
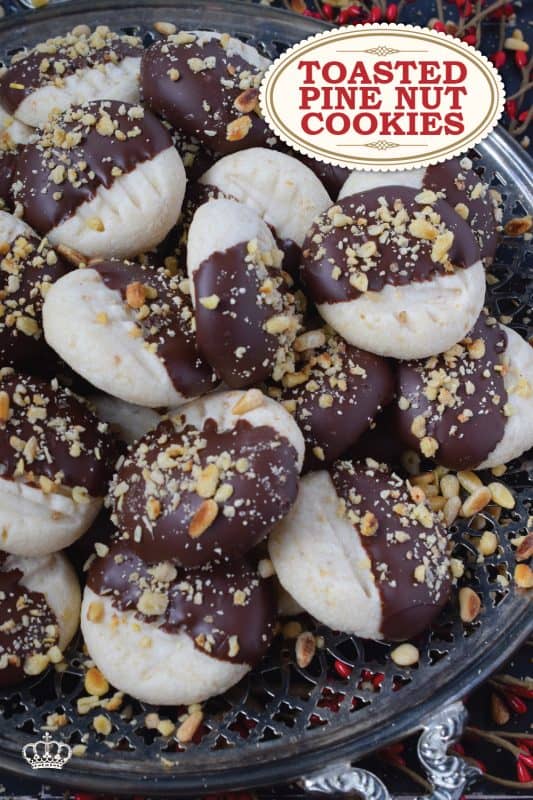
Toasted Pine Nut Cookies are perfect for sharing. They pack well and will keep fresh for a few days in a cookie bag or box. Not only should these cookies be a part of your 2026 holiday baking, but make them a part of your annual cookie giveaway. Every year, we make up boxes or bags of cookies to share with neighbours. It’s so much work, but I love doing it. Nobody will get any of these though, because we ate them already!
As the name suggests, these cookies are made with pine nuts. In fact, there is a whole cup of pine nuts which include a half cup each of ground pine nuts and one of crushed pine nuts. That isn’t what I would consider a lot of nuts, however, it is when it comes to pine nuts, because they tend to be a little expensive. However, they make the cookie so delicious especially when they’re toasted first.
I once learned that one of the secrets to a light and airy cookie is the use of vegetable shortening. In this recipe, it completely replaces the butter you might normally find. Once Christmas is over and life returns to its normal pace, I’m going to experiment more with vegetable shortening. It’s cheaper than butter and I happen to love the lightness of these cookies.
These cookies are light, slightly crispy, and they have a great crumble to them. They remind me very much of shortbread, but of course, there’s a lot of really good nutty flavour in these!
Make your own online recipe box!
Click the in the lower right corner of your screen
& follow the quick and easy instructions!
WELCOME TO A LORD BYRON CHRISTMAS!
I’m going to tell you all about this recipe and how you can make it in your home this holiday season, but first, I want to tell you about what you can expect from Lord Byron’s Kitchen this Christmas. I know we’re getting closer to the big day, so it’s time to get to the holiday-themed recipes! Over the past decade, I have built a reputation for sharing series-type recipes. The most popular would be my annual 24 Cookies of Christmas, which was fashioned after an advent calendar. But, I have others that are only 12 days, which were fashioned after the 12 Days of Christmas.
This particular recipe is a part of my annual 24 Cookies of Christmas series. It’s my fourth series so far this year! And, I’m seriously contemplating publishing a fifth series too! So, welcome, Dear Reader, to Lord Byron’s 24 Cookies of Christmas – Volume 9! Just like every other series that I’ve shared over the years, this one will also see a new recipe shared each day for the next 24 days – even on Saturday and Sunday! You might be asking yourself, how many Christmas recipes could one possibly have or need? Well, I say you can never have too much of a good thing. And, I love having lots of choices. Who wants to prepare the same holiday recipes year after year?
Looking For More Christmas Confections?
Lord Byron’s Kitchen has more than enough to satisfy your sweet tooth! Click on the links below to see a countdown series of holiday recipes from that category!
SUBSCRIBE NOW AND NEVER MISS ANOTHER RECIPE!
Traditionally, every year I share a series of recipes that you might already be familiar with. For example, I’ve previously shared 12 Holiday Trifles, 12 Holiday Bars & Squares, and even these 12 Edible Holiday Wreath recipes! Also, some of my favourite recipe collections from previous years are my 75 Homemade Gifts from Your Kitchen, my 50 Make Ahead Freezer Friendly Christmas Recipes, and my 30 No-Bake Christmas Recipes post.
You really don’t want to miss one of these recipes, so if you have not yet subscribed to Lord Byron’s Kitchen, I encourage you to do so. That way, a new recipe will be emailed to you every day. You won’t have to bother to come looking for it! And, just in case you’re curious, you can see previous annual posts for my 24 Cookies of Christmas Series here!
Lord Byron’s Annual Christmas Cookie Series
Did you know that Lord Byron’s Kitchen has been sharing a 24 Cookies of Christmas Series for the past several years? Click on the links below to see all of the recipes from each series on one page!
INGREDIENTS NEEDED TO PREPARE THIS RECIPE
The following is a list of the ingredients needed to prepare this recipe. For exact amounts and measurements, refer to the printable recipe card located near the bottom of this post.
- Vegetable Shortening – More commonly known as Crisco, vegetable shortening helps to keep baked goods lighter and flakier. If you don’t have any, you can substitute it with half butter and half margarine. You MUST make sure your butter and margarine are both at room temperature, otherwise it will not work. Combine both ingredients with a spatula until well mixed.
- Confectioner’s Sugar – Also known as powdered sugar.
- Egg – You need one large egg at room temperature. Remove the egg from the fridge 30 minutes before using.
- Warm Water
- Vanilla Extract
- Salt
- Flour – I always use all-purpose flour, unless otherwise stated.
- Pine Nuts
- Milk or Semi-sweet Chocolate Chips
- Vegetable Oil
HOW TO MAKE TOASTED PINE NUT COOKIES
Preheat your oven to 350 degrees F. Prepare a baking sheet by lining it with parchment paper. Set aside. In a mixing bowl, beat together the confectioner’s sugar and vegetable shortening. Beat for 3-5 minutes or until the mixture is light and fluffy. Next, beat in the egg, salt, water, and extract until combined. Add the flour and ground pine nuts. Beat on low until just mixed through. The dough may be dry in the beginning, but keep beating until the ingredients form a workable dough.
Spoon dough into 2 teaspoon portions. Roll into a ball and place on the prepared baking sheet. Keep balls 2 inches apart. Using a fork, create an “X” onto the top of each cookie, pressing straight down. Cookie should be flattened to just over 1/4 inch thick. Bake for 10 minutes. Remove from oven. Allow cookies to cool on baking sheet for 3 minutes. Remove and transfer cookies to a wire cooling rack to finish cooling.
Once the cookies are fully cooled, transfer the chocolate chips to a microwave-safe bowl along with the vegetable oil. In increments of 30 seconds at half power, melt the chocolate, stirring well between each increment. Once the chocolate is fully melted and silky smooth, it’s time to dip the cookies. Working with one cookie at a time, dip it halfway down into the melted chocolate and set it on a baking sheet lined with parchment paper. Top the chocolate-dipped portion of the cookie with a sprinkling of the toasted crushed pine nuts. Once all of the cookies are complete, allow them to cool at room temperature until the chocolate is firm. Transfer to a food-safe container with a tight-fitting lid and store at room temperature.
TOASTING PINE NUTS
The first thing you should do is to toast your pine nuts. How do you do that? It’s very simple! To be perfectly honest, this applies to any nuts or seeds, not just the nuts in this recipe. If you are not familiar with toasted nuts, then please try it just once. You will probably never revert to using nuts in your cooking or baking again without toasting them first!
I have tried using non-stick frying pans for toasting, but nothing works as well as a stainless steel pan. You could use a cast iron pan, but since they get very hot and retain heat so well, it’s easier to burn the nuts. See the frying pan in this picture? That’s the exact one that I use all the time. I’m not suggesting you run out and buy this same cookware set, but I want you to see the pan – remember, do not use non-stick if possible. You’ll get better results will plain stainless steel.
So, unlike most cooking where you’re required to preheat first, you don’t want to apply that same rule to toasting nuts. Add the nuts to a cold pan. Place the pan on the burner and turn the heat on – no higher than medium and probably even less if using a gas burner.
Keep the nuts moving about. I use a rubber spatula. Once you start to smell that warm and toasty aromatic smell, pay close attention. The nuts will take on a slightly golden colour. Don’t let them get too dark. Once you’re satisfied, immediately remove them from the hot pan and transfer them to a dinner plate where they can be spread out to cool.

SUBTITUTIONS FOR PINE NUTS
I use pine nuts often in my recipes, so I will buy a large bag at Costco. The bag costs about $40, but it will last a long time. Pay attention to the expiry date before you purchase and buy one that expires in a year or two from now.
Once you open the package of pine nuts, avoid placing your hand in the bag. Carefully pour out the amount you need. To keep the pine nuts fresh and from spoiling, the less contamination the better! Seal the bag and keep the bag in your fridge. It will last for months!
If you want to use a substitute, I would recommend slivered almonds, chopped hazel nuts, or even macadamia. The taste might be slightly different, but you want to mimic the texture of the pine nuts. And, of course, to get the most out of the pine nuts or whatever nut you decide to use, we are going to toast them first. The flavour intensifies greatly when you toast them.
STORING, PACKAGING, & FREEZING
When it comes to most cookies, they taste best at room temperature, but they don’t hold up well to being left out on your countertop for long periods of time. Cookies will stay fresh in a cookie jar or food-safe container with a lid for 3-5 days if left to sit on your kitchen countertop. You can store them in a food-safe container in your fridge. When you want one, two, or half a dozen, take them out of the container and place them in a single layer on a plate. Let them sit at room temperature for 5 minutes and they’re ready!
If you plan to freeze these cookies, you certainly can! Once cooled, pile them into a clean, food-safe container. The container must be freezer friendly! You’ll want to ensure a very tight fitting lid too. I use these quite often when freezing baked goods. I like to place a sheet of plastic wrap over the top of the container before pushing the lid on. This helps to create a better seal. The goal is to keep all of that freshness locked in!
You can freeze these cookies for up to three months. If you plan to give previously frozen cookies as a gift, I would lay them out onto a wire cooling rack to thaw completely. If packaging, wait until the condensation has evaporated. Whenever I work with anything covered in confectioner’s sugar or chocolate, I like to use a food-safe, latex glove to prevent getting fingerprints on it as much as possible! Once thawed, pile into cellophane bags and tie with a ribbon, or stack in a cookie tin/box.
QUESTIONS?
If I have not answered all of your questions in the text above, don’t hesitate to reach out to me! You can contact me by sending me a message in the comments section further down the page. I will try my best to answer as soon as possible! You might reach me even faster by following me on Facebook and sending me a private message. Scroll down below the recipe card to find my Follow Me on Social Media box and never miss another recipe!
Finally, as I stated previously, every day I will be posting a new recipe. If you miss one, don’t fret. You can find my entire collection of Christmas Recipes right here! There are over 200 Christmas recipes and counting. There’s something for everyone! Cheers!
Do You Like This Recipe?
You should consider trying these other delicious recipes too!

For this cookie, I’ve taken a shortbread recipe, stuffed it with chopped walnuts, baked them into balls, and dipped them in melted chocolate. Walnut Shortbread Balls are a new take on a Christmas classic!

A soft, chewy cookie prepared with eggnog and rum. Christmas Eggnog Cookies are loaded with nutmeg too, which makes them taste extra eggnog-y! They aren’t too pretty to look at, but they taste marvelous!
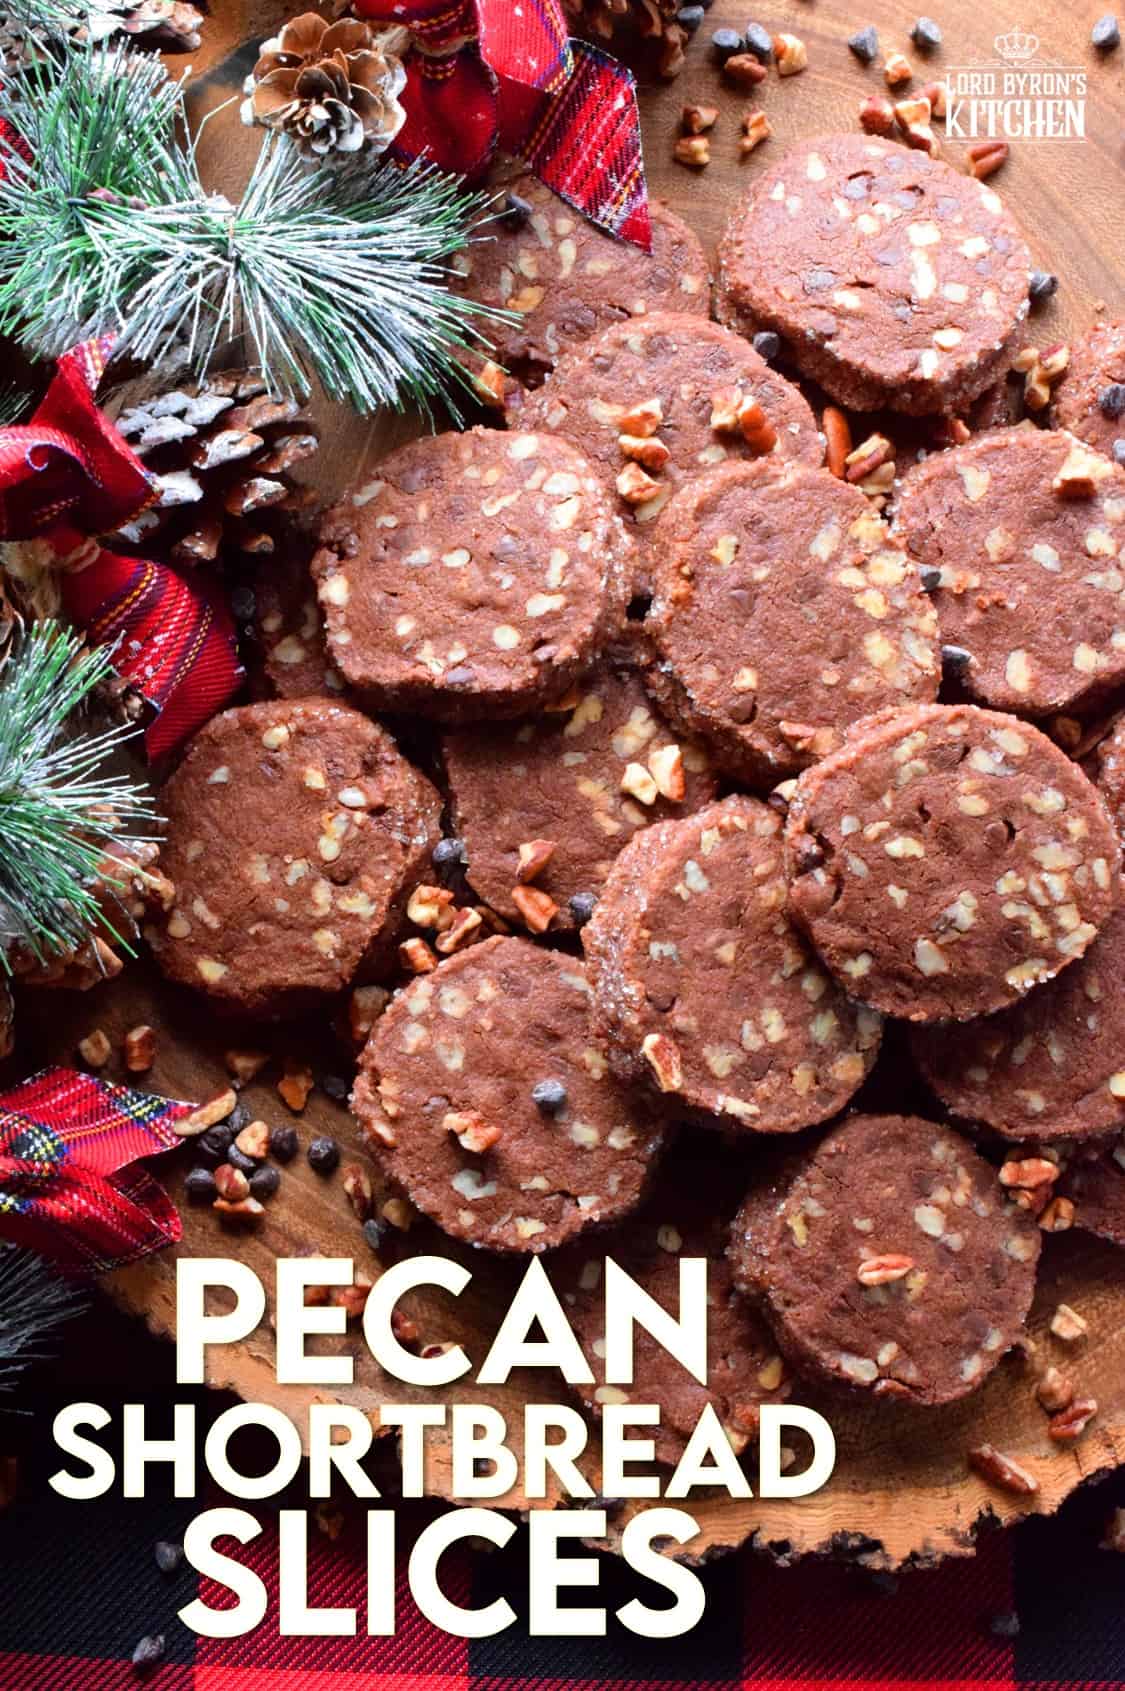
Pecan Shortbread Slices are one of those cookies you can make long in advance. They are rolled into a log, well wrapped, and can be refrigerated or frozen until you feel like baking. They are packed with toasted pecans and prepared with good cocoa and mini chocolate chips for extra chocolatey flavour.

Toasted Pine Nut Cookies
Ingredients
- 1 cup vegetable shortening, room temperature
- 1 cup confectioner's sugar
- 1 large egg, room temperature
- 2 tablespoons warm water
- 1 teaspoon vanilla extract, room temperature
- 1/4 teaspoon salt
- 2 1/4 cups all purpose flour
- 1/2 cup toasted pine nuts, ground
For the Topping:
- 2 cups milk chocolate chips
- 1/2 teaspoon vegetable oil
- 1/2 cup toasted pine nuts, crushed
Instructions
- Preheat your oven to 350 degrees F. Prepare a baking sheet by lining it with parchment paper. Set aside.
- In a mixing bowl, beat together the confectioner’s sugar and vegetable shortening. Beat for 3-5 minutes or until the mixture is light and fluffy.
- Next, beat in the egg, salt, water, and extract until combined.
- Add the flour and ground pine nuts. Beat on low until just mixed through. The dough may be dry in the beginning, but keep beating until the ingredients form a workable dough.
- Spoon dough into 2 teaspoon portions. Roll into a ball and place on the prepared baking sheet. Keep balls 2 inches apart.
- Using a fork, create an “X” onto the top of each cookie, pressing straight down. Cookie should be flattened to just over 1/4 inch thick.
- Bake for 10 minutes.
- Remove from oven. Allow cookies to cool on baking sheet for 3 minutes. Remove and transfer cookies to a wire cooling rack to finish cooling.
For the Topping:
- Transfer the chocolate chips to a microwave-safe bowl along with the vegetable oil.
- In increments of 30 seconds at half power, melt the chocolate, stirring well between each increment. Once the chocolate is fully melted and silky smooth, it's time to dip the cookies.
- Working with one cookie at a time, dip it halfway down into the melted chocolate and set it on a baking sheet lined with parchment paper. Top the chocolate-dipped portion of the cookie with a sprinkling of the toasted crushed pine nuts.
- Once all of the cookies are complete, allow them to cool at room temperature until the chocolate is firm.
- Transfer to a food-safe container with a tight-fitting lid and store at room temperature.
Nutrition
Did you make this recipe?
Upload a photo and tag me so that I can see it!






Leave a Reply