
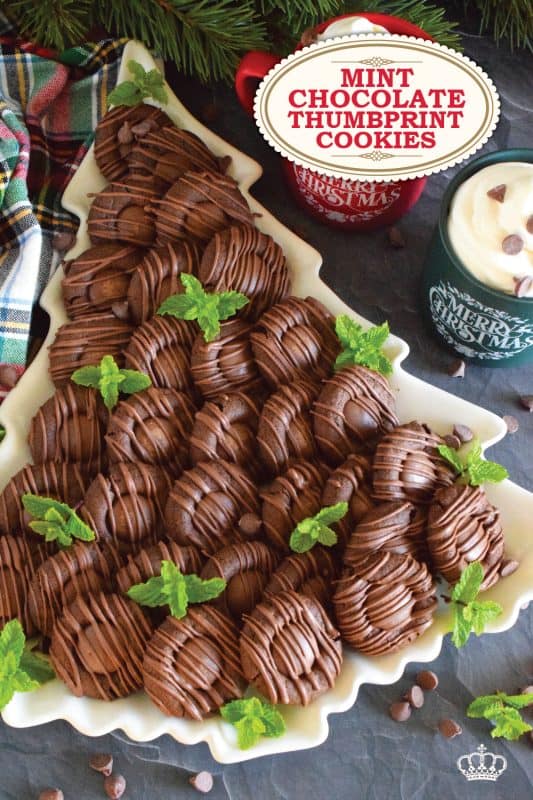
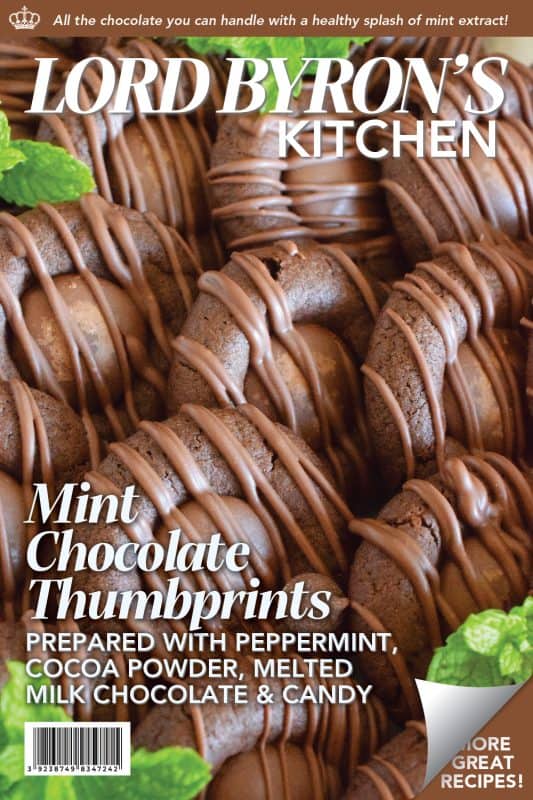
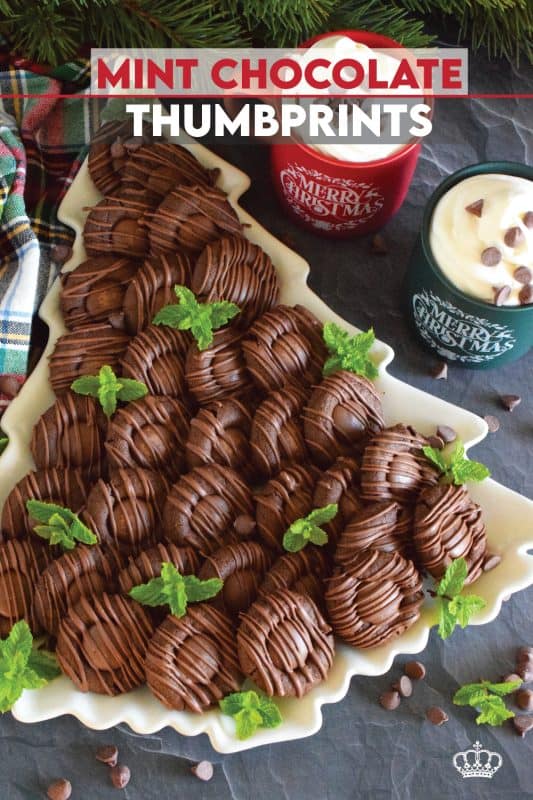
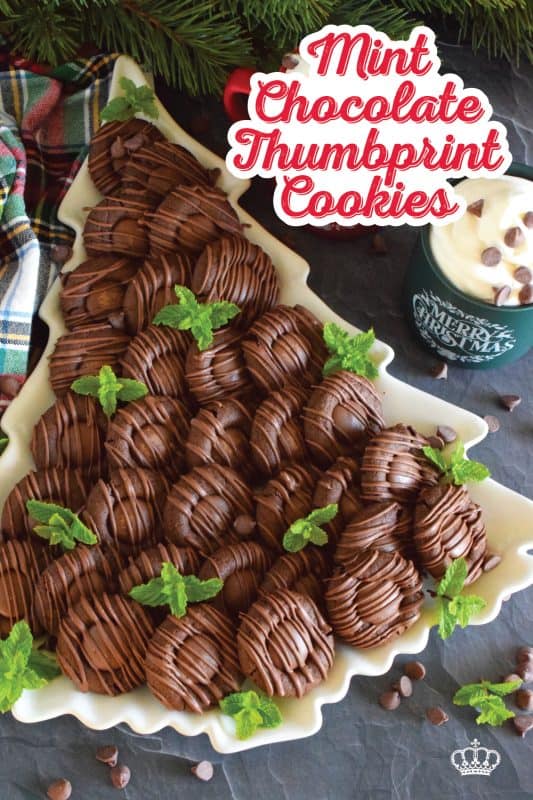
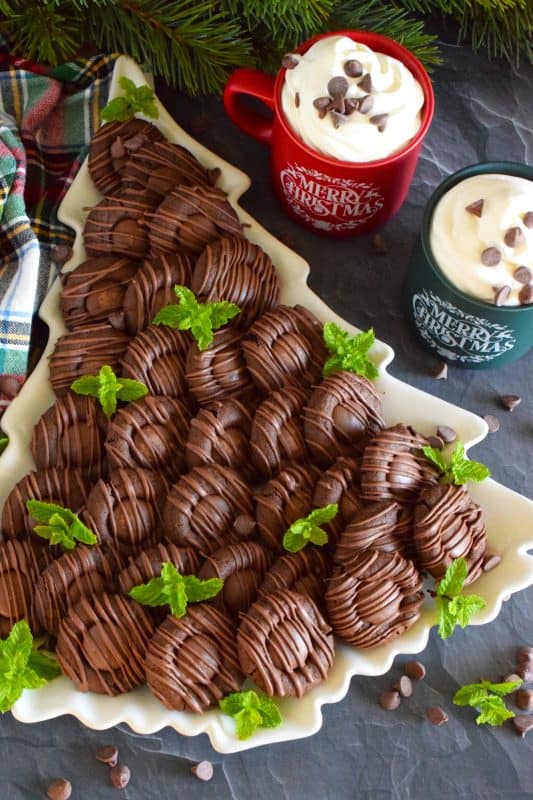
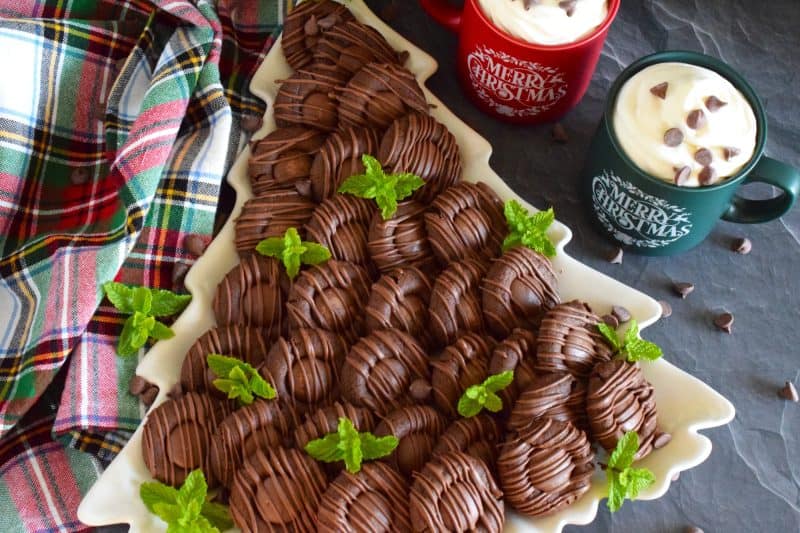
These moist and soft Mint Chocolate Thumbprints are baked and then topped with a single chocolate candy melt. Next, they are drizzled with melted chocolate for even more chocolatey goodness. They are one of the easiest and most delicious thumbprint-style cookie recipes you’ll make this holiday season!
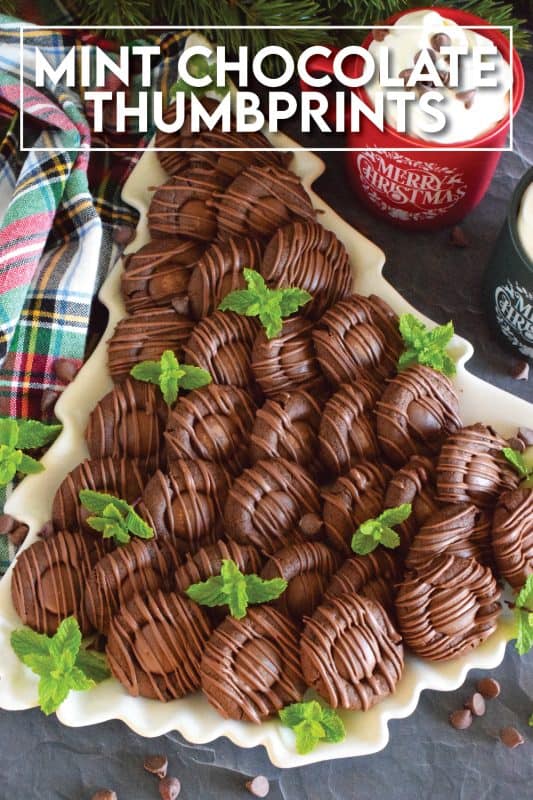
In our home, Christmas cannot come and pass us by without a good dose of treats flavoured with mint. Those treats are even more welcomed and enjoyed if they have melted chocolate of any type! Seriously, we can’t get enough of it! I’m not a huge lover of sweets, but every Christmas I have to get my mint fix and that usually comes in the form of simple treats just like these Mint Chocolate Thumbprints.
We could not stop eating these! As you know, most of the items I bake around Christmastime are packed up and given away. It just so happened that the day I photographed these I also photographed a couple other cookie recipes. I packed up four bags of mixed cookies and gave them all away, but I saved a lot of these thumbprints just for us, because they were just too good! Even now, as I write this, there are a few stashed away in the freezer, but I buried them down deep, so I’m less inclined to go digging for them.
Make your own online recipe box!
Click the in the lower right corner of your screen
& follow the quick and easy instructions!
WELCOME TO A LORD BYRON CHRISTMAS!
I’m going to tell you all about this recipe and how you can make it in your home this holiday season, but first, I want to tell you about what you can expect from Lord Byron’s Kitchen this Christmas. I know we’re getting closer to the big day, so it’s time to get to the holiday-themed recipes! Over the past decade, I have built a reputation for sharing series-type recipes. The most popular would be my annual 24 Cookies of Christmas, which was fashioned after an advent calendar. But, I have others that are only 12 days, which were fashioned after the 12 Days of Christmas.
This particular recipe is a part of my annual 24 Cookies of Christmas series. It’s my fourth series so far this year! And, I’m seriously contemplating publishing a fifth series too! So, welcome, Dear Reader, to Lord Byron’s 24 Cookies of Christmas – Volume 9! Just like every other series that I’ve shared over the years, this one will also see a new recipe shared each day for the next 24 days – even on Saturday and Sunday! You might be asking yourself, how many Christmas recipes could one possibly have or need? Well, I say you can never have too much of a good thing. And, I love having lots of choices. Who wants to prepare the same holiday recipes year after year?
Looking For More Christmas Confections?
Lord Byron’s Kitchen has more than enough to satisfy your sweet tooth! Click on the links below to see a countdown series of holiday recipes from that category!
SUBSCRIBE NOW AND NEVER MISS ANOTHER RECIPE!
Traditionally, every year I share a series of recipes that you might already be familiar with. For example, I’ve previously shared 12 Holiday Trifles, 12 Holiday Bars & Squares, and even these 12 Edible Holiday Wreath recipes! Also, some of my favourite recipe collections from previous years are my 75 Homemade Gifts from Your Kitchen, my 50 Make Ahead Freezer Friendly Christmas Recipes, and my 30 No-Bake Christmas Recipes post.
You really don’t want to miss one of these recipes, so if you have not yet subscribed to Lord Byron’s Kitchen, I encourage you to do so. That way, a new recipe will be emailed to you every day. You won’t have to bother to come looking for it! And, just in case you’re curious, you can see previous annual posts for my 24 Cookies of Christmas Series here!
Lord Byron’s Annual Christmas Cookie Series
Did you know that Lord Byron’s Kitchen has been sharing a 24 Cookies of Christmas Series for the past several years? Click on the links below to see all of the recipes from each series on one page!
INGREDIENTS NEEDED TO PREPARE THIS RECIPE
The following is a list of the ingredients needed to prepare this recipe. For exact amounts and measurements, refer to the printable recipe card located near the bottom of this post.
- Butter – Make sure your butter is at room temperature! I have made these with both salted and unsalted butter and there’s no difference in taste or appearance once all is said and done. Use what you have on hand.
- Sugar
- Peppermint Extract
- Eggs – Whenever you set out to bake, make sure your eggs are at room temperature too – just like your butter!
- Flour – No need for anything special. Just use regular all-purpose flour. I have not tried this recipe with any other type of flour.
- Cocoa Powder – Cocoa powder is an unsweetened chocolate product which adds deep chocolate flavor to desserts and beverages. Use a good quality cocoa powder, not the kind we used to stir into milk as kids! If you don’t have dark, you can use regular cocoa.
- Baking Soda
- Salt
- Candy Melts – See notes below.
- Chocolate Chips – You can use milk, semi-sweet, or dark chocolate chips here.
- Vegetable Shortening or Vegetable Oil – This will help to thin the melted chocolate chips making it much easier to drizzle over the baked, cooled cookies.
HOW TO MAKE MINT CHOCOLATE THUMBPRINTS
Add the softened butter and the sugar to a large mixing bowl. Beat the two together for 2-3 minutes until the mixture is light and creamy. Be sure to scrape down the bowl with a rubber spatula halfway through beating. Add the extract and eggs. Beat into the butter mixture until well incorporated. Next, measure out the flour, cocoa powder, baking soda, and salt. Dump these ingredients into the butter and egg mixture. With your mixer on a low speed, beat the dry ingredients into the wet ingredients until just mixed through. The dough will form a ball.
Prepare a baking sheet by lining it with parchment paper or a silicone baking mat. Set aside. Preheat your oven to 350 degrees F. Portion the cookie dough into slightly heaping tablespoons and roll them into a ball. Place the balls onto the prepared baking sheet, leaving two inches of space between each cookie. Bake for 10 minutes. Remove from the oven and immediately top each cookie with a candy melt. Allow the cookies to sit on the baking sheet for 5 minutes before transferring to a wire cooling rack to finish cooling.
Once the cookies are fully cooled, place the chocolate chips and vegetable shortening (or vegetable oil) into a microwave-safe bowl. Microwave at half power in 30-second increments, stirring well with a rubber spatula between each increment until the chocolate is melted and smooth. Transfer the chocolate to a resealable sandwich bag and cut just the tip from one lower corner with your scissors. Use the bag to gently and carefully squeeze the melted chocolate out in a drizzle over the cookies. Allow the chocolate drizzle to firm up before storing.
COCOA POWDER
Cocoa powder is an unsweetened chocolate product that adds deep chocolate flavour to desserts and beverages. Use a good quality cocoa powder, not the kind we used to stir into milk as kids! I have two types of cocoa that I use when baking. In cookies like these Hot Chocolate Cookies, just a regular, inexpensive cocoa powder will do just fine. Even though I don’t care for Hershey’s chocolate, I do like to use Hershey’s cocoa powder for cookies.
If, however, I’m making a cake or a cookie recipe with very few ingredients, I want to use better-quality cocoa powder. For me, Fry’s Premium Quality Cocoa has all that I’m looking for. It has a stronger chocolatey scent than other cocoa powders. When it comes to flavour, Fry’s wins out again. The only thing that Fry’s doesn’t offer is a deeper, chocolatey colour like you see in the photos. I find that Hershey’s does a better job in terms of colour.
WHAT ARE CANDY MELTS?
Candy melts are small, round discs that are made to emulate white chocolate. They come in a wide range of colours and are usually melted down and used in confections such as the coating on cake pops. I think the term candy melts is owned by Wilton, which is the only type I’ll use.
I use Wilton’s because I have used the brand many times before and have never been disappointed, but also because they have a lot of different colours to choose from. Oh, and the price is always good too!
If you cannot find candy melts, you can either order them online here, or you can use generic brands that can be found at your local baking supply store. The generic brands are sometimes called melting wafers. Additionally, if you cannot find them or do not want to use them, you can use white chocolate tinted with a little bit of food colouring.
STORING, PACKAGING, & FREEZING
When it comes to most cookies, they taste best at room temperature, but they don’t hold up well to being left out on your countertop for long periods of time. Cookies will stay fresh in a cookie jar or food-safe container with a lid for 3-5 days if left to sit on your kitchen countertop. You can store them in a food-safe container in your fridge. When you want one, two, or half a dozen, take them out of the container and place them in a single layer on a plate. Let them sit at room temperature for 5 minutes and they’re ready!
If you plan to freeze these cookies, you certainly can! Once cooled, pile them into a clean, food-safe container. The container must be freezer friendly! You’ll want to ensure a very tight fitting lid too. I use these quite often when freezing baked goods. I like to place a sheet of plastic wrap over the top of the container before pushing the lid on. This helps to create a better seal. The goal is to keep all of that freshness locked in!
You can freeze these cookies for up to three months. If you plan to give previously frozen cookies as a gift, I would lay them out onto a wire cooling rack to thaw completely. If packaging, wait until the condensation has evaporated. Whenever I work with anything covered in confectioner’s sugar or chocolate, I like to use a food-safe, latex glove to prevent getting fingerprints on it as much as possible! Once thawed, pile into cellophane bags and tie with a ribbon, or stack in a cookie tin/box.
QUESTIONS?
If I have not answered all of your questions in the text above, don’t hesitate to reach out to me! You can contact me by sending me a message in the comments section further down the page. I will try my best to answer as soon as possible! You might reach me even faster by following me on Facebook and sending me a private message. Scroll down below the recipe card to find my Follow Me on Social Media box and never miss another recipe!
Finally, as I stated previously, every day I will be posting a new recipe. If you miss one, don’t fret. You can find my entire collection of Christmas Recipes right here! There are over 200 Christmas recipes and counting. There’s something for everyone! Cheers!
Do You Like This Recipe?
You should consider trying these other delicious recipes too!

Mint Spritz Cookies are prepared with a classic spritz cookie dough that has been flavoured with mint extract and coloured with green food colouring. These bite-sized, whimsical cookies are a great addition to cookie platters and cookie boxes for gifting!

The airy, bubbly, chocolatey popular confection known as the Aero Bar, is paired with crushed cookies, cocoa powder, sweetened condensed milk, and melted milk chocolate in this No Bake Aero Mint Squares recipe. These are absolutely delicious, which makes sharing very difficult!

Otherwise known as truffles, these Mint Oreo Balls are prepared with crushed mint-flavoured Oreos and cream cheese. They are dipped in melted green candy melts and drizzled with milk and white melted chocolate. They’re bright, beautiful, festive, and delicious!


Mint Chocolate Thumbprints
Ingredients
- 1 cup unsalted butter, softened
- 1 1/2 cups sugar
- 2 teaspoons peppermint extract
- 2 large eggs, room temperature
- 2 cups all purpose flour
- 2/3 cup cocoa powder
- 1 teaspoon baking soda
- 1/2 teaspoon salt (If you use salted butter, do not add the extra salt.)
- 36 chocolate candy melts
- 1 cup chocolate chips (milk, semi-sweet, or dark – your choice!)
- 1/2 teaspoon vegetable shortening or oil
Instructions
- Add the softened butter and the sugar to a large mixing bowl. Beat the two together for 2-3 minutes until the mixture is light and creamy. Be sure to scrape down the bowl with a rubber spatula halfway through beating.
- Add the extract and eggs. Beat into the butter mixture until well incorporated.
- Next, measure out the flour, cocoa powder, baking soda, and salt. Dump these ingredients into the butter and egg mixture. With your mixer on a low speed, beat the dry ingredients into the wet ingredients until just mixed through. The dough will form a ball.
- Prepare a baking sheet by lining it with parchment paper or a silicone baking mat. Set aside. Preheat your oven to 350 degrees F.
- Portion the cookie dough into slightly heaping tablespoons and roll them into a ball. Place the balls onto the prepared baking sheet, leaving two inches of space between each cookie.
- Bake for 10 minutes.
- Remove from the oven and immediately top each cookie with a candy melt.
- Allow the cookies to sit on the baking sheet for 5 minutes before transferring to a wire cooling rack to finish cooling.
- Once the cookies are fully cooled, pPlace the chocolate chips and vegetable shortening (or vegetable oil) into a microwave-safe bowl. Microwave at half power in 30-second increments, stirring well with a rubber spatula between each increment until the chocolate is melted and smooth.
- Transfer the chocolate to a resealable sandwich bag and cut just the tip from one lower corner with your scissors. Use the bag to gently and carefully squeeze the melted chocolate out in a drizzle over the cookies.
- Allow the chocolate drizzle to firm up before storing.
Nutrition
Did you make this recipe?
Upload a photo and tag me so that I can see it!






Leave a Reply