
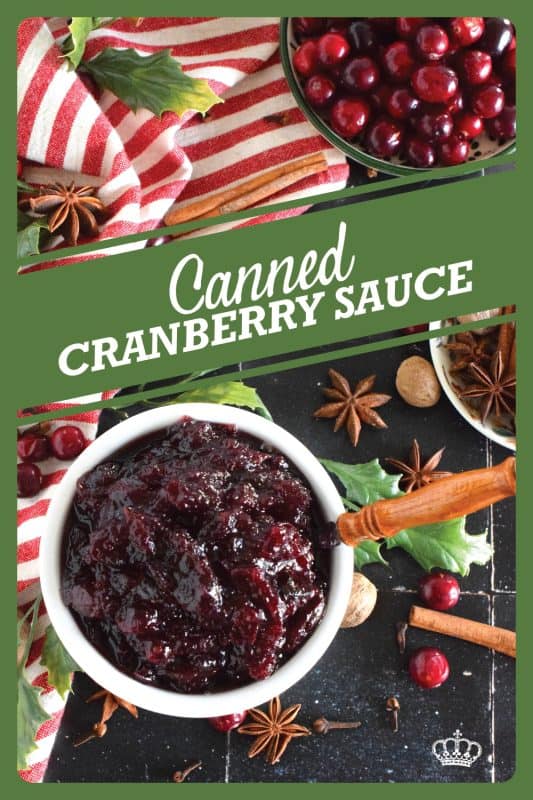
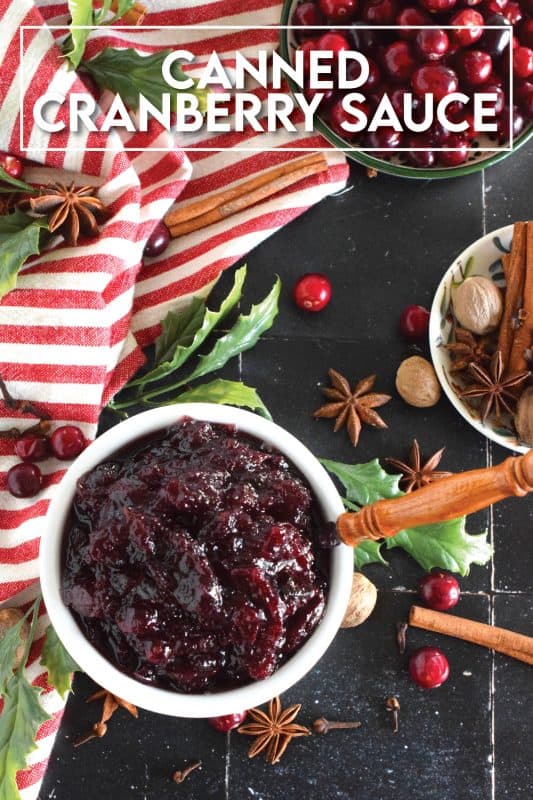
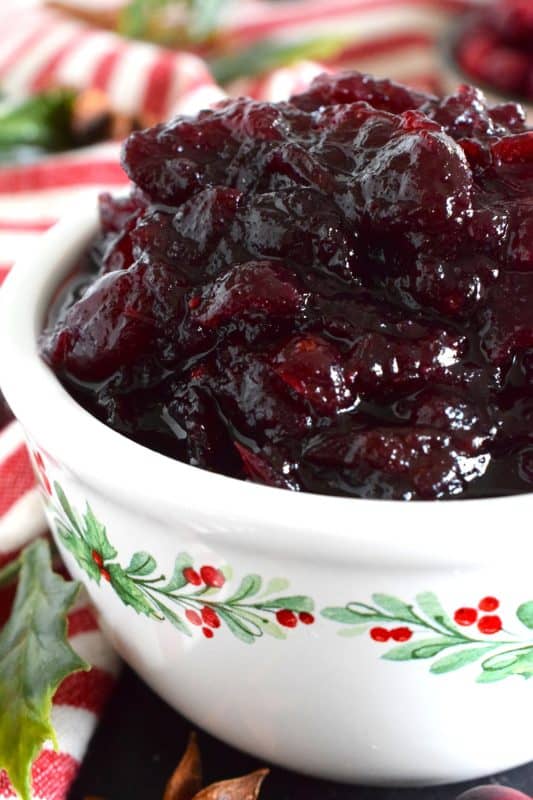
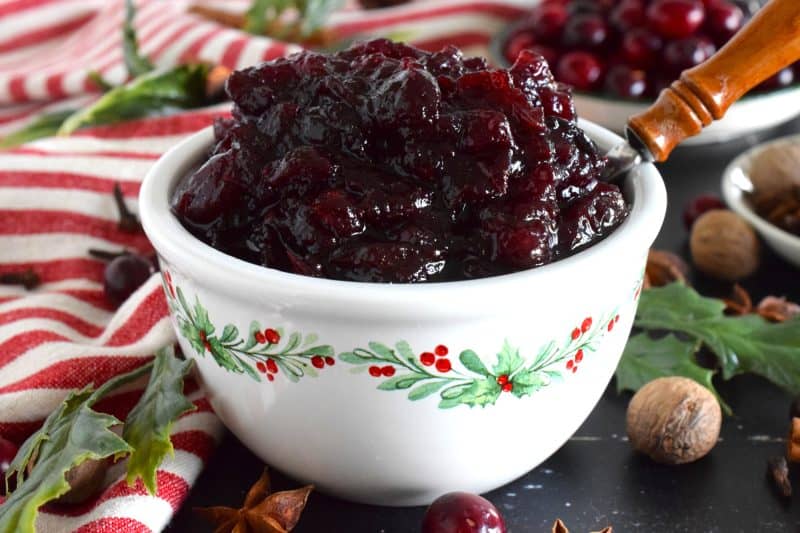
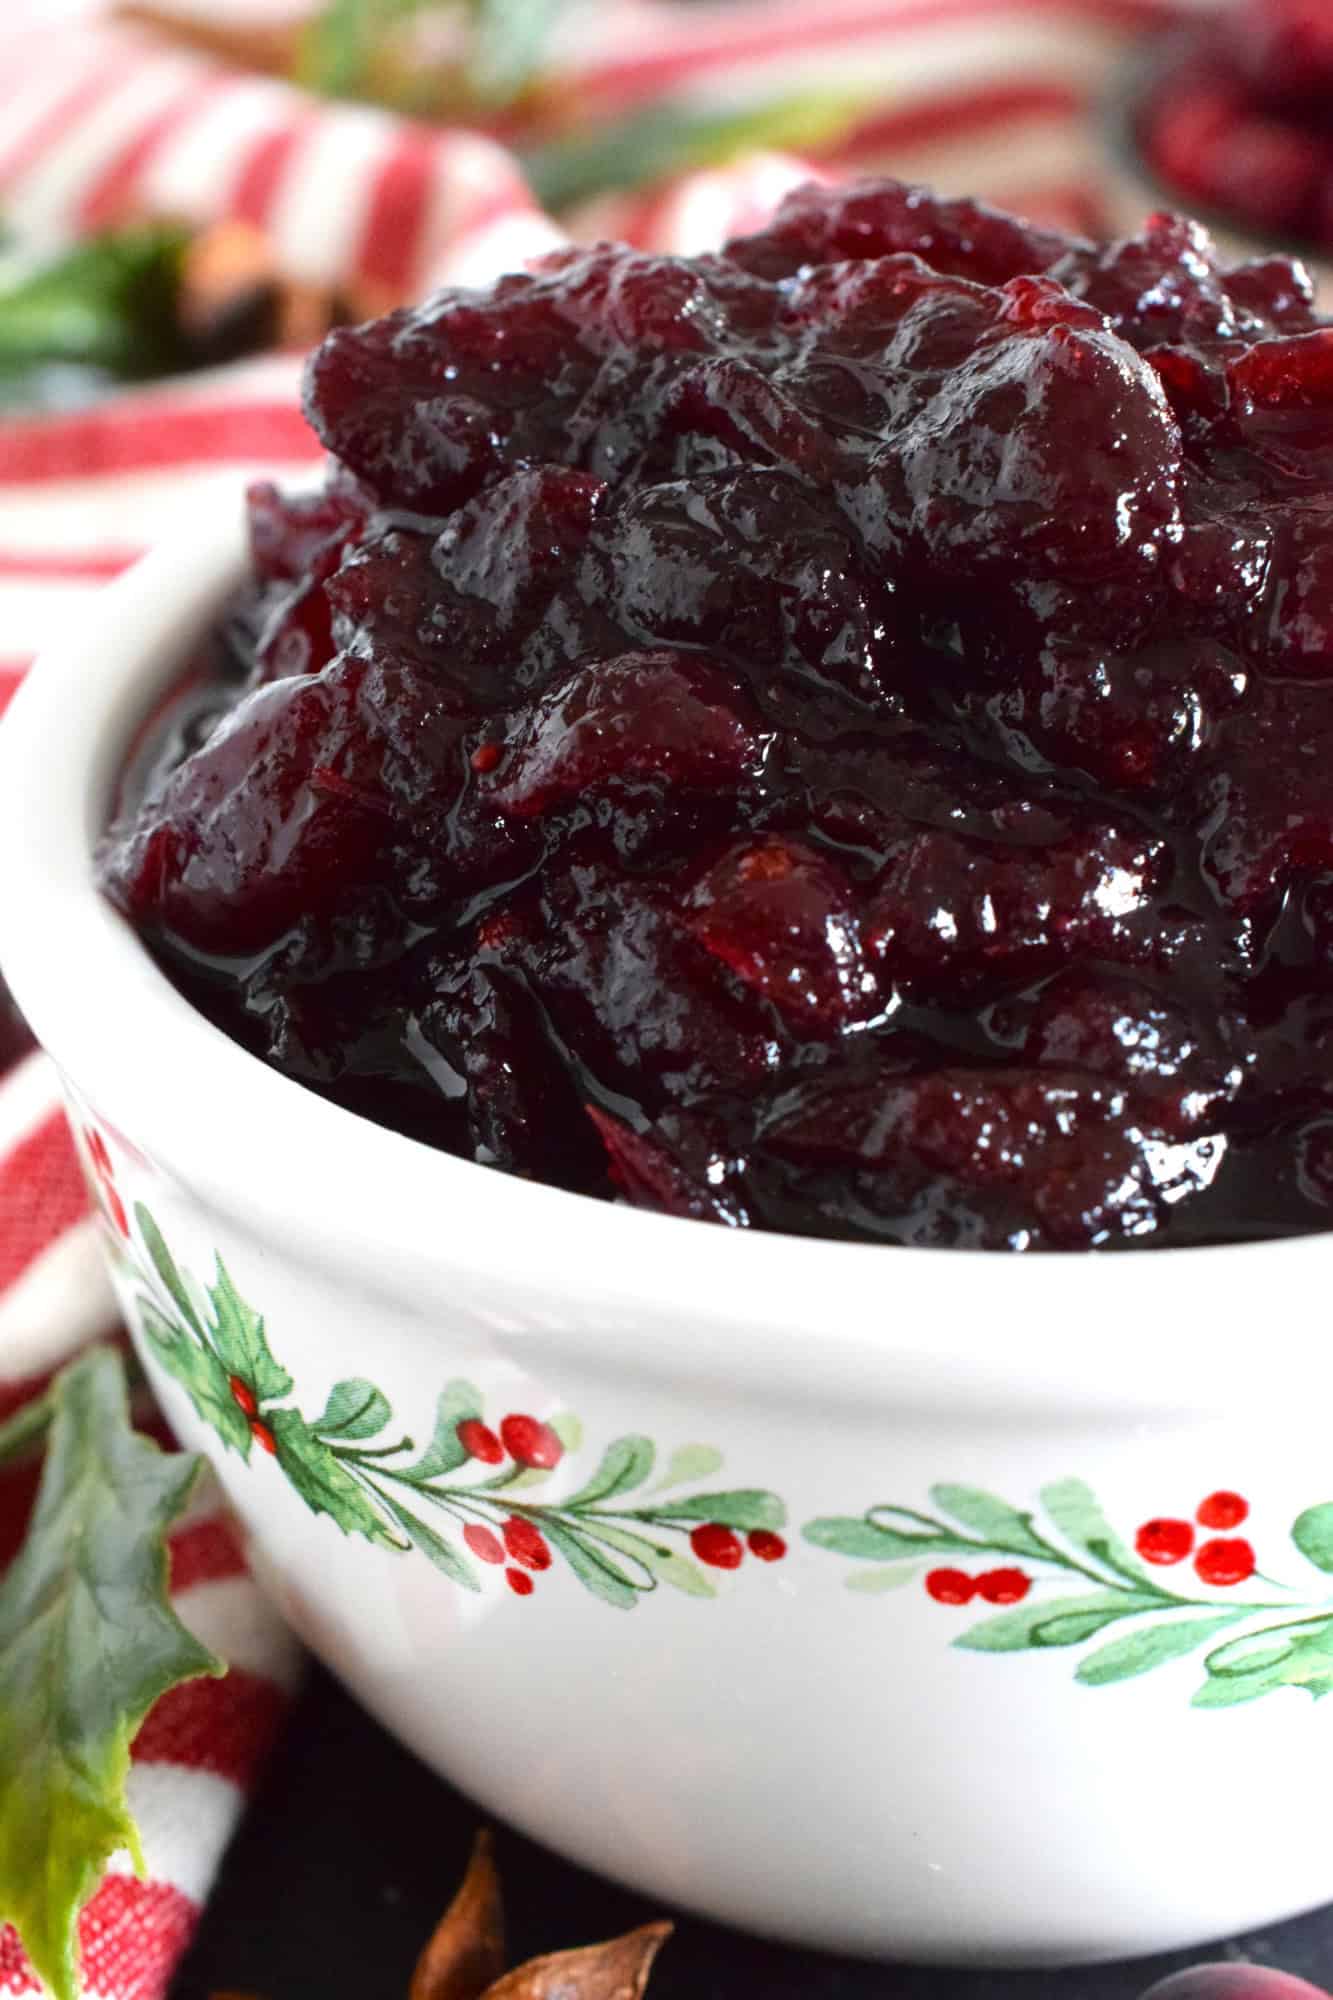
This water bath Canned Cranberry Sauce is pectin-free and prepared with either fresh or frozen cranberries, citrus zest and juice, and flavoured with cinnamon, cloves, star anise, and allspice. It’s absolutely delicious and so easy to prepare. Say goodbye to store-bought cranberry sauce!
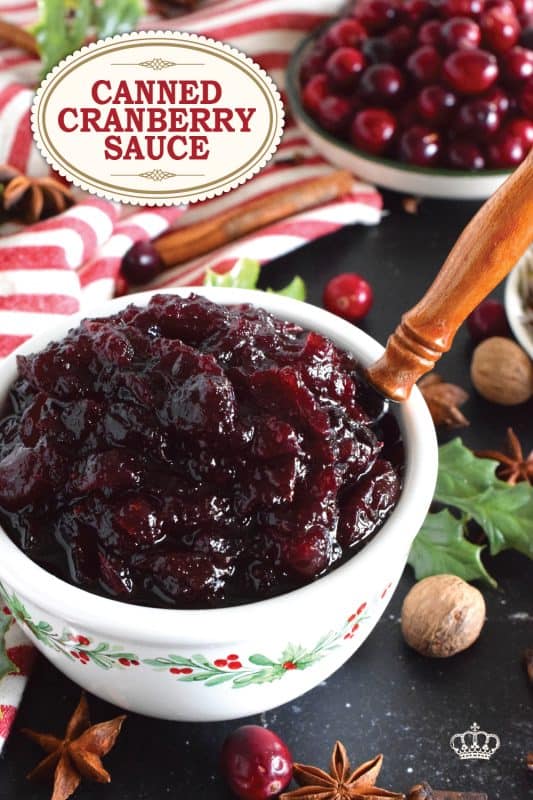
I used to think that I didn’t care much for cranberry sauce until I first tried homemade cranberry sauce. This recipe for Canned Cranberry Sauce means you can make a big batch of it when cranberries are in season and store it in your pantry for whenever you need it.
Most of us will agree that when we think of cranberry sauce, we think of Thanksgiving or Christmas. Afterall, the condiment is synonymous with roasted turkey! And, even though cranberry sauce pairs nicely with turkey, it has so many other uses. It’s wonderful slathered onto a ham or chicken sandich. On a charcuterie board with sharp cheddar, brie, or goat cheese, it pairs excellently. In some cases, I have used it as a glaze for roasted meats. It’s also really good as a glaze on baked or grilled salmon.
On the sweeter side of things, it can be stirred into yogurt with some granola to make a deliciously healthy breakfast. It can also be stirred into vanilla ice cream for a sweet and tart dessert. Cranberry Sauce is really good folded into muffin or cake batter. And it also works very well in thumbprint cookies and in pastries like a turnover. The possibilities are everywhere, which is why making a batch of cranberry sauce and canning it for long-term pantry storage just makes sense!
Make your own online recipe box!
Click the in the lower right corner of your screen
& follow the quick and easy instructions!
O CRANBERRY, CRANBERRY, WHEREFORE ART THOU CRANBERRY?
Have you been reading my blog for any length of time? If you have, you will already be aware of what I’m about to discuss. If you haven’t, it’s important that you understand how frustrating it can be to be a food blogger at times. Food bloggers are always working ahead of schedule. When it comes to Christmas recipes, for example, we are baking cakes and cookies as early as September! In fact, I finished this Canned Cranberry Sauce recipe and the photographs you see here in November 2025!
We do this so that we can test the recipes to make sure that they will work for you at home. The recipes need to be plated and styled. Photographs need to be taken. We have to write up the post and make sure we please the folks at Google, otherwise, our recipes run the risk of being buried in cyberspace somewhere. There are many other steps that I’m skipping here, but all of it is to say that we need the time to get the recipes out to you a few weeks before you need them.
Oftentimes, when it comes to seasonal ingredients, such as cranberries, we have to wait until they are in stores. By the time the recipe is ready to go, it may be too late, so we hang on to it until the next season comes round. Luckily, for you, Dear Reader, frozen cranberries are available year round and frozen cranberries will work perfectly fine in this particular recipe!
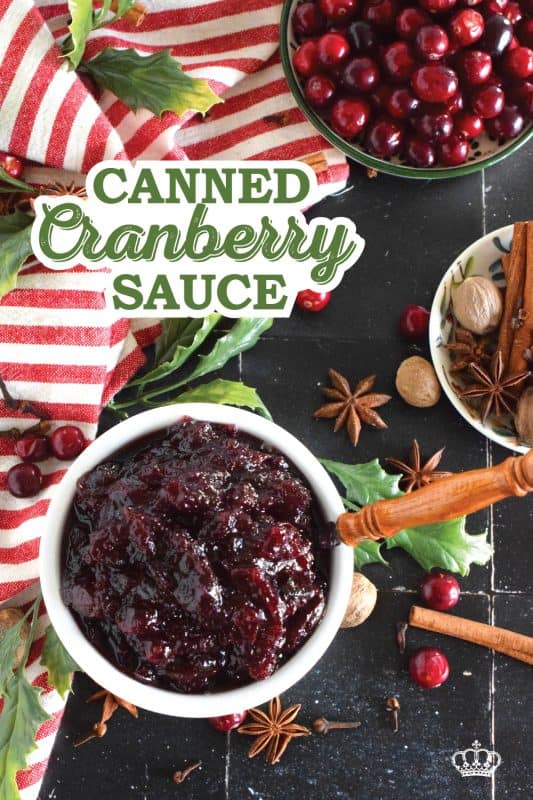
INGREDIENTS NEEDED TO PREPARE THIS RECIPE
The following is a list of the ingredients needed to prepare this recipe. For exact amounts and measurements, refer to the printable recipe card located near the bottom of this post.
- Cranberries – You can use fresh or frozen cranberries. Please note that if you are using frozen cranberries, you may need to boil the sauce a bit longer to get the desired thickness.
- Water
- Sugar – There is a lot of sugar in this recipe, but you need the sweetness to offset the tartness of the cranberries and also as a preserving agent.
- Lemon Zest and Orange Zest
- Lemon Juice and Orange Juice
- Cinnamon Sticks
- Whole Cloves
- Whole Star Anise
- Whole Allspice Berries
HOW TO MAKE CANNED CRANBERRY SAUCE
Add the cranberries, water, sugar, lemon and orange zest, and the lemon and orange juice to a large pot. Tie the cinnamon sticks, cloves, star anise, and all-spice berries up in cheesecloth and place that in the pot as well. Bring to a boil over medium heat. Continue to boil for 15-20 minutes or until the cranberries have popped and started to bread down. You will notice that the sauce begins to thicken. Once you have reached the thickness you prefer, use a spoon to scoop the scum from the top of the sauce and discard. At this time, remove the cheesecloth seasoning pouch as well and discard.
In the meantime, prepare your water bath canner. Wash your jars and lids. (More details on how I do this can be found in the body of the recipe post above.) Use a canning funnel, fill the jars leaving hafl inch head space. Wipe down the rim of each jar with a damp paper towel to ensure none of the sauce has come in contact with the rim. Remove any air bubbles from the sauce as well.
Carefully remove the sealing discs or lids from the hot water with a magnetic lid lifter. Position it directly onto the lid of the jars. Do not touch the underside of the lid. Screw on the screw bands until firm – do not apply pressure! Just use your fingertips to tighten. Using the jar lifter, place the jars into the canner and place the lid on. Once the water returns to a boil, process the sauce for 10 minutes. (This is for altitudes of 1-1000 ft. Please adjust accordingly for your specific location.)
Once done, turn off the heat and use the jar lifter to carefully remove each jar from the canner. Do not tilt the jars or try to wipe them dry. Place jars onto a wire cooling rack that has been covered with a clean kitchen towel. Leave the jars to cool for a minimum of 12 hours. Once cooled, wipe the jars of any residue that might have been transferred to the outside of the jar during the boiling process. Label the jars and store them in a dark, cool cabinet.
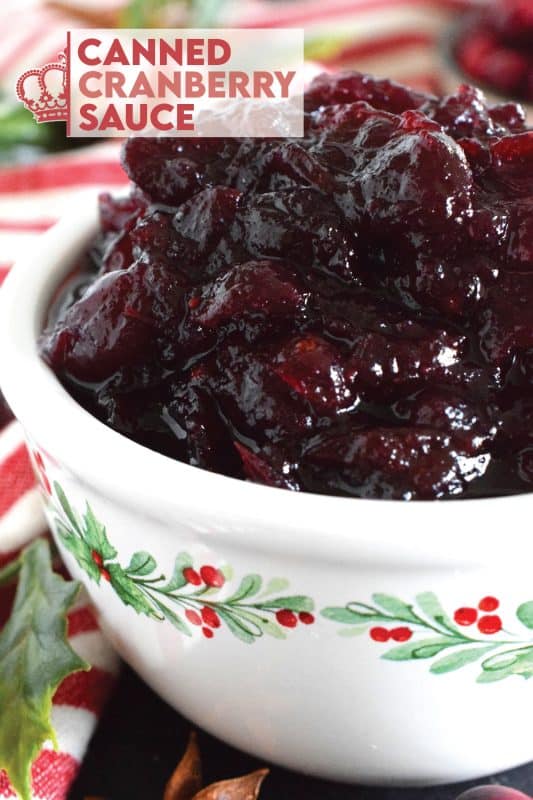
HOW TO WATER BATH CAN
STEP 1: PREPARING THE JARS
Some canners say that if you need to boil the jars longer than 10 minutes, then you don’t need to sterilize the jars. I say no! Canning is not as simple and cheap as frying an egg. It takes time, and an investment if you don’t already have the equipment. Eliminate any risk whatsoever by always sterilizing your jars. It’s easy to do! Wash the jars in hot, soapy water. Rinse the jars well under running water to get rid of any soap residue.
Transfer the jars to a large pot of water. Bring to a boil and boil for 2-3 minutes. Using a jar wrench/lifter, lift the jars out of the water, tilting to pour out the water. Be careful; it’s hot! Stand the jar up on a baking sheet. Once all of the jars are on the baking sheet, place them into your preheated oven at 200 degrees F. This will keep them hot and away from any contamination.
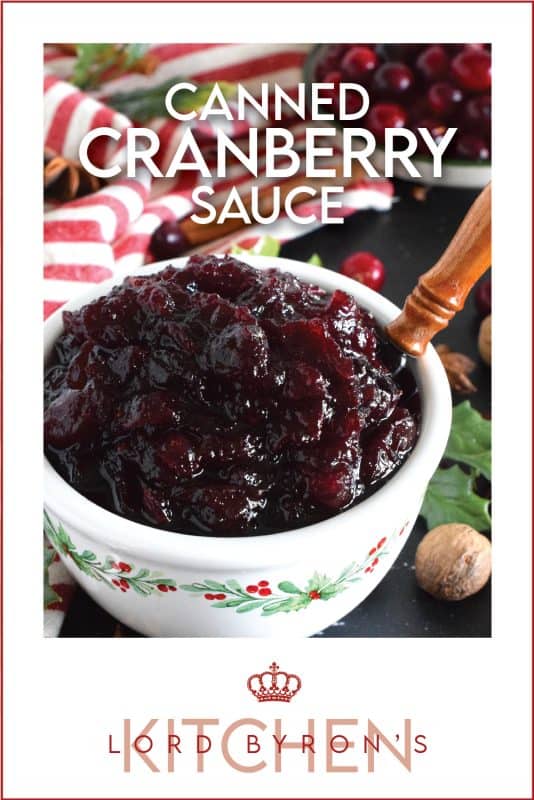
STEP 2: PREPARING THE SEALS AND RINGS
Mason jars are equipped with three parts. The first is the jar. The second and third parts combine to form the lid. The flat disc with the rubber ring on the bottom is the seal. Finally, the circular part that actually screws onto the jar is called a screw band. Depending on the brand or the recipe you’re reading, the names of these things can vary. But, they all do the same thing.
The screw bands never come in contact with the food, so they do not need to be washed or sterilized. But, because I want to eliminate any risk of contamination, I make sure they’re clean. After all, they have been sitting in a warehouse before they got to the store, and then finally, to me. That’s too many germs for my comfort level! I wash them in hot, soapy water, rinse them well, and transfer them to a bowl until I need them. The sealing disk/sealing ring needs a little more consideration.
If you look at the bottom of the lid, you will see a reddish-brown rubber ring. It’s attached to the lid. This ring has a huge job! It is pretty much in charge of keeping your food safe for long-term storage. Place the lids into a glass bowl. I like to separate them so that they are not all stacked. When I’m ready to ladle the food into the jars, I pour a kettle of boiling water over the lids so that they are sterile and the rubber band softens. That’s it. You have now prepared your jars. Next, we need to get the canner ready!
STEP 3: PREPARING THE CANNER
You can buy a canning pot, but you don’t have to do that. Any stock pot will do just fine. Be sure that the pot is tall enough to hold enough water so that your jars are covered by at least an inch of water. Fill the canning pot accordingly. Also, be sure to insert a canning rack or mat into the bottom of your pot. If you buy a canning pot it will come with one. Otherwise, you can buy them for any pot size. Never let your jars touch the bottom of the pot when boiling. They could easily break. Once you’ve done this, bring the water to a full boil.
In most cases, if you’re new to canning, you might notice some white residue on the jars after all is said and done. This can easily be cleaned off once the jars are cool. A few tablespoons of white vinegar in the boiling water helps to eliminate most of it. I use it every single time.
Lastly, it’s always a good idea to keep a kettle of boiling water close by. Depending on how many jars you need to process, you might have to boil them in batches. You will be surprised at how quickly rapidly boiling water can evaporate. Having a kettle of boiling water will allow you to easily top up the canning pot without altering the temperature of the water.
Do you have a question or comment?
Would you like to leave a review?
Scroll down to the comment section and write me a message.
I will personally respond as soon as possible!
STEP 4: FILLING THE JARS
Depending on the recipe, filling the jars is quite easy. Having some inexpensive equipment on hand can make this process much easier. Invest in a canning funnel. It will help you ladle the food into the jars without making a mess. Also, it’s imperative to keep the rim of the jar clean to ensure a good seal. You will also need a bubble remover. You can buy these, but I’m not a fan of them. A clean wooden chopstick does the same thing. Removing bubbles will prevent mould from growing.
Lastly, you will need a magnetic lid lifter. Remember how I said the flat sealing lids will be submerged in a bowl of boiling water? Well, you can’t just pick them up with your hands. First of all, it’s hot! Secondly, you will want to eliminate the risk of any contamination. Do not touch the underside of the lid. Period! Using a magnetic lid lifter will allow you to pick up the lid and position it right onto the rim of the jar without ever touching it.
Finally, you will need to screw on the metal screw bands. In most cases, the food in the jars is scalding hot, so you can’t touch the jars to tighten the lids. But, that’s a good thing! You should never over-tighten the lids. Place the screw band over the jar and tighten it with one hand. It should be snug, not tight. Now, that’s it! You’re ready to boil these jars!
STEP 5: BOILING THE JARS OF FOOD
Carefully lift the jars straight up using a jar wrench/lifter. Lower the jar into the pot of boiling water. Fill the canning pot with jars in this manner. Don’t jam the jars in; leave a little bit of space between the jars. I aim for about a centimetre or a finger’s width. Remember, you can process the jars in batches.
Once the canning pot is loaded, place a lid on the pot, and start your timer according to the recipe you are following. If the water is not at a full boil, do not start timing until it is! When the time is up, use the jar wrench to lift the jars straight up out of the water. Transfer the jars to a flat surface that has been lined with a few layers of kitchen towels. Allow the jars to fully cool – at least 24 hours! Finally, wipe the jars down, label them with contents and date, and store them in a cool, dark cupboard or pantry.
Some people remove the screw bands after the jars have cooled for 24 hours. I remove them just to check if there is a good seal. I put them back on once I’ve checked. It’s up to you if you want to leave them off. If you notice that a jar has not sealed, you can either discard it, or refrigerate it for immediate consumption. Only do so if you are 100% sure the food has not been compromised and that it is safe to eat.
QUESTIONS?
If I have not answered all of your questions in the text above, don’t hesitate to reach out to me! You can contact me by sending me a message in the comments section further down the page. I will try my best to answer as soon as possible! You might reach me even faster by following me on Facebook and sending me a private message. Scroll down to follow me and never miss another recipe!
Do You Like This Recipe?
You should consider trying these other delicious recipes too!

What a deliciously rewarding way to put all of those garden crab apples to good use! This Crab Apple Cider is canned in a waterbath canner to ensure safe longterm storage. Nothing beats a warm, homemade crab apple cider on a cold wintery day!

Cinnamon, ginger, allspice, and cloves come together to create a warm and cozy holiday flavour in this Spiced Christmas Jam recipe. Made with strawberries and cranberries, this jam is both sweet and tart with a warming and comforting hint of seasonal spice.
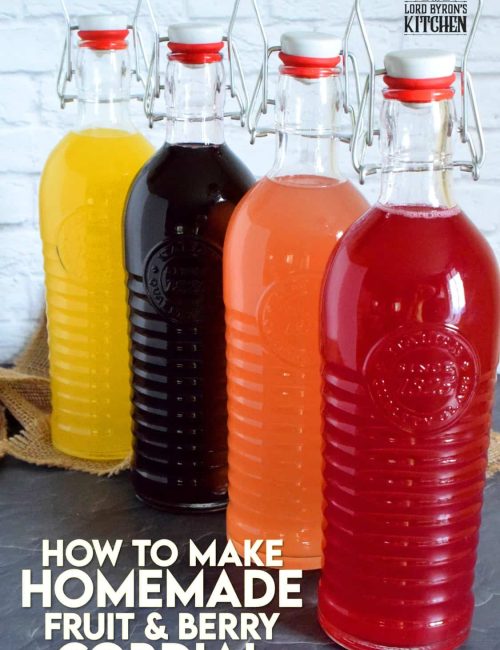
Cordials are nostalgic and remind us of simpler times. A fast paced life is no reason to forego the finer things – like how to make homemade fruit and berry cordials! In this post, you will find three recipes which will show you how to make cordials with fruit, berries, or citrus!

Canned Cranberry Sauce
Ingredients
- 4 pounds frozen or fresh cranberries (Note that if you are using frozen cranberries, you may need to boil the sauce a bit longer to get the desired thickness.)
- 2 cups water
- 6 cups sugar
- 1 tablespoon lemon zest
- 2 tablespoons orange zest
- 1/4 cup lemon juice
- 3/4 cup orange juice
- 4 whole cinnamon sticks
- 10 whole cloves
- 6 whole star anise
- 10 whole all-spice berries
Instructions
- Add the cranberries, water, sugar, lemon and orange zest, and the lemon and orange juice to a large pot.
- Tie the cinnamon sticks, cloves, star anise, and all-spice berries up in cheesecloth and place that in the pot as well.
- Bring to a boil over medium heat. Continue to boil for 15-20 minutes or until the cranberries have popped and started to bread down. You will notice that the sauce begins to thicken.
- Once you have reached the thickness you prefer, use a spoon to scoop the scum from the top of the sauce and discard. At this time, remove the cheesecloth seasoning pouch as well and discard.
- In the meantime, prepare your water bath canner. Wash your jars and lids. (More details on how I do this can be found in the body of the recipe post above.)
- Use a canning funnel, fill the jars leaving hafl inch head space. Wipe down the rim of each jar with a damp paper towel to ensure none of the sauce has come in contact with the rim. Remove any air bubbles from the sauce as well.
- Carefully remove the sealing discs or lids from the hot water with a magnetic lid lifter. Position it directly onto the lid of the jars. Do not touch the underside of the lid. Screw on the screw bands until firm – do not apply pressure! Just use your fingertips to tighten.
- Using the jar lifter, place the jars into the canner and place the lid on. Once the water returns to a boil, process the sauce for 10 minutes. (This is for altitudes of 1-1000 ft. Please adjust accordingly for your specific location.)
- Once done, turn off the heat and use the jar lifter to carefully remove each jar from the canner. Do not tilt the jars or try to wipe them dry. Place jars onto a wire cooling rack that has been covered with a clean kitchen towel. Leave the jars to cool for a minimum of 12 hours. Once cooled, wipe the jars of any residue that might have been transferred to the outside of the jar during the boiling process. Label the jars and store them in a dark, cool cabinet.
Notes
Nutrition
Did you make this recipe?
Upload a photo and tag me so that I can see it!









Leave a Reply