
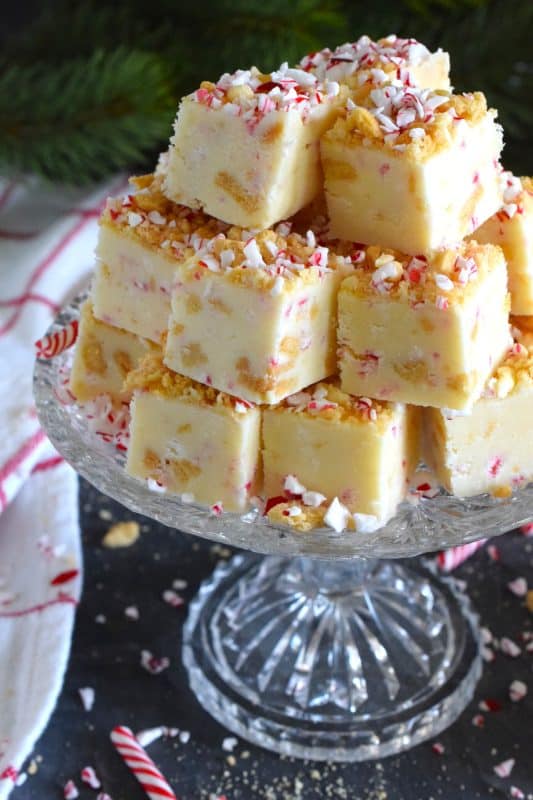
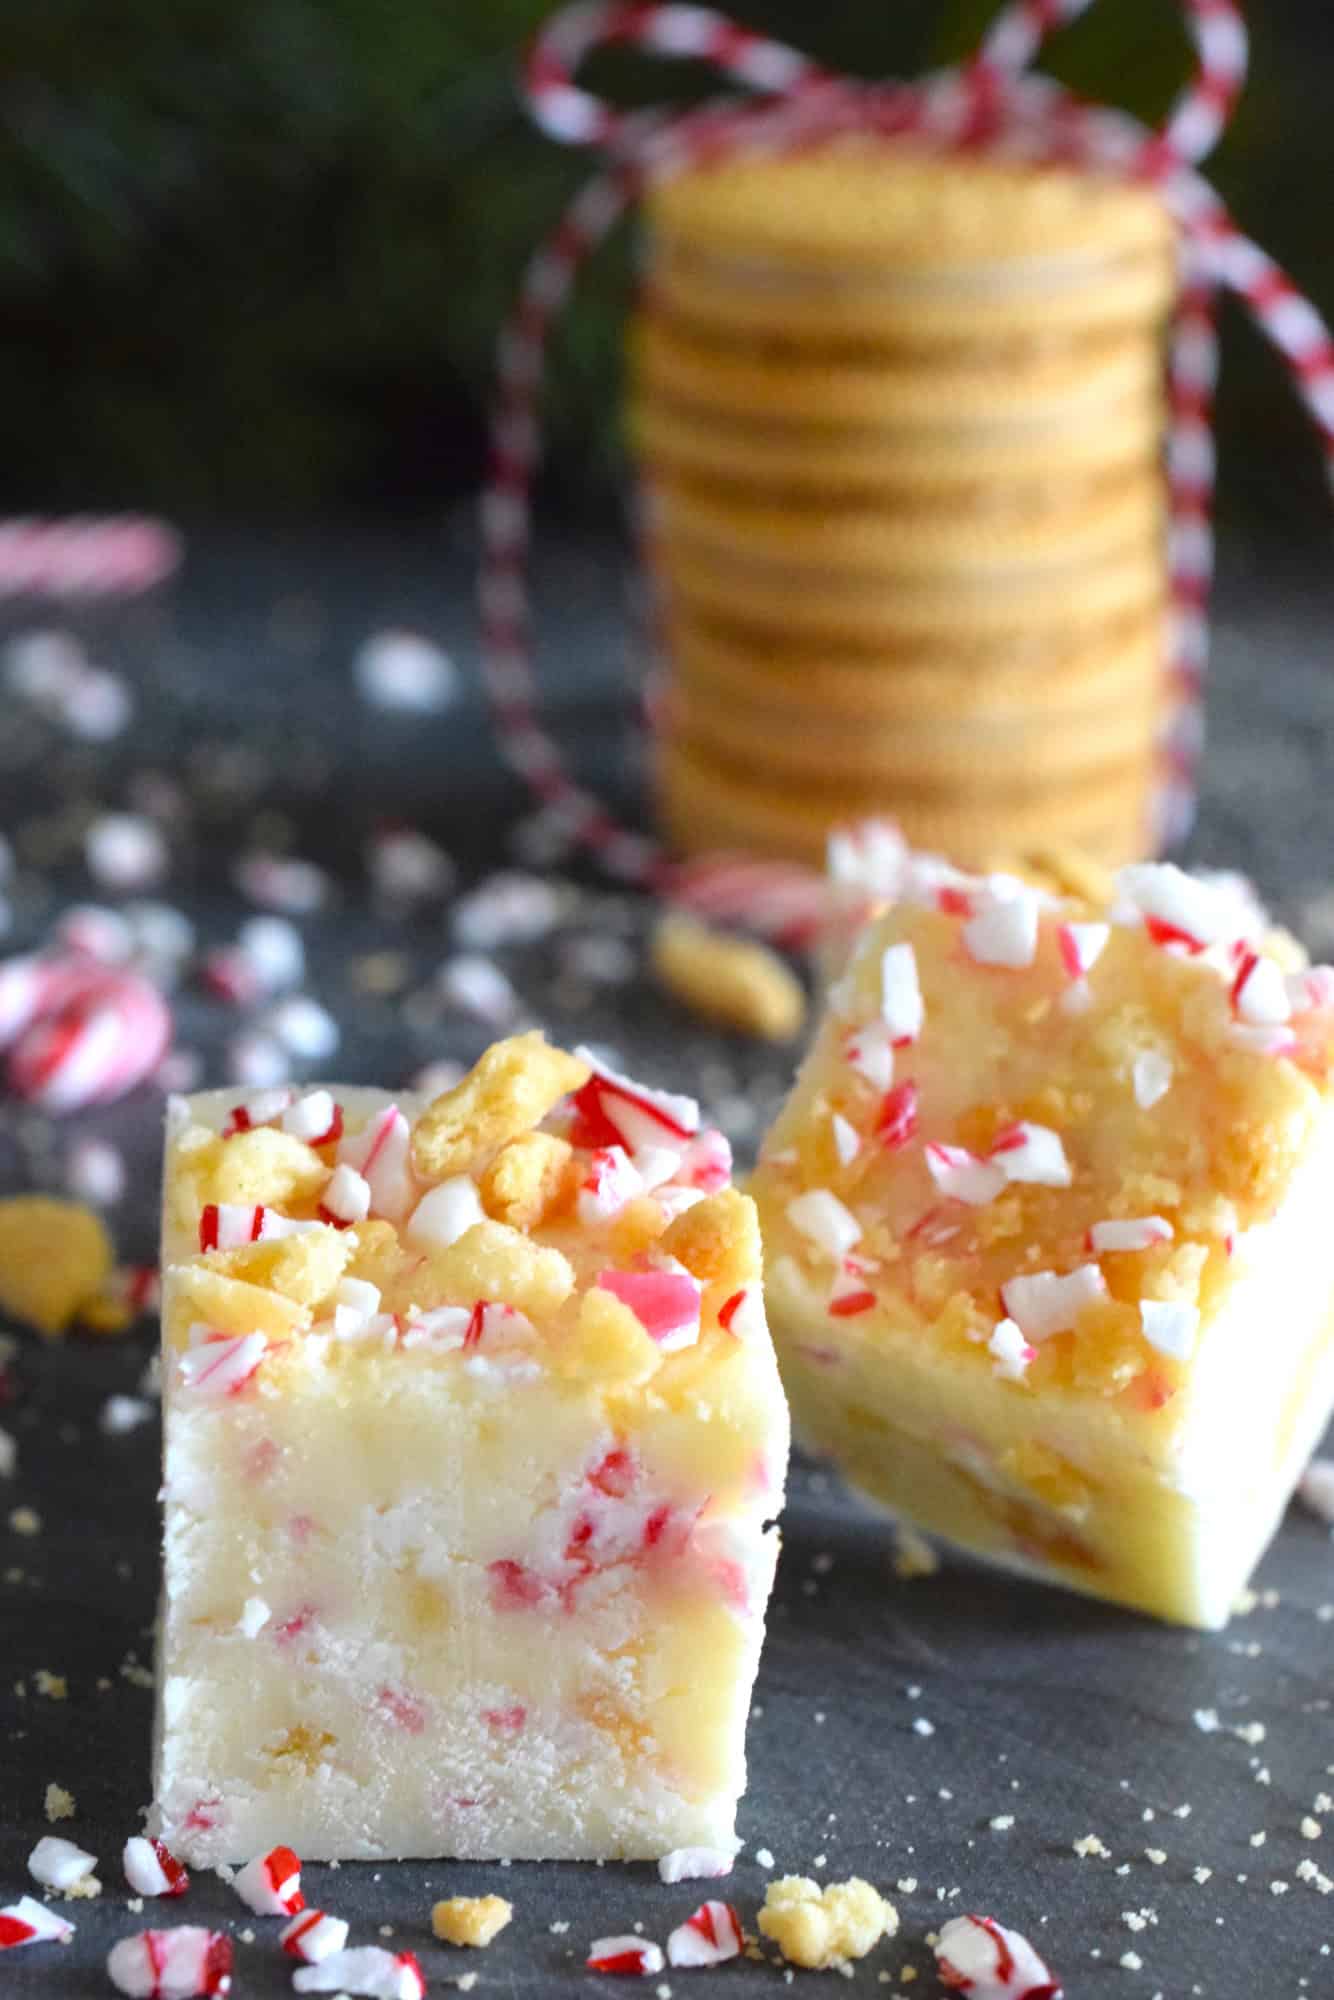
This no-bake fudge recipe is packed full of crushed cookies and crushed candy canes too. Made with melted white chocolate and canned sweetened condensed milk, Cookie Candy Cane Fudge is super easy and fast to make and tastes delicious too!
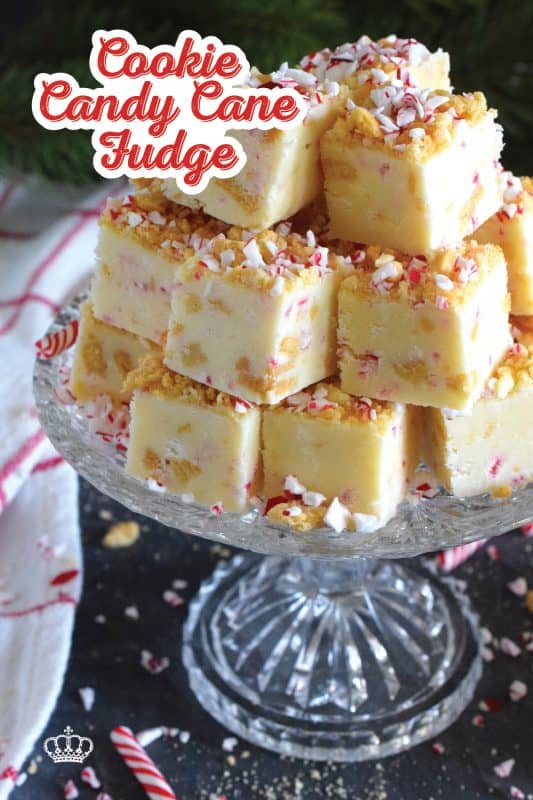
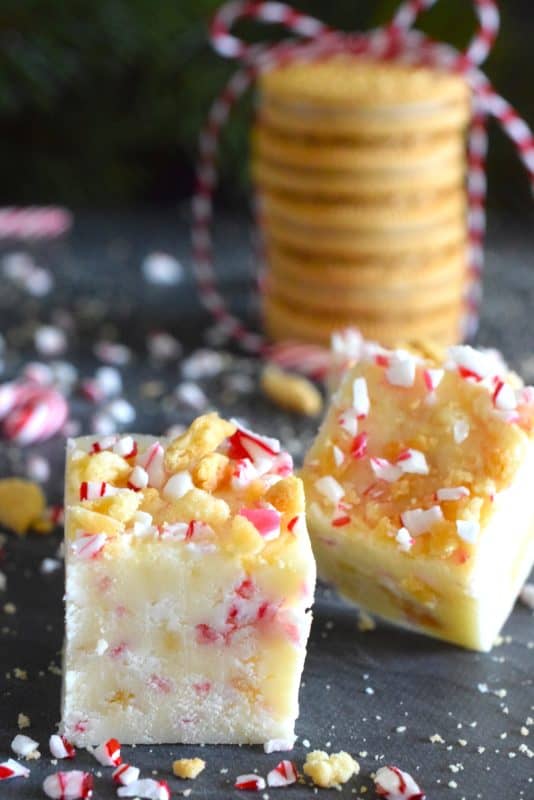
In my humble opinion, a proper fudge recipe should have three components. It should be very easy to make and should use common and inexpensive ingredients. Although, with the way of the world these days, there is no such thing as cheap ingredients anymore. Secondly, a fudge recipe needs to be sweet; all fudge is sweet. And, finally, a really good fudge needs to have texture. I don’t care much for pure fudge. That’s why the addition of crushed Oreo cookies and crushed candy canes are such a great idea!
This fudge was a last-minute addition to this series. I wasn’t going to include it but soon realized that in most of my holiday series posts from past years, there has been some version of a fudge-type recipe included. So, I couldn’t let this candy cane series come and go without including a candy cane fudge.
I’ve made fudge at Christmas time, like I have previously mentioned. One of my favourites was my Hershey’s Copycat Eat More Fudge Bars. But, there was also my Turtle Chocolate Fudge, which is my version of the popular Turtle’s Chocolates. Fudge is one of the most forgiving and easy sweet treats you can possibly make. It turns out just right every single time and never disappoints.
Make your own online recipe box!
Click the in the lower right corner of your screen
& follow the quick and easy instructions!
WELCOME TO A LORD BYRON CHRISTMAS!
I’m going to tell you all about this recipe and how you can make it in your home this holiday season, but first, I want to tell you about what you can expect from Lord Byron’s Kitchen this Christmas. I know we’re getting closer to the big day, so it’s time to get to the holiday-themed recipes! Over the past decade, I have built a reputation for sharing series-type recipes. The most popular would be my annual 24 Cookies of Christmas, which was fashioned after an advent calendar. But, I have others that are only 12 days, which were fashioned after the 12 Days of Christmas.
This particular recipe is a part of my third holiday series for this year. So, welcome, Dear Reader, to Lord Byron’s 12 Christmas Candy Cane Recipes Series. Just like every other series that I’ve shared over the years, this one will also see a new recipe shared each day for the next 12 days – even on Saturday and Sunday! You might be asking yourself, how many Christmas recipes could one possibly have or need? Well, I say you can never have too much of a good thing. And, I love having lots of choices. Who wants to prepare the same holiday recipes year after year?
Looking For More Christmas Confections?
Lord Byron’s Kitchen has more than enough to satisfy your sweet tooth! Click on the links below to see a countdown series of holiday recipes from that category!
SUBSCRIBE NOW AND NEVER MISS ANOTHER RECIPE!
Traditionally, every year I share a series of recipes that you might already be familiar with. For example, I’ve previously shared 12 Holiday Trifles, 12 Holiday Bars & Squares, and even these 12 Edible Holiday Wreath recipes! Also, some of my favourite recipe collections from previous years are my 75 Homemade Gifts from Your Kitchen, my 50 Make Ahead Freezer Friendly Christmas Recipes, and my 30 No-Bake Christmas Recipes post.
You really don’t want to miss one of these recipes, so if you have not yet subscribed to Lord Byron’s Kitchen, I encourage you to do so. That way, a new recipe will be emailed to you every day. You won’t have to bother to come looking for it! And, just in case you’re curious, you can see previous annual posts for my 24 Cookies of Christmas Series here!
Lord Byron’s Annual Christmas Cookie Series
Did you know that Lord Byron’s Kitchen has been sharing a 24 Cookies of Christmas Series for the past several years? Click on the links below to see all of the recipes from each series on one page!
INGREDIENTS NEEDED TO PREPARE THIS RECIPE
The following is a list of the ingredients needed to prepare this recipe. For exact amounts and measurements, refer to the printable recipe card located near the bottom of this post.
- White Chocolate – You don’t need to run out and buy really good white melting chocolate for fudge. My rule of thumb is this – if you can eat the chocolate right out of the package and it tastes fine, then it will work in your recipes too.
- Canned Sweetened Condensed Milk – This recipe has not been tested with low-fat condensed milk. Depending on where you live, the size of the can may differ. Be sure to use 14 ounces!
- Peppermint Extract
- Golden Oreos – Crushed.
- Crushed Candy Canes
HOW TO MAKE COOKIE CANDY CANE FUDGE
Line a 9×9 inch baking pan with parchment paper and set it aside. Next, add the white chocolate chips, canned sweetened condensed milk, and peppermint extract to a large microwave-safe bowl. Microwave on medium in 30-second intervals, stirring well with a rubber spatula between each interval until the chocolate mixture is creamy and smooth. Add in the crushed Oreo cookies (saving 3 tablespoons for later) and a half cup of the crushed candy canes. Stir until well combined.
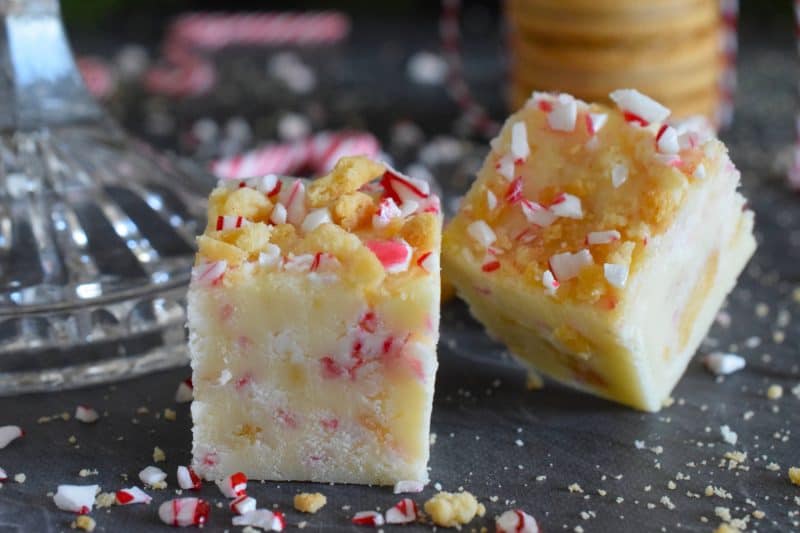
Transfer the mixture to the prepared baking pan and use your spatula to flatten and push it down into the pan, being sure to get into the corners too. Sprinkle the reserved crushed Oreos and remaining crushed candy canes over top and gently press them in so that they stick to the top of the fudge.
You can set the pan aside for 3-4 hours until the fudge is firm enough to cut into pieces, or you can speed up the process by refrigerating it for 1 hour. Once firm, cut into 1-inch cubes. Store in a food-safe container in your fridge.

MICROWAVING CHOCOLATE
When John.e and I first moved in together, he had a microwave. I used it one day and left a metal spoon in the bowl of whatever it was I was warming through. Needless to say, there were sparks, a rumble, and a bang – oh, and the lights dimmed a bit too! That was the second microwave I had killed in my lifetime. We went without one for 8 years, but bought one just a few years ago – mostly because we had more counter space!
Anyway, since then, I have never used the double boil method again to melt chocolate on the stove. Using the microwave is so much easier, so please use it if you happen to have one! To melt chocolate in the microwave, you should remember that just like on the stove, you can scorch or burn the chocolate. It is best to heat the chocolate in a microwave safe bowl on half power.
Here’s how to get the chocolate just right. Place the chocolate into a microwave-safe bowl. Whenever you microwave chocolate, you should cook on medium power for 30 seconds. Then, if it’s still not silky smooth, reheat in increments of 5 or 10 seconds, depending on your microwave, stirring with a rubber spatula after each increment. If you want a thinner chocolate, add just a bit of vegetable shortening or oil. Coconut oil works well too!

MAKING YOUR OWN CRUSHED CANDY CANES
If you don’t want to use the red and white crushed candy canes that you can find just about anywhere this time of year, you can crush your own candy canes by placing unwrapped, broken candy canes into a sturdy bag and firmly rolling over them with a wooden rolling pin.
Either way you look at it, the candy canes should not be crushed too finely. Many times, you’ll find they have too much powder, meaning that they have been crushed too much. You want chunky pieces in order to get the red and white speckled pattern.
I’ve tried crushing them myself and have crushed them a little too much. Even the type you buy in the store can sometimes have too much candy cane dust. You can easily fix it by filtering out the dust. Working in small amounts, place a heaping spoonful of the crushed candy canes into a colander. Sift out the dust so that you are left with nice little pieces.

SWEETENED CONDENSED MILK
I have a lot of recipes here at Lord Byron’s Kitchen with sweetened condensed milk as one of the ingredients. (Click here to see them!) Growing up in Newfoundland, it was always something I’ve been aware of. But, that’s not the case for everyone. I get many questions from readers about it. For someone not familiar with the gooey, sticky canned milk, it might be easily confused with canned Carnation condensed milk, for instance. Let me explain what it is here.
So, first of all, it’s condensed. The milk is condensed by removing water. This can be accomplished by applying heat. The water will evaporate causing the milk to condense, which thickens the milk. Sugar is added to sweeten the condensed milk. The main purpose of adding sugar is to prolong the shelf life of condensed milk, which can sit on room-temperature shelves for years. Sugar prevents microorganisms from growing in the milk and helps to thicken it even further—it’s added after the milk has been boiled, reduced, and pasteurized.
If you find unsweetened condensed milk, it’s most likely that it’s simply evaporated milk or condensed milk, which is thick, but not gooey and sticky. Evaporated milk is often used as a cream added to tea or coffee. If you are unfamiliar with it, please read the can carefully. Also, shake it – can you feel the liquid splashing about inside the can? If so, it’s not sweetened condensed milk; it’s evaporated or condensed milk only!

STORING, PACKAGING, & FREEZING
When it comes to most no bake confections, they taste best at room temperature, but they don’t hold up well to being left out on your countertop for long periods of time. Some of them will stay fresh in a cookie jar or food-safe container with a lid for 3-5 days if left to sit on your kitchen countertop. But, others most certainly will not! If in doubt, store them in a food-safe container in your fridge. When you want one, two, or half a dozen, take them out of the container and place them in a single layer on a plate. Let them sit at room temperature for 5 minutes and they’re ready!
Most no-bake confections are made without the need to freeze them for long periods of time, but they can be frozen. For this recipe, I have tested whether or not they can be frozen, and they certainly can! Once they are completely hardened, pile them into a clean, food-safe container. The container must be freezer friendly! You’ll want to ensure a very tight fitting lid too. I use these quite often when freezing baked goods. I like to place a sheet of plastic wrap over the top of the container before pushing the lid on. This helps to create a better seal. The goal is to keep all of that freshness locked in!
You can freeze these for up to three months. If you plan to give previously frozen confections as a gift, lay them out onto a wire cooling rack in a single layer to thaw out. Condensation might form and that’s normal. Giving them space to breath by not overlapping them will help to eliminate that. Once thawed, pile into cellophane bags and tie with a ribbon, or stack in a cookie tin/box.
QUESTIONS?
If I have not answered all of your questions in the text above, don’t hesitate to reach out to me! You can contact me by sending me a message in the comments section further down the page. I will try my best to answer as soon as possible! You might reach me even faster by following me on Facebook and sending me a private message. Scroll down below the recipe card to find my Follow Me on Social Media box and never miss another recipe!
Finally, as I stated previously, every day I will be posting a new recipe. If you miss one, don’t fret. You can find my entire collection of Christmas Recipes right here! There are over 200 Christmas recipes and counting. There’s something for everyone! Cheers!
Do You Like This Recipe?
You should consider trying these other delicious recipes too!

This no-bake fudge recipe is packed full of chopped Andes Mints and is prepared with peppermint extract. The chocolate topping is made with melted Andes Mints too, so you know this fudge is for the extreme mint lover!

Chocolate and peppermint go together like bread and butter. Peppermint Chunk Fudge is the perfect unison of them both; consider this fudge recipe a gift from me to you!


Cookie Candy Cane Fudge
Ingredients
- 4 cups white chocolate chips
- 14 ounces sweetened condensed milk
- 1 teaspoon peppermint extract
- 1 cup crushed Golden Oreos
- 3/4 cup crushed candy canes
Instructions
- Line a 9×9 inch baking pan with parchment paper and set it aside.
- Next, add the white chocolate chips, canned sweetened condensed milk, and peppermint extract to a large microwave-safe bowl. Microwave on medium in 30-second intervals, stirring well with a rubber spatula between each interval until the chocolate mixture is creamy and smooth.
- Add in the crushed Oreo cookies and a half cup of the crushed candy canes.
- Stir until well combined.
- Transfer the mixture to the prepared baking pan and use your spatula to flatten and push it down into the pan, being sure to get into the corners too.
- Sprinkle the remaining crushed candy canes over top and gently press them in so that they stick to the top of the fudge.
- You can set the pan aside for 3-4 hours until the fudge is firm enough to cut into pieces, or you can speed up the process by refrigerating it for 1 hour. Once firm, cut into 1-inch cubes.
- Store in a food-safe container in your fridge.
Nutrition
Did you make this recipe?
Upload a photo and tag me so that I can see it!









Leave a Reply