
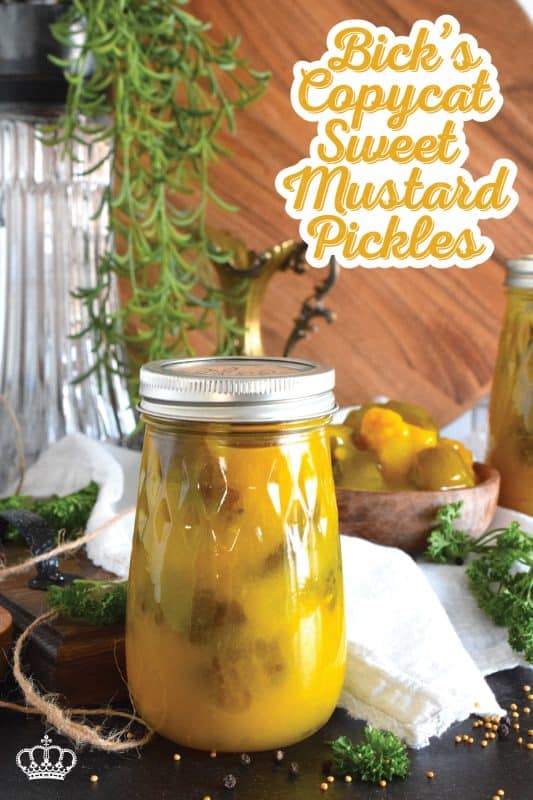
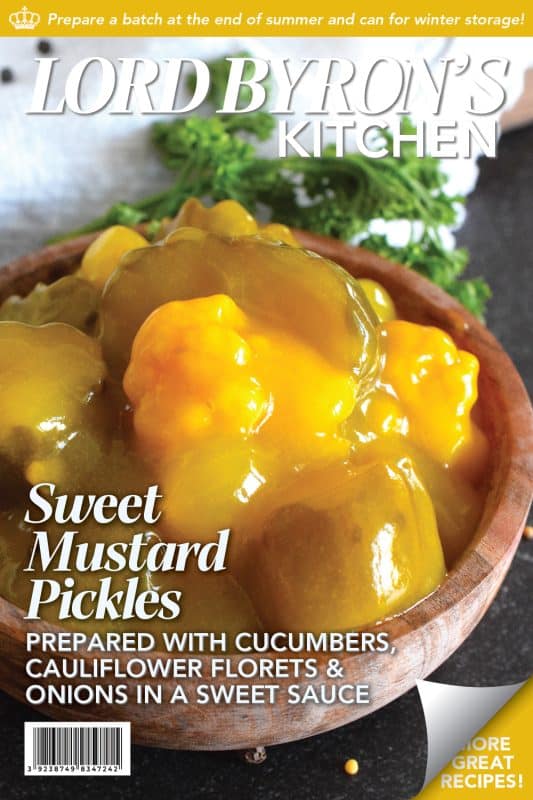
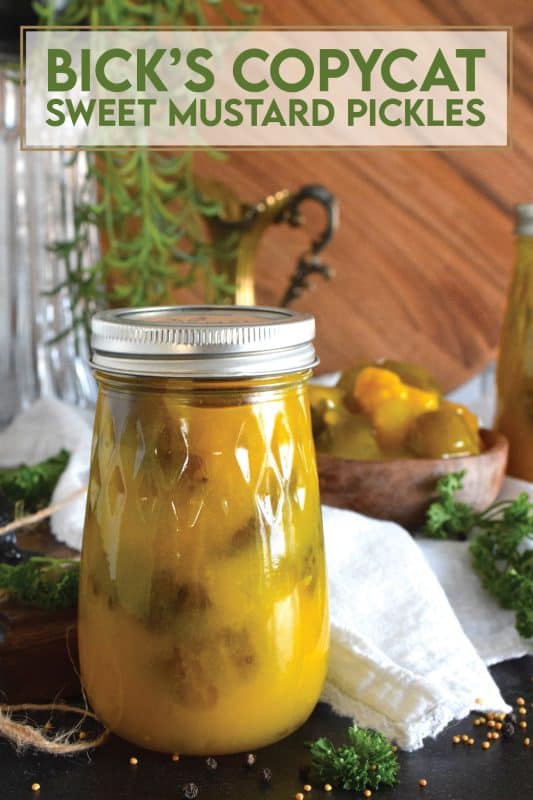
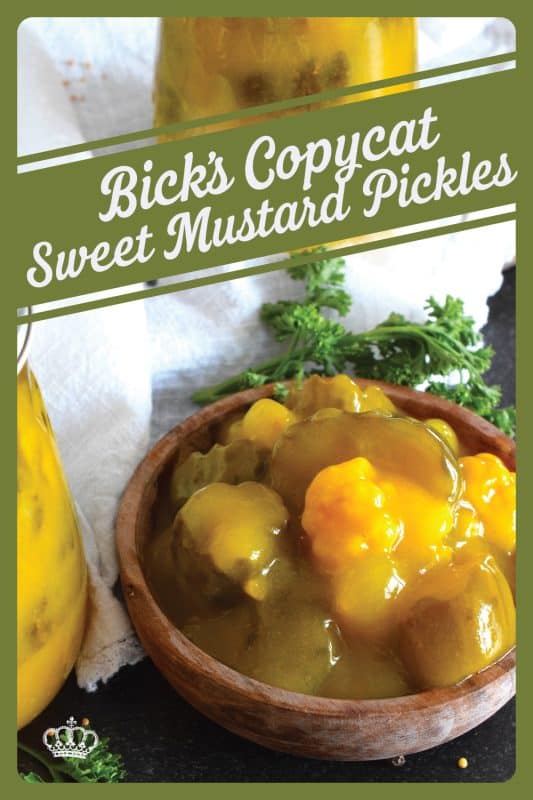
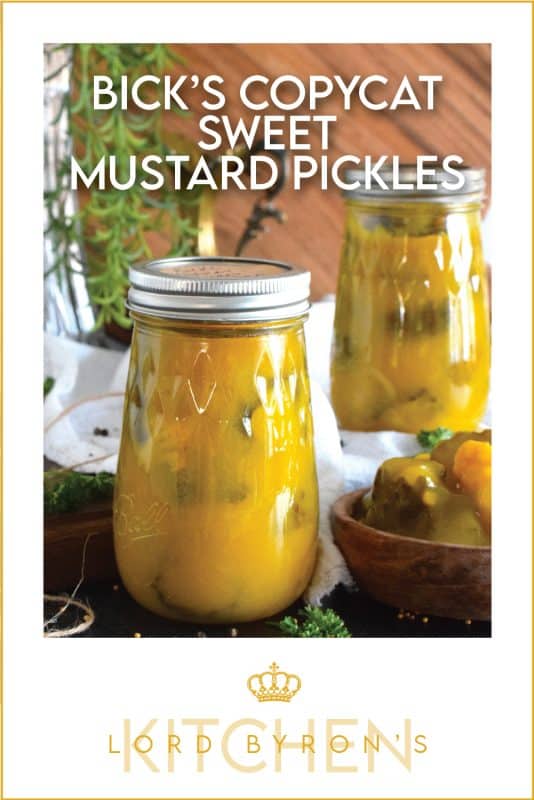
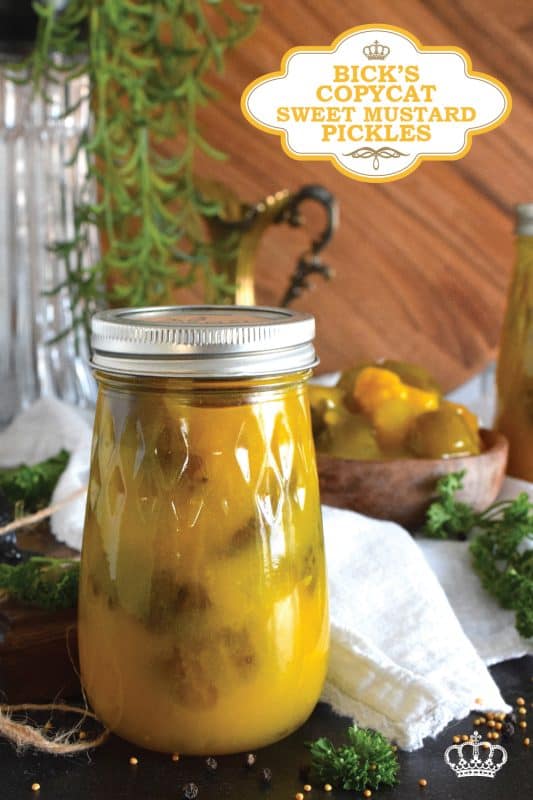
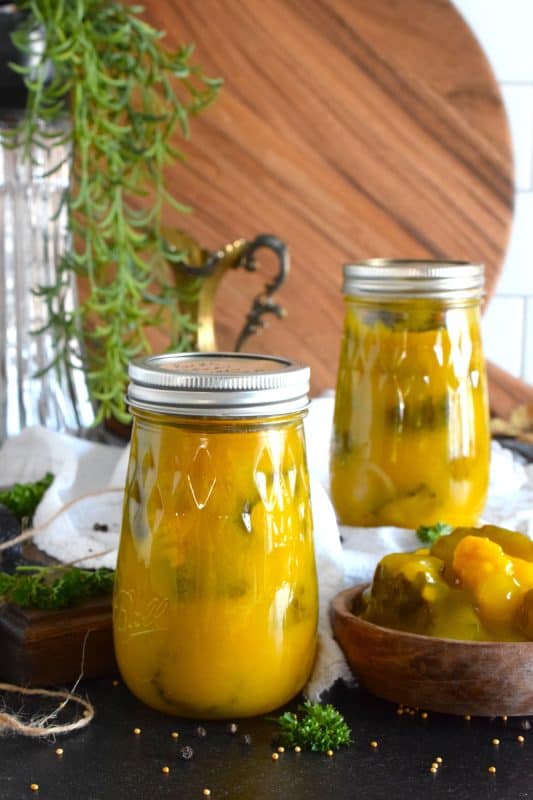
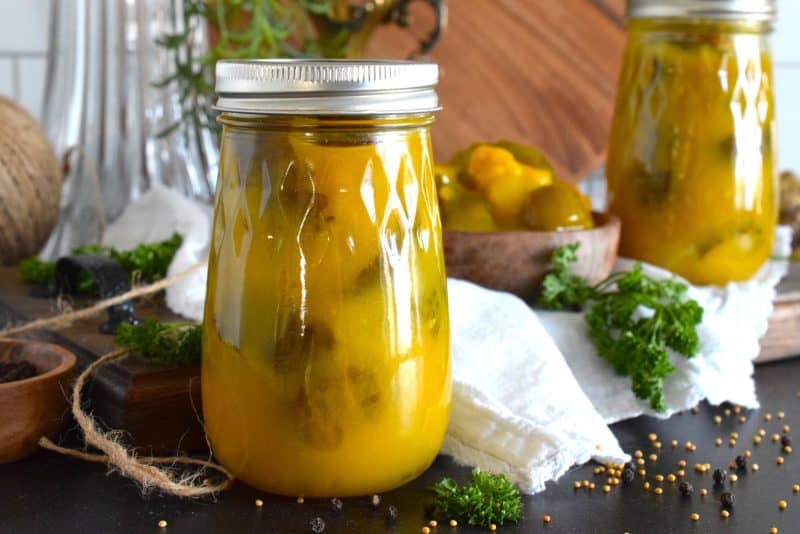
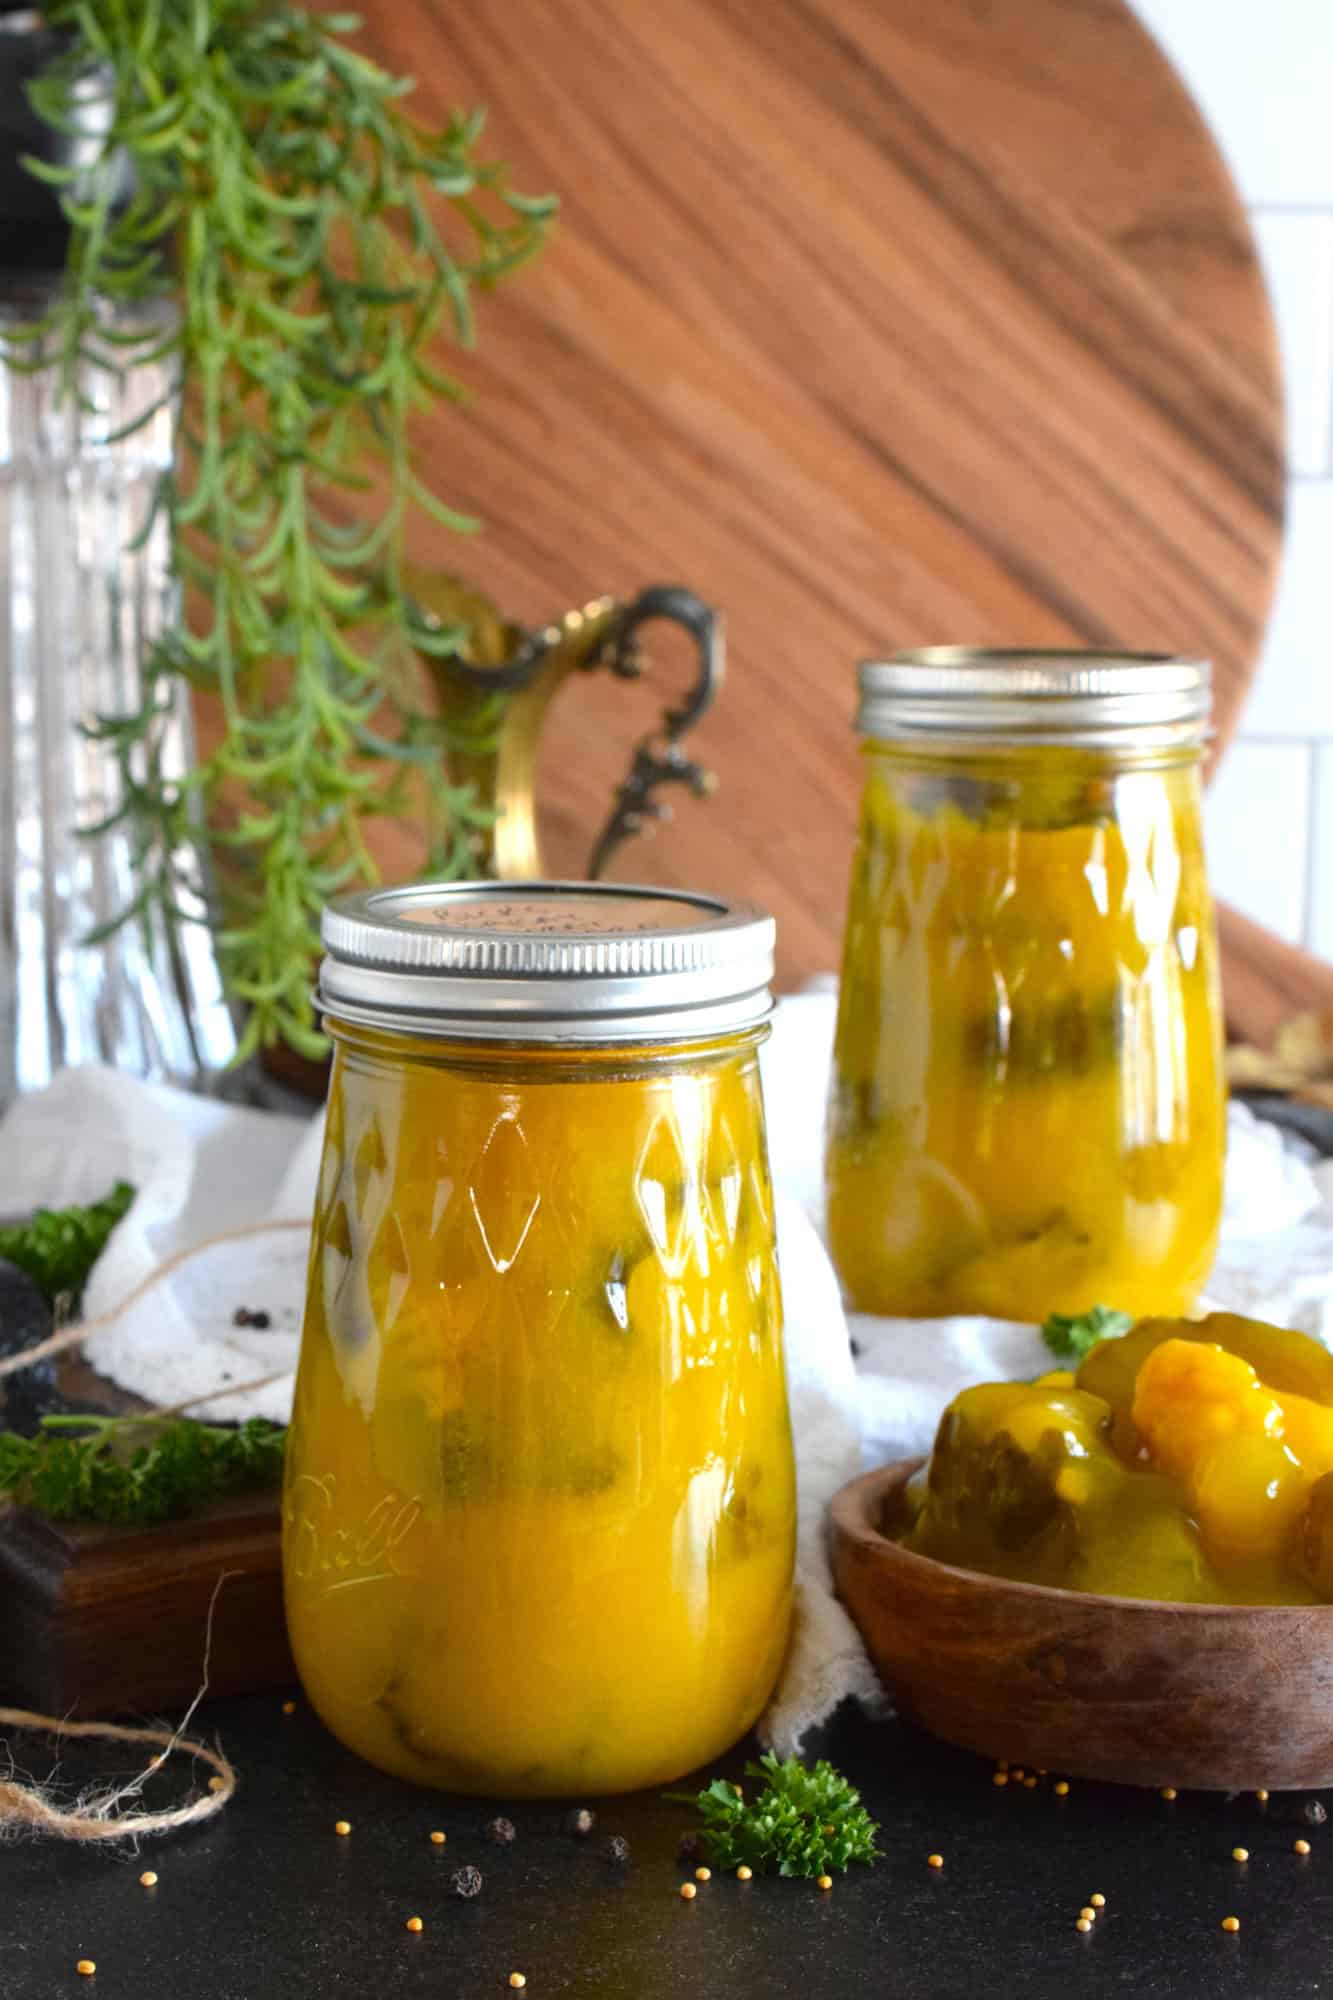
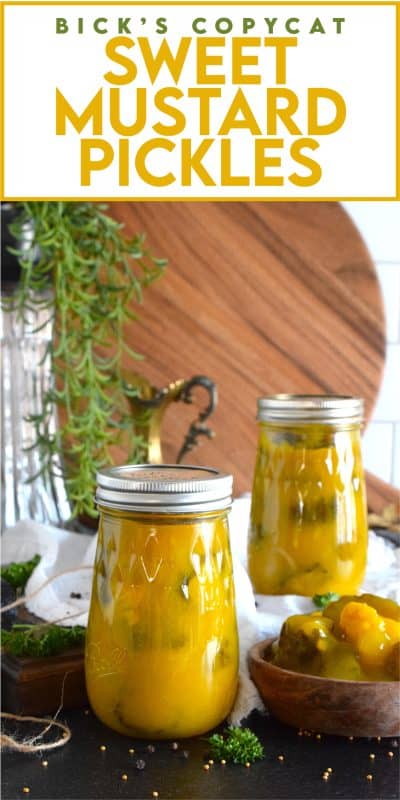
Sweet Mustard Pickles were often found on the table when I was growing up. They were store-bought and the brand was Bick’s. This homemade copycat version is a near exact replica of the familiar jar of pickles my mom would serve alongside so many meals in our home. Prepared with cucumbers, cauliflower, and onions – just like the store-bought kind! – in a sweet and vinegary mustard sauce, these pickles are a Newfoundland favourite!
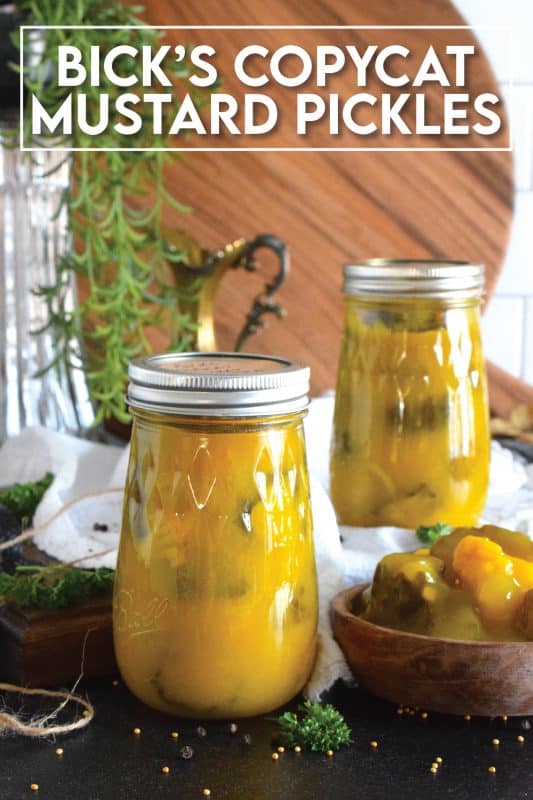
If you are a Newfoundlander, you will know that what I am about to say is true. And, if you happen to be fortunate enough to be good friends with a Newfoundlander, you might also agree with the following. At any given time, in any Newfoundland household, there is bound to be a jar of Sweet Mustard Pickles in the fridge. Maybe it’s not so now, but it was certainly the case when I was younger!
There is a great mustard pickle debate though! You see, the Bick’s brand is still around and I think it has become the go-to store-bought brand for most people. A substitute or even a favourite in most Newfoundland homes are the Habitant or Zest brands. Those two labels fall under the scope of Smuckers and have been discontinued. To be honest, I’m not sure why Habitant and Zest were both sold by Smuckers, because in most cases a brand will have one type of recipe, but those two pickles were very different. The Zest brand had a lighter, runner sauce while the Habitant sauce was darker in colour and thicker in consistency too.
Make your own online recipe box!
Click the in the lower right corner of your screen
& follow the quick and easy instructions!
Our home was never without them! They were placed on the table in the jar they were purchased in with a fork or a spoon sticking out of it. My mom would serve them whenever she prepared a typical Newfoundland meal, such as Jiggs Dinner or Bologna Hash. On cold winter nights when dinner consisted of roasted seal meat and mashed potatoes with gravy, mustard pickles were present. And, on the occasion when a can of Spam or Luncheon Meat was opened and served for lunch or a snack before bed, mustard pickles made their return. Speaking of a snack before bed, it’s a Newfoundland thing. Let me explain…
WE HAVE 4 MEALS EACH DAY!
Oh, I should mention that you might need to first understand that you can eat dinner for lunch in Newfoundland, because that’s exactly what it is! In Newfoundland, there are four meals each day – breakfast, dinner, supper, and lunch. (As opposed to breakfast, lunch, and dinner.)
Breakfast is self-explanatory. Lunch (around noon) was called dinner. If your friend at school asked if you were going home at dinnertime, you knew full well that they meant lunchtime. Then there was supper – not dinner. And lastly, there was lunch.
Lunch was a little strange now that I think back on it. Anything consumed between 8 pm and bedtime was considered a lunch. And it’s quite common to have company for lunch – friends or neighbours could join you for a cup of tea, maybe some buttered bread, canned ham, a slice of fruitcake, a tea biscuit, etc.
HERE IS WHAT YOU WILL NEED:
The following is a list of the ingredients needed to prepare this recipe. For exact amounts and measurements, refer to the printable recipe card located near the bottom of this post.
- Cauliflower – One large cauliflower is all you need. Wash it well and trim away any discoloured bits. Cut the cauliflower into small florets.
- Cucumbers – I like to use pickling cucumbers.
- Pearl Onions – If you use fresh pearl onions you will need to painstakingly peel and trim all of them. I take the easy route and purchase jars of sweet pickled cocktail onions and drain them well. It saves so much time!
- White Vinegar – Only white vinegar will do here. Anything else with throw off the taste.
- Water
- Sugar – Use regular granulated sugar. I have not tested this recipe with Splenda or any other low-calorie sweetener.
- Pickling Salt
- Dry Mustard – This is a powdered mustard, usually sold in small cans. You will find it in the spice section of most grocery stores.
- Turmeric
- Pickling Spices – Often sold in jars in the spice section of larger grocery stores. You can also find this spice blend in bulk or health food stores such as Bulk Barn here in Canada.
- Clear Jel – Clear Jel is a modified cornstarch used as a thickener in home canning. It produces smooth, clear sauces without clumping or breaking down under high heat. Unlike regular cornstarch or flour, it is recommended for canning because it remains stable, won’t break down in acidic environments, and ensures proper heat penetration.
HOW TO MAKE BICK’S COPYCAT SWEET MUSTARD PICKLES
Prepare the vegetables before you start to prep for canning or beginning to prepare the sauce. Measure the following ingredients into a large stock pot: white vinegar, water, sugar, pickling salt, and dry mustard and turmeric powder. Over high heat, bring this mixture to a boil. While that mixture boils, tie and fasten the pickling spice in two layers of cheesecloth. Set aside. Once the vinegar and sugar mixture comes to a boil, add the pickling spice packet and stir into the sauce. Reduce the heat to simmer and simmer the sauce with the spice packet for 15 minutes. Once done, carefully remove the spice packet and discard it.
In the meantime, wash your jars and seals. Set the rings aside. Fill a large canning pot 2/3 of the way full with water. Add a good splash of white vinegar to the pot as well. Stand the jars up in the pot allowing them to fill with water and submerge. Turn the heat to high and bring the water to a full boil. This will steralize your jars. Place the seals into a glass bowl and cover them with hot boiled water. Set aside.
Next, transfer all of the veggies into the pot with the mustard sauce mixture and stir to combine. Increase the heat to medium-high and bring to a boil, stirring often. Once boiling, reduce heat to medium and cook for 10 minutes. At the 10-minute mark, ladle about half a cup of the sauce mixture into a mixing bowl and whisk in the Clear Jel until dissolved and smooth. Pour this mixture back into the pot, stir well, and cook for 5 more minutes. Bring to a low boil over medium heat until the sugar is dissolved. Once done, simmer for 5 minutes, stirring continuously. Turn off the heat.
Use a jar lifter to remove the jars from the canner, carefully pouring the hot water out of the jars back into the pot. With the help of a canning funnel, carefully ladle the vegetable mixture into the hot jars and top up the jars with the sauce, leaving ½ inch of headspace. Use a wooden skewer or chopstick to remove air bubbles. Wipe the rim of the jars clean with a clean, damp towel and place a seal on each jar. Next, place on a ring and tighten it until just snug. Transfer the jars to the canning pot using the jar lifter. All of the jars should be completely submerged and covered by at least 1 inch of water. Place a lid on the pot and boil for 15 minutes. (Do not start timing until the water in the canning pot has returned to a full boil after placing the jars in.) Once done, remove the jars from the canner and set them on a heat-proof surface such as a cutting board. Allow them to rest for 24 hours before labelling and storing in a cool, dark pantry.
WHAT ARE COCKTAIL ONIONS?
A cocktail onion is usually a pearl onion which has been pickled in brine. Pearl onions are usually chosen for their natural sweetness, but other varieties are sometimes used as well. In most cases, you will find them wherever pickles are sold. They are usually in a taller, thin jar and can most commonly be found in two flavours. There is a sweet cocktail onion and a sour cocktail onion. I like them both, but I feel the sweet one works best in this Bick’s Copycat Sweet Mustard Pickles recipe.
Do you have a question or comment?
Would you like to leave a review?
Scroll down to the comment section and write me a message.
I will personally respond as soon as possible!
HOW TO WATER BATH CAN
STEP 1: PREPARING THE JARS
Some canners say that if you need to boil the jars longer than 10 minutes, then you don’t need to sterilize the jars. I say no! Canning is not as simple and cheap as frying an egg. It takes time, and an investment if you don’t already have the equipment. Eliminate any risk whatsoever by always sterilizing your jars. It’s easy to do! Wash the jars in hot, soapy water. Rinse the jars well under running water to get rid of any soap residue.
Transfer the jars to a large pot of water. Bring to a boil and boil for 2-3 minutes. Using a jar wrench/lifter, lift the jars out of the water, tilting to pour out the water. Be careful; it’s hot! Stand the jar up on a baking sheet. Once all of the jars are on the baking sheet, place them into your preheated oven at 200 degrees F. This will keep them hot and away from any contamination.
STEP 2: PREPARING THE SEALS AND RINGS
Mason jars are equipped with three parts. The first is the jar. The second and third parts combine to form the lid. The flat disc with the rubber ring on the bottom is the seal. Finally, the circular part that actually screws onto the jar is called a screw band. Depending on the brand or the recipe you’re reading, the names of these things can vary. But, they all do the same thing.
The screw bands never come in contact with the food, so they do not need to be washed or sterilized. But, because I want to eliminate any risk of contamination, I make sure they’re clean. After all, they have been sitting in a warehouse before they got to the store, and then finally, to me. That’s too many germs for my comfort level! I wash them in hot, soapy water, rinse them well, and transfer them to a bowl until I need them. The sealing disk/sealing ring needs a little more consideration.
If you look at the bottom of the lid, you will see a reddish-brown rubber ring. It’s attached to the lid. This ring has a huge job! It is pretty much in charge of keeping your food safe for long-term storage. Place the lids into a glass bowl. I like to separate them so that they are not all stacked. When I’m ready to ladle the food into the jars, I pour a kettle of boiling water over the lids so that they are sterile and the rubber band softens. That’s it. You have now prepared your jars. Next, we need to get the canner ready!
STEP 3: PREPARING THE CANNER
You can buy a canning pot, but you don’t have to do that. Any stock pot will do just fine. Be sure that the pot is tall enough to hold enough water so that your jars are covered by at least an inch of water. Fill the canning pot accordingly. Also, be sure to insert a canning rack or mat into the bottom of your pot. If you buy a canning pot it will come with one. Otherwise, you can buy them for any pot size. Never let your jars touch the bottom of the pot when boiling. They could easily break. Once you’ve done this, bring the water to a full boil.
In most cases, if you’re new to canning, you might notice some white residue on the jars after all is said and done. This can easily be cleaned off once the jars are cool. A few tablespoons of white vinegar in the boiling water helps to eliminate most of it. I use it every single time.
Lastly, it’s always a good idea to keep a kettle of boiling water close by. Depending on how many jars you need to process, you might have to boil them in batches. You will be surprised at how quickly rapidly boiling water can evaporate. Having a kettle of boiling water will allow you to easily top up the canning pot without altering the temperature of the water.
STEP 4: FILLING THE JARS
Depending on the recipe, filling the jars is quite easy. Having some inexpensive equipment on hand can make this process much easier. Invest in a canning funnel. It will help you ladle the food into the jars without making a mess. Also, it’s imperative to keep the rim of the jar clean to ensure a good seal. You will also need a bubble remover. You can buy these, but I’m not a fan of them. A clean wooden chopstick does the same thing. Removing bubbles will prevent mould from growing.
Lastly, you will need a magnetic lid lifter. Remember how I said the flat sealing lids will be submerged in a bowl of boiling water? Well, you can’t just pick them up with your hands. First of all, it’s hot! Secondly, you will want to eliminate the risk of any contamination. Do not touch the underside of the lid. Period! Using a magnetic lid lifter will allow you to pick up the lid and position it right onto the rim of the jar without ever touching it.
Finally, you will need to screw on the metal screw bands. In most cases, the food in the jars is scalding hot, so you can’t touch the jars to tighten the lids. But, that’s a good thing! You should never over-tighten the lids. Place the screw band over the jar and tighten it with one hand. It should be snug, not tight. Now, that’s it! You’re ready to boil these jars!
STEP 5: BOILING THE JARS OF FOOD
Carefully lift the jars straight up using a jar wrench/lifter. Lower the jar into the pot of boiling water. Fill the canning pot with jars in this manner. Don’t jam the jars in; leave a little bit of space between the jars. I aim for about a centimetre or a finger’s width. Remember, you can process the jars in batches.
Once the canning pot is loaded, place a lid on the pot, and start your timer according to the recipe you are following. If the water is not at a full boil, do not start timing until it is! When the time is up, use the jar wrench to lift the jars straight up out of the water. Transfer the jars to a flat surface that has been lined with a few layers of kitchen towels. Allow the jars to fully cool – at least 24 hours! Finally, wipe the jars down, label them with contents and date, and store them in a cool, dark cupboard or pantry.
Some people remove the screw bands after the jars have cooled for 24 hours. I remove them just to check if there is a good seal. I put them back on once I’ve checked. It’s up to you if you want to leave them off. If you notice that a jar has not sealed, you can either discard it, or refrigerate it for immediate consumption. Only do so if you are 100% sure the food has not been compromised and that it is safe to eat.
QUESTIONS?
If I have not answered all of your questions in the text above, don’t hesitate to reach out to me! You can contact me by sending me a message in the comments section further down the page. I will try my best to answer as soon as possible! You might reach me even faster by following me on Facebook and sending me a private message. Scroll down below the recipe card to find my Follow Me on Social Media box and never miss another recipe!
Do You Like This Recipe?
You should consider trying these other delicious recipes too!
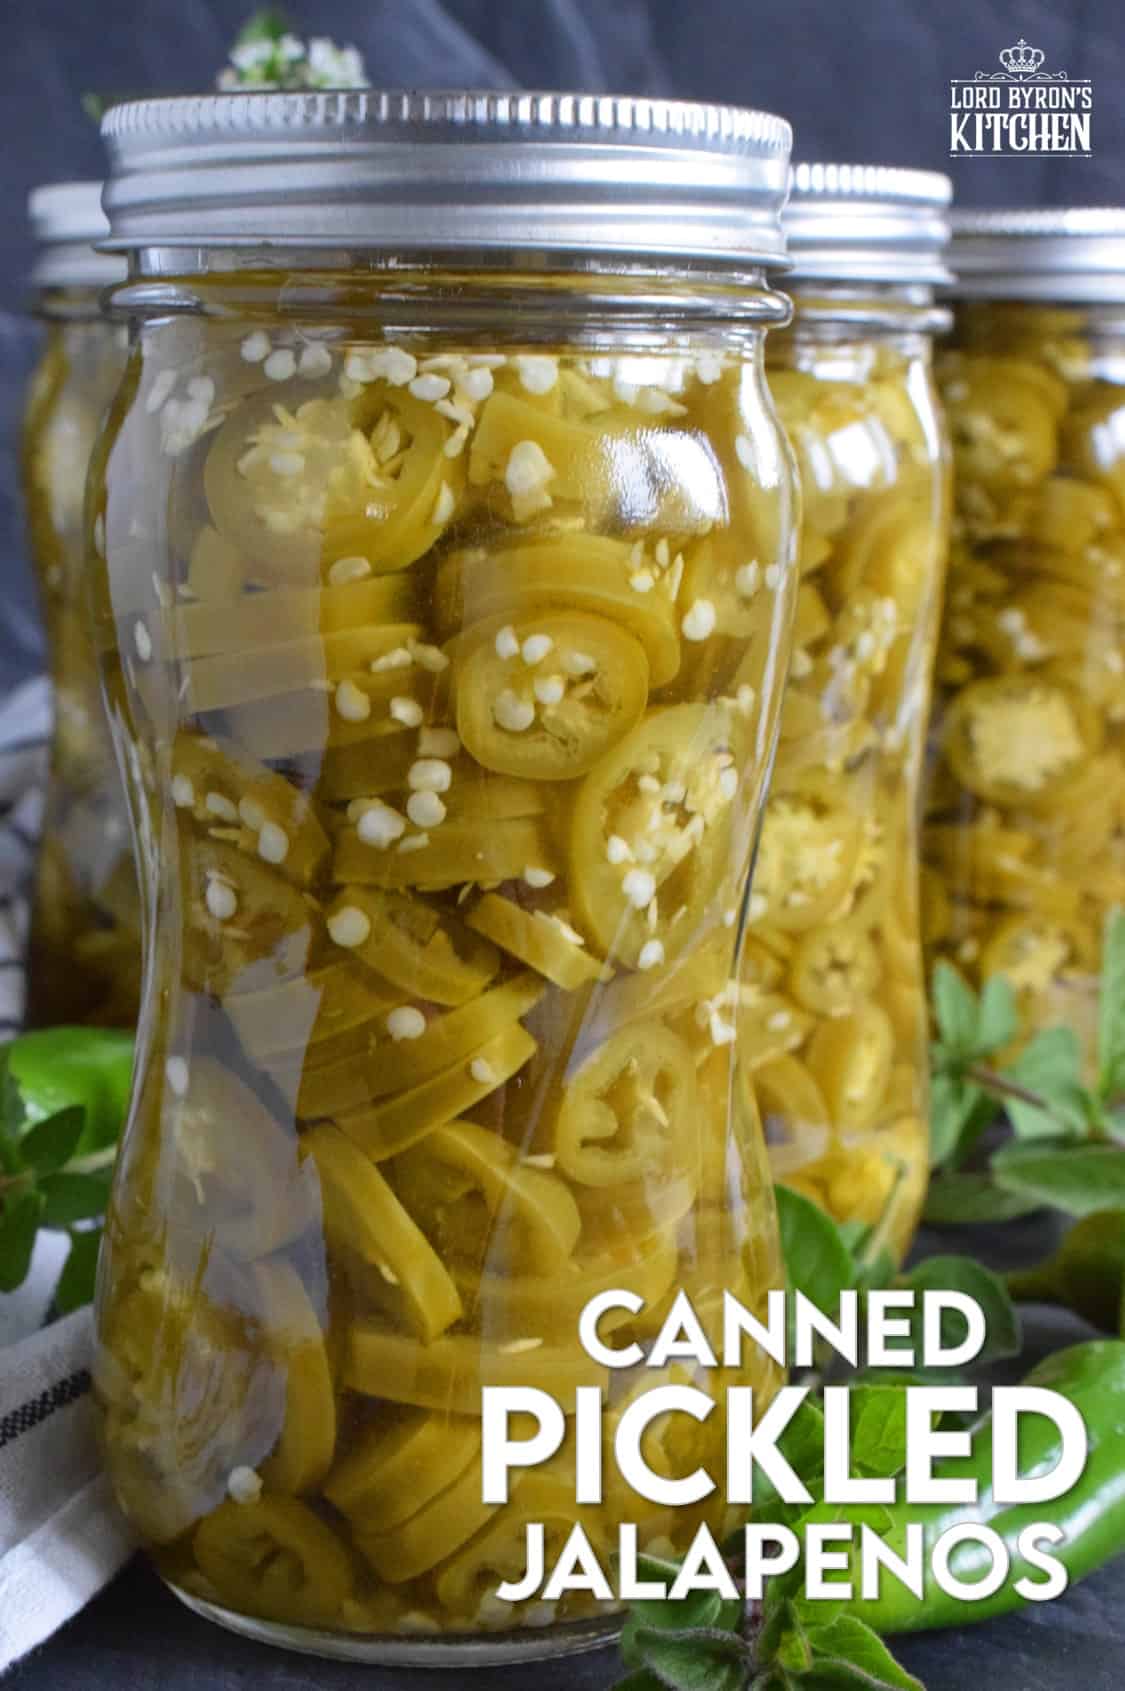
Pair these Canned Pickled Jalapenos with sandwiches, pizza, nachos, burgers, and even scrambled eggs! All you need to prepare these are jalapenos, white vinegar, salt, and water! Easily double or even triple the recipe and stock your canning pantry with these delicious hot and spicy morsels!

The easy to do recipe combines the flavour of the classic highway gas station pickled wieners with the bright, tart and sweet flavour of jarred pickled onions. Keep a jar in your fridge at all times for a quick snack or an easy lunch served with cheese and crackers!
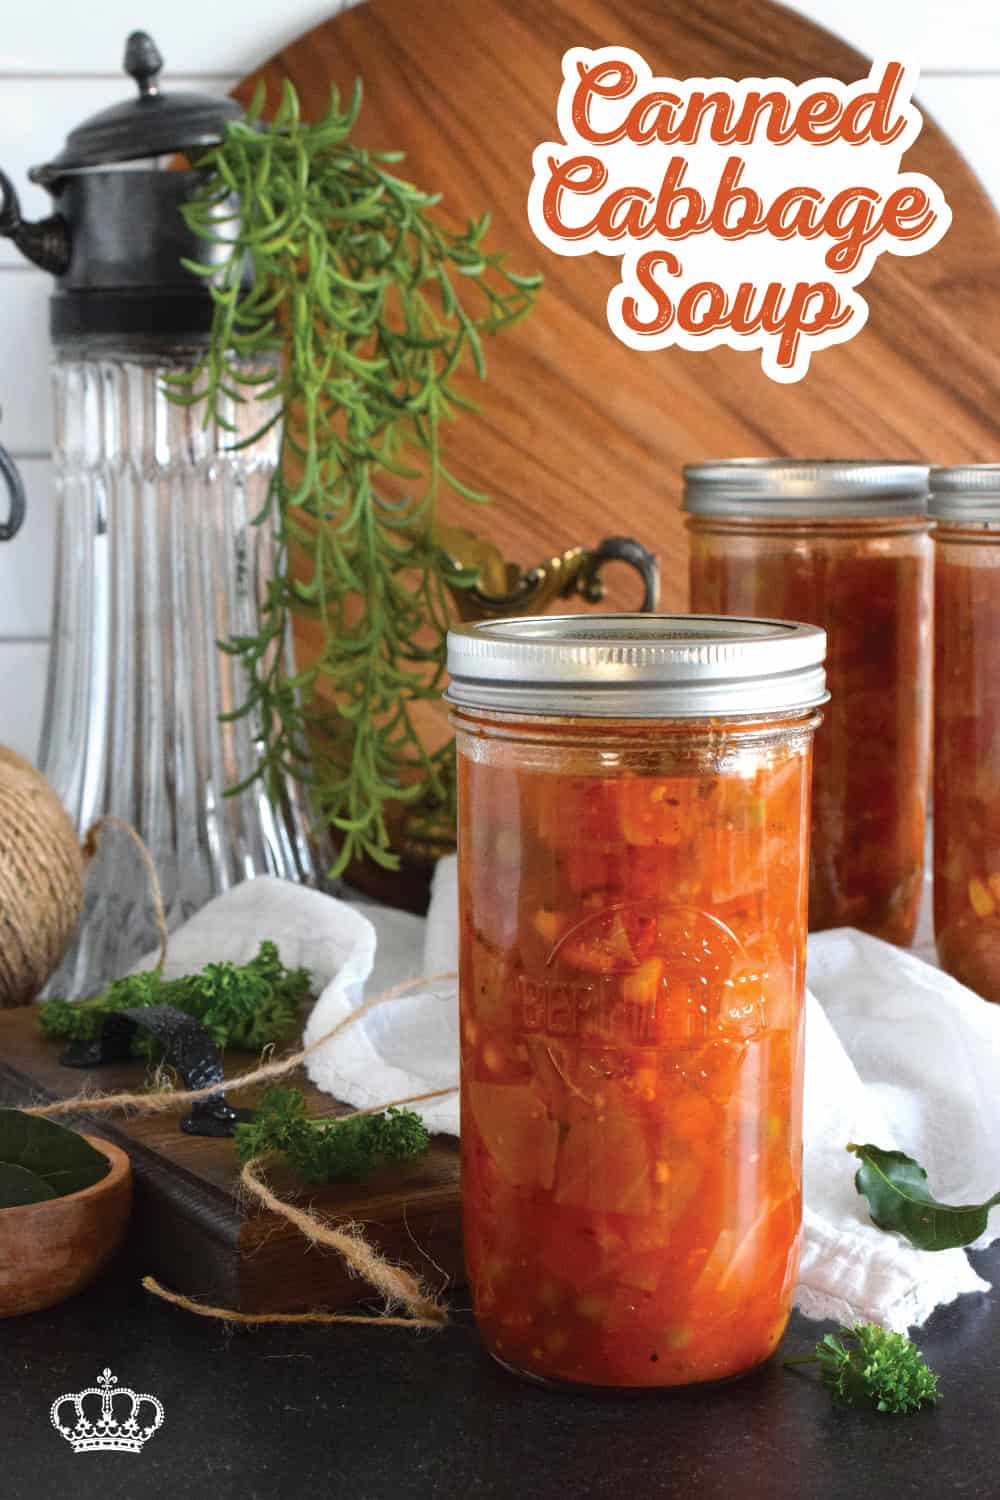
Once upon a time, there was a very popular diet called The Cabbage Soup diet. If you participated in that diet, I want you to know right away that this healthy Canned Cabbage Soup – even though it’s really good for you – tastes so much better than that diet version! Loaded with veggies and prepared with a delicious broth, this soup is cozy, filling, and nutritious! Canning is completely optional!

Sweet Mustard Pickles
Equipment
- 8 pint-sized mason jars with screw bands and new, unused sealing discs
- Water Bath Canner
- Jar Wrench/Lifter
- Canning Funnel
- Ladle
Ingredients
- 3 pounds small pickling cucumbers, washed, ends trimmed, and cut into 3/4-inch rounds
- 1 large cauliflower, cut into small florets
- 2 cups pearl cocktail onions*
- 5 cups white vinegar
- 3 cups water
- 4 cups sugar
- 2 tablespoons pickling spice
- 2 tablespoons pickling salt*
- 6 tablespoons dry mustard powder
- 1 1/2 tablespoons turmeric powder
- 3/4 cup Clear Jel*
Instructions
- Prepare the vegetables before you start to prep for canning or beginning to prepare the sauce.
- Measure the following ingredients into a large stock pot: white vinegar, water, sugar, pickling salt, and dry mustard and turmeric powder. Over high heat, bring this mixture to a boil.
- While that mixture boils, tie and fasten the pickling spice in two layers of cheesecloth. Set aside.
- Once the vinegar and sugar mixture comes to a boil, add the pickling spice packet and stir into the sauce. Reduce the heat to simmer and simmer the sauce with the spice packet for 15 minutes. Once done, carefully remove the spice packet and discard it.
- In the meantime, wash your jars and seals. Set the rings aside. Fill a large canning pot 2/3 of the way full with water. Add a good splash of white vinegar to the pot as well. Stand the jars up in the pot allowing them to fill with water and submerge. Turn the heat to high and bring the water to a full boil. This will steralize your jars.
- Place the seals into a glass bowl and cover them with hot boiled water. Set aside.
- Next, transfer all of the veggies into the pot with the mustard sauce mixture and stir to combine. Increase the heat to medium-high and bring to a boil, stirring often. Once boiling, reduce heat to medium and cook for 10 minutes.
- At the 10-minute mark, ladle about half a cup of the sauce mixture into a mixing bowl and whisk in the Clear Jel until dissolved and smooth. Pour this mixture back into the pot, stir well, and cook for 5 more minutes.
- Bring to a low boil over medium heat until the sugar is dissolved. Once done, simmer for 5 minutes, stirring continuously.
- Turn off the heat.
- Use a jar lifter to remove the jars from the canner, carefully pouring the hot water out of the jars back into the pot.
- With the help of a canning funnel, carefully ladle the vegetable mixture into the hot jars and top up the jars with the sauce, leaving ½ inch of headspace. Use a wooden skewer or chopstick to remove air bubbles.
- Wipe the rim of the jars clean with a clean, damp towel and place a seal on each jar. Next, place on a ring and tighten it until just snug. Transfer the jars to the canning pot using the jar lifter. All of the jars should be completely submerged and covered by at least 1 inch of water. Place a lid on the pot and boil for 15 minutes. (Do not start timing until the water in the canning pot has returned to a full boil after placing the jars in.)
- Once done, remove the jars from the canner and set them on a heat-proof surface such as a cutting board. Allow them to rest for 24 hours before labelling and storing in a cool, dark pantry.
Notes
Nutrition
Did you make this recipe?
Upload a photo and tag me so that I can see it!






Gloria says
I ant seem to find clear jel. Is there a substitute?
Byron Thomas says
Hi Gloria – I don’t know of a substitute for clearjel. You can find it on Amazon. That’s where I get mine. It may seem a little pricey, but it lasts quite a while.