
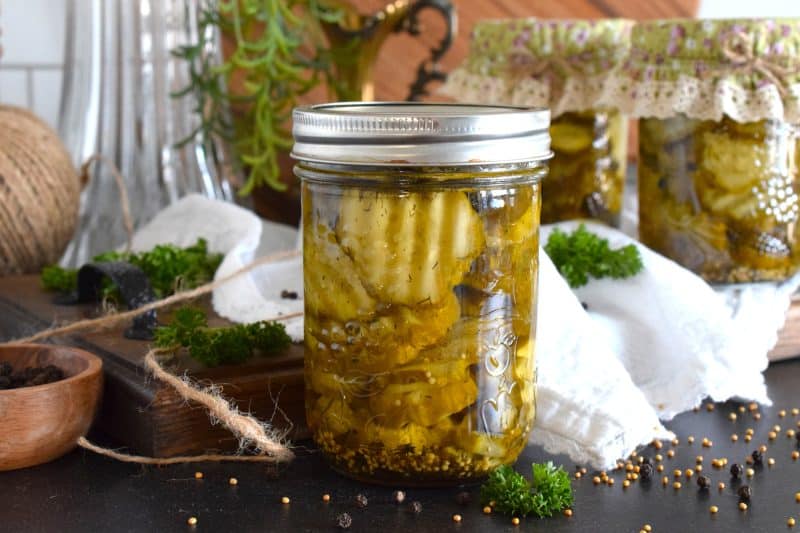
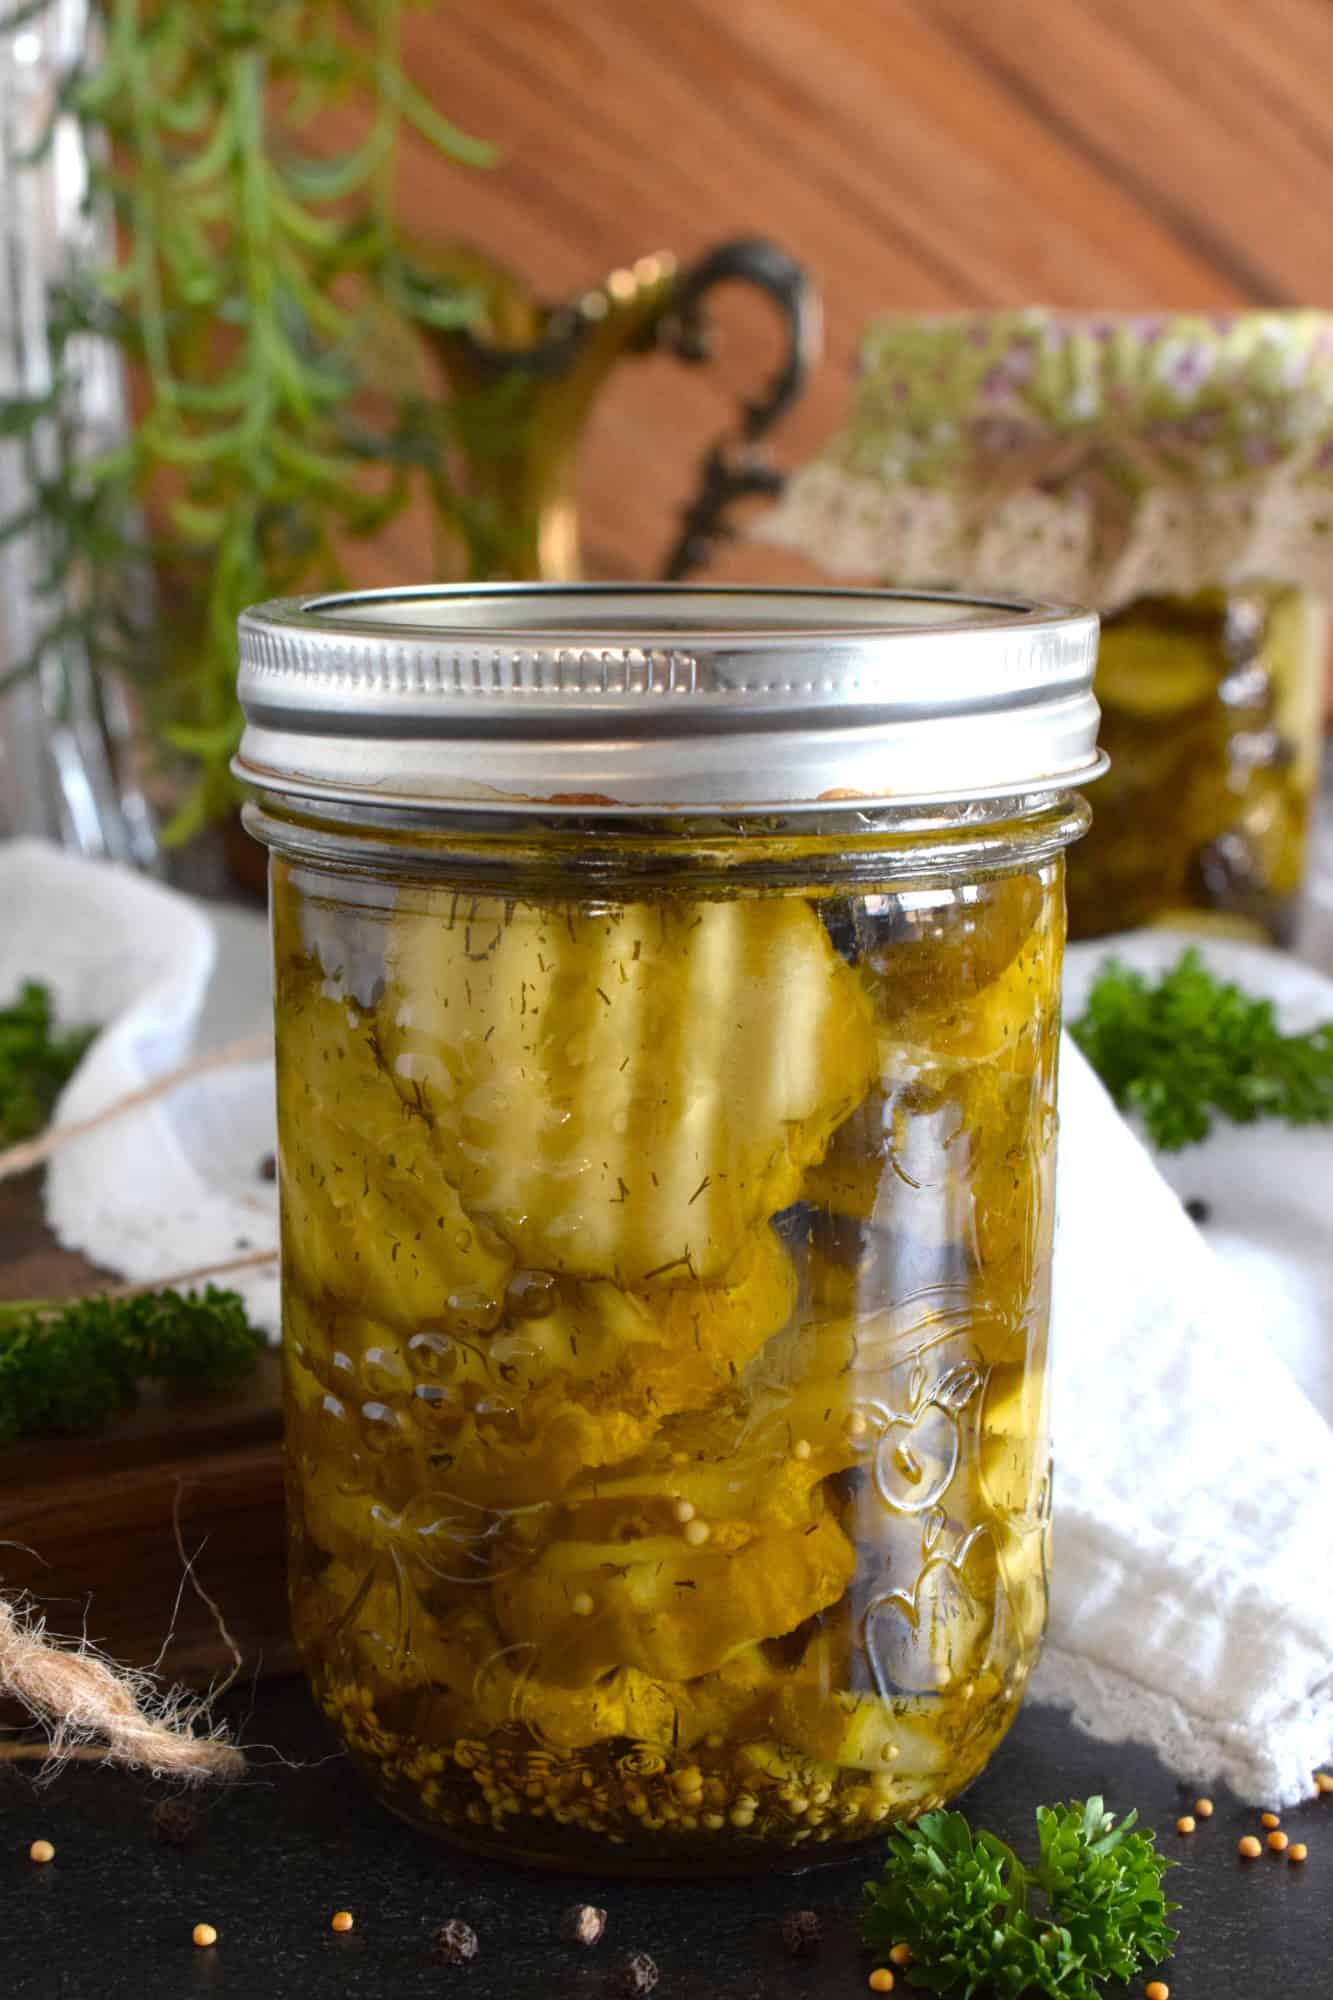
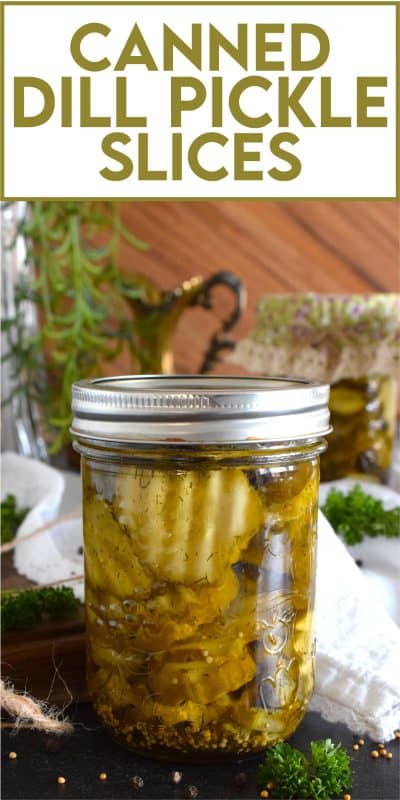
If your backyard garden is producing any cucumbers right now, then you’ll want to make a batch of these Canned Dill Pickle Slices! You only need 10 cucumbers, but this recipe can be doubled or tripled depending on how many jars you want to make. These pickles keep their crispy, crunchy texture too!
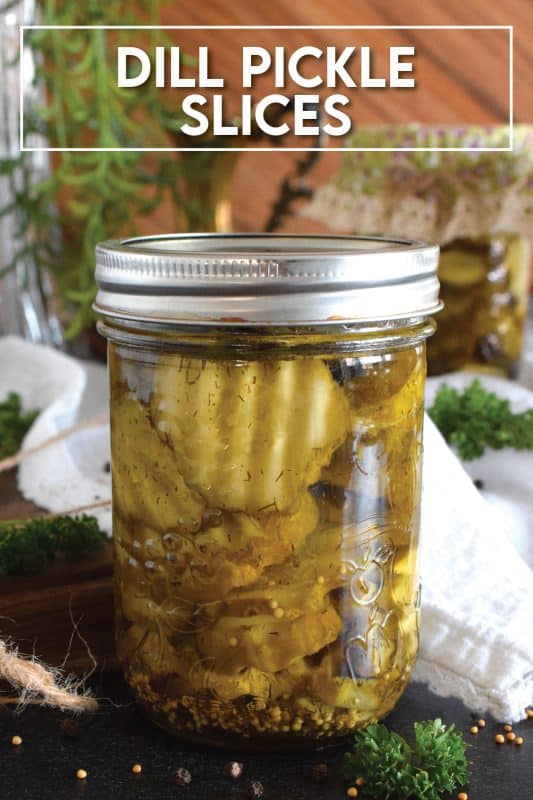
Canned Dill Pickle Slices are one of those things that most people either love or hate. There really doesn’t seem to be any middle ground when it comes to munching on a crunchy dill pickle. Luckily, in our home, we all love them.
Well, maybe McKenna loves them more than John.e and me. I swear, Dear Reader, she can eat a whole jar of dill pickles in a day or two. Not can; she has! Before we moved out of Toronto, and while we all lived together still, John.e and I went away for the weekend, and when we got back on Sunday, an entire jar of dill pickles was empty!
Make your own online recipe box!
Click the in the lower right corner of your screen
& follow the quick and easy instructions!
Just yesterday, I went to get a pickle from the jar for a sandwich, and there were only two pickles left. I asked if she had eaten them all again and she said, “No, you have another jar in the pantry.” I asked how she knew that, and she responded with, “Oh, I looked in there before I ate the ones in the fridge.” At least she was considerate enough to look first!
In our home, pickles are like candy, and even though we all love dill pickles, I’m the only one who likes sweet pickles – like these Bread and Butter Pickles. Either way, pickles seem to disappear so quickly. Now, I know McKenna is quite the lover of pickles, and oftentimes, will pull the jar out of the fridge and eat a few pickles as a snack. As for me and John.e, we tend to like pickles on sandwiches or served with some crackers and cheese. We very rarely just munch on a plain pickle right out of the jar.
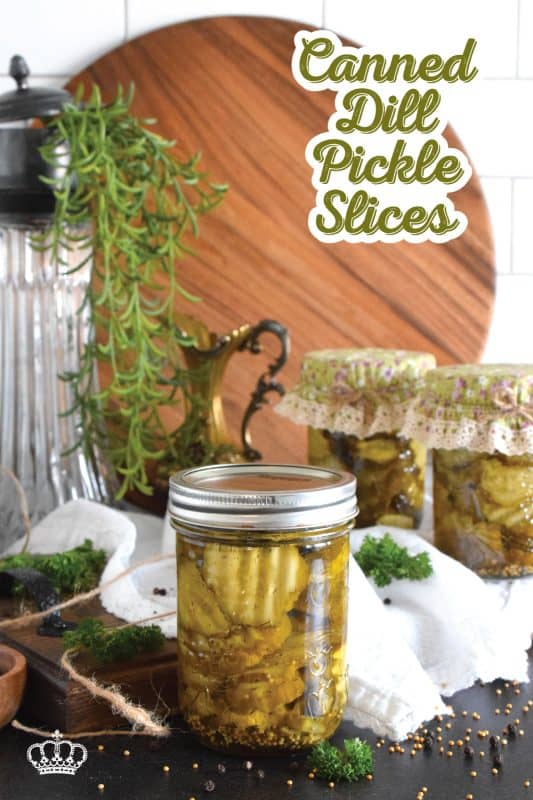
INGREDIENTS NEEDED FOR THIS RECIPE
The following is a list of the ingredients needed to prepare this recipe. For exact amounts and measurements, refer to the printable recipe card located near the bottom of this post.
- Cucumbers – I like to use pickling cucumbers here, but you can also use Persian or mini cucumbers. Pickling cucumbers will result in a crunchier pickle though.
- Water
- White Vinegar
- Dried Dill Seeds – These are commonly found in the spice section of larger grocery stores.
- Mustard Seeds – They add flavour and scent.
- Garlic – Use fresh garlic cloves only!
- Black Peppercorns
- Pickling Salt
- Sugar – For sweetness.
- Dill Blossoms – This is completely optional, but since I grow dill in my backyard, I like to pinch off a dill blossom and place it in the bottom of each jar.
HOW TO WATER BATH CAN
STEP 1: PREPARING THE JARS
Some canners say that if you need to boil the jars longer than 10 minutes, then you don’t need to sterilize the jars. I say no! Canning is not as simple and cheap as frying an egg. It takes time, and an investment if you don’t already have the equipment. Eliminate any risk whatsoever by always sterilizing your jars. It’s easy to do! Wash the jars in hot, soapy water. Rinse the jars well under running water to get rid of any soap residue.
Transfer the jars to a large pot of water. Bring to a boil and boil for 2-3 minutes. Using a jar wrench/lifter, lift the jars out of the water, tilting to pour out the water. Be careful; it’s hot! Stand the jar up on a baking sheet. Once all of the jars are on the baking sheet, place them into your preheated oven at 200 degrees F. This will keep them hot and away from any contamination.
STEP 2: PREPARING THE SEALS AND RINGS
Mason jars are equipped with three parts. The first is the jar. The second and third parts combine to form the lid. The flat disc with the rubber ring on the bottom is the seal. Finally, the circular part that actually screws onto the jar is called a screw band. Depending on the brand or the recipe you’re reading, the names of these things can vary. But, they all do the same thing.
The screw bands never come in contact with the food, so they do not need to be washed or sterilized. But, because I want to eliminate any risk of contamination, I make sure they’re clean. After all, they have been sitting in a warehouse before they got to the store, and then finally, to me. That’s too many germs for my comfort level! I wash them in hot, soapy water, rinse them well, and transfer them to a bowl until I need them. The sealing disk/sealing ring needs a little more consideration.
If you look at the bottom of the lid, you will see a reddish-brown rubber ring. It’s attached to the lid. This ring has a huge job! It is pretty much in charge of keeping your food safe for long-term storage. Place the lids into a glass bowl. I like to separate them so that they are not all stacked. When I’m ready to ladle the food into the jars, I pour a kettle of boiling water over the lids so that they are sterile and the rubber band softens. That’s it. You have now prepared your jars. Next, we need to get the canner ready!
STEP 3: PREPARING THE CANNER
You can buy a canning pot, but you don’t have to do that. Any stock pot will do just fine. Be sure that the pot is tall enough to hold enough water so that your jars are covered by at least an inch of water. Fill the canning pot accordingly. Also, be sure to insert a canning rack or mat into the bottom of your pot. If you buy a canning pot it will come with one. Otherwise, you can buy them for any pot size. Never let your jars touch the bottom of the pot when boiling. They could easily break. Once you’ve done this, bring the water to a full boil.
In most cases, if you’re new to canning, you might notice some white residue on the jars after all is said and done. This can easily be cleaned off once the jars are cool. A few tablespoons of white vinegar in the boiling water helps to eliminate most of it. I use it every single time.
Lastly, it’s always a good idea to keep a kettle of boiling water close by. Depending on how many jars you need to process, you might have to boil them in batches. You will be surprised at how quickly rapidly boiling water can evaporate. Having a kettle of boiling water will allow you to easily top up the canning pot without altering the temperature of the water.
STEP 4: FILLING THE JARS
Depending on the recipe, filling the jars is quite easy. Having some inexpensive equipment on hand can make this process much easier. Invest in a canning funnel. It will help you ladle the food into the jars without making a mess. Also, it’s imperative to keep the rim of the jar clean to ensure a good seal. You will also need a bubble remover. You can buy these, but I’m not a fan of them. A clean wooden chopstick does the same thing. Removing bubbles will prevent mould from growing.
Lastly, you will need a magnetic lid lifter. Remember how I said the flat sealing lids will be submerged in a bowl of boiling water? Well, you can’t just pick them up with your hands. First of all, it’s hot! Secondly, you will want to eliminate the risk of any contamination. Do not touch the underside of the lid. Period! Using a magnetic lid lifter will allow you to pick up the lid and position it right onto the rim of the jar without ever touching it.
Finally, you will need to screw on the metal screw bands. In most cases, the food in the jars is scalding hot, so you can’t touch the jars to tighten the lids. But, that’s a good thing! You should never over-tighten the lids. Place the screw band over the jar and tighten it with one hand. It should be snug, not tight. Now, that’s it! You’re ready to boil these jars!
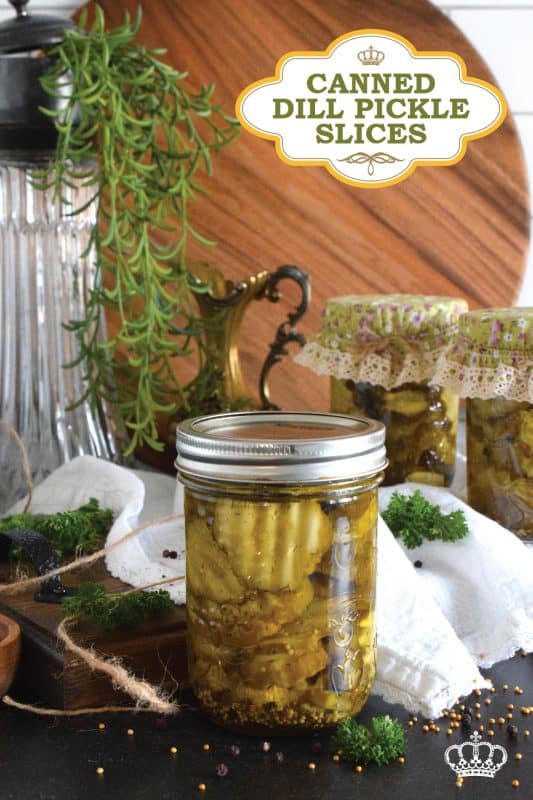
STEP 5: BOILING THE JARS OF FOOD
Carefully lift the jars straight up using a jar wrench/lifter. Lower the jar into the pot of boiling water. Fill the canning pot with jars in this manner. Don’t jam the jars in; leave a little bit of space between the jars. I aim for about a centimetre or a finger’s width. Remember, you can process the jars in batches.
Once the canning pot is loaded, place a lid on the pot, and start your timer according to the recipe you are following. If the water is not at a full boil, do not start timing until it is! When the time is up, use the jar wrench to lift the jars straight up out of the water. Transfer the jars to a flat surface that has been lined with a few layers of kitchen towels. Allow the jars to fully cool – at least 24 hours! Finally, wipe the jars down, label them with contents and date, and store them in a cool, dark cupboard or pantry.
Some people remove the screw bands after the jars have cooled for 24 hours. I remove them just to check if there is a good seal. I put them back on once I’ve checked. It’s up to you if you want to leave them off. If you notice that a jar has not sealed, you can either discard it, or refrigerate it for immediate consumption. Only do so if you are 100% sure the food has not been compromised and that it is safe to eat.
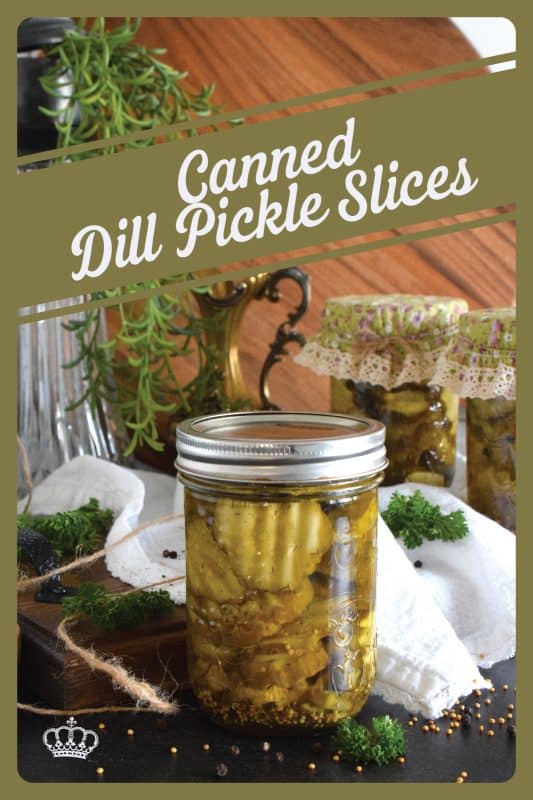
HOW TO MAKE CANNED DILL PICKLE SLICES
This recipe comes together quite quickly, so begin by washing your canning jars and lids. Fill your water bath canner with water (enough to cover the jars by one inch) and bring to a full boil over high heat. Once boiling, reduce to a simmer and submerge the washed jars into water while you prepare the ingredientst for this recipe.
Next, prepare the brine by adding the following ingredients to a sauce pan: water, vinegar, pickling salt, and sugar. Bring these ingredients to a boil over medium-high heat, stirring to make sure the salt and sugar are both completely dissolved. Turn off the heat once done. Once you have assembled and prepared the ingredients, remove the jars from the canner, pouring the water in the jars back into the pot. Drop one clove of garlic into each jar and then evenly distribute the dried dill seeds, mustard seeds, and black peppercorns into the jars as well. This is completely optional, but I like to insert a dill blossom into each jar for added flavour and visual appeal. You can skip this step completely.
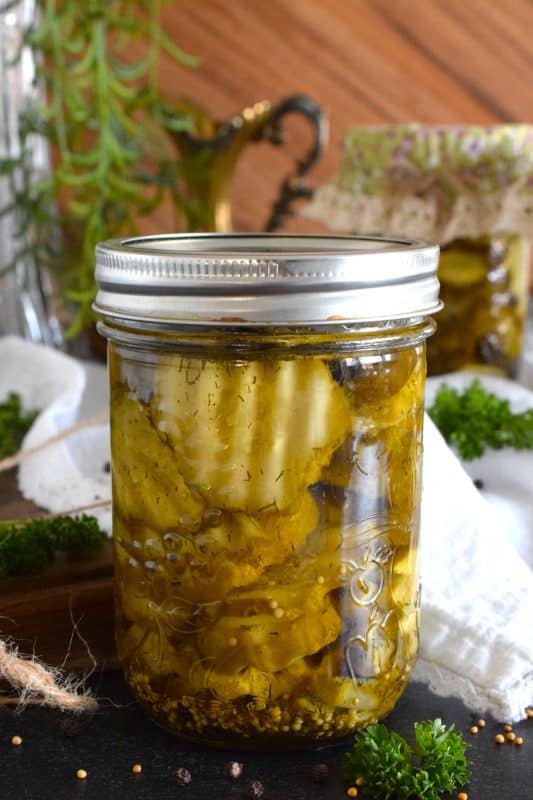
To pack the jars, carefully hold the jar on its side in your hand (use an oven mitt if the jars are hot to the touch) and lay the cucumber slices in to the jar so that they are standing on end. Pack the jars tight with the cucumbers slices. This will prevent floating, will ensure you have enough brine, and helps to keep the pickles crisp. Ladle the prepared brine into the packed jars, leaving 1/2 inch of headspace. Debubble and top up the brine if needed. Wipe the rim of the jars with a clean kitchen towel and apply the lid until just snug but not too tight.
Use a jar lifter to transfer the jars back to the canning pot. Place a lid on the pot and water bath the jars for 10 minutes. (This processing time is for pint or 500mL-sized jars.) Once the pickles are processed, remove the jars from the canner and transfer them to a towel-lined cutting board to cool for 24 hours. Once fully cooled, check to see if the jars are properly sealed. Label the jars with the date and store in a cool, dry pantry for up to one year.
QUESTIONS?
If I have not answered all of your questions in the text above, don’t hesitate to reach out to me! You can contact me by sending me a message in the comments section further down the page. I will try my best to answer as soon as possible! You might reach me even faster by following me on Facebook and sending me a private message. Scroll down below the recipe card to find my Follow Me on Social Media box and never miss another recipe!
Do You Like This Recipe?
You should consider trying these other delicious recipes too!
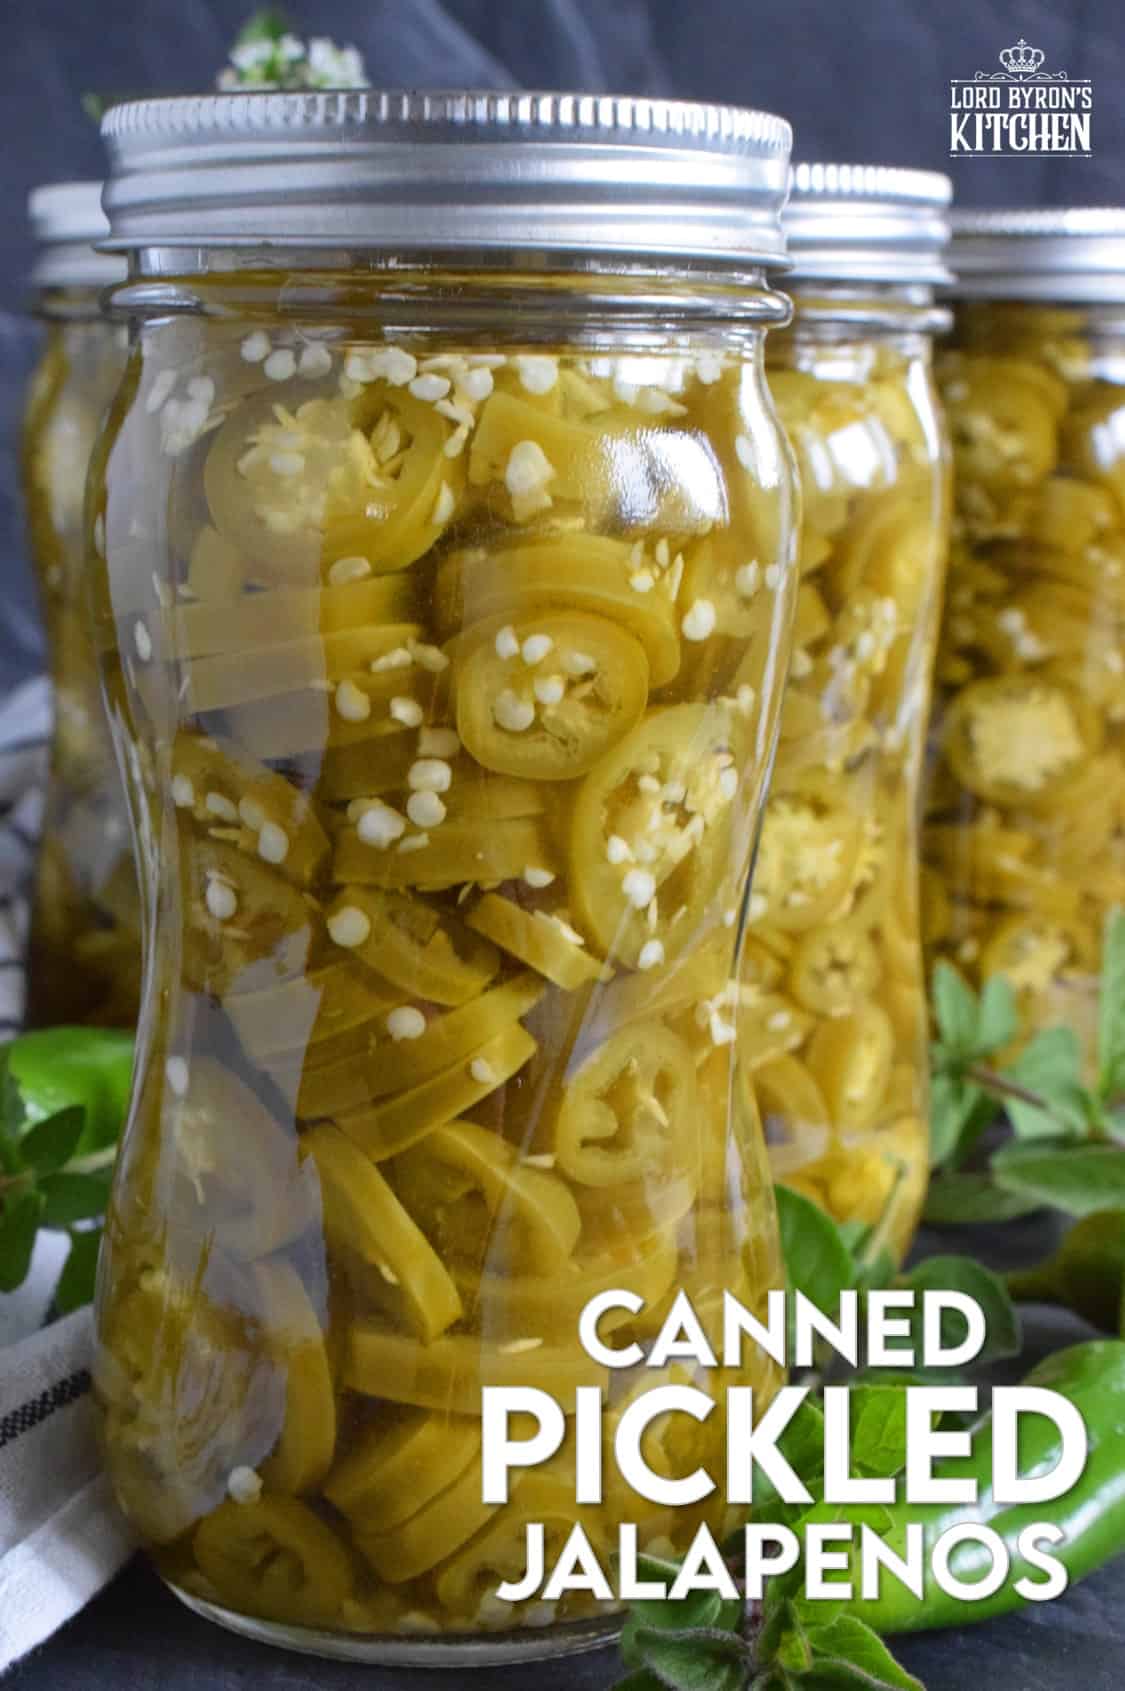
Pair these Canned Pickled Jalapenos with sandwiches, pizza, nachos, burgers, and even scrambled eggs! All you need to prepare these are jalapenos, white vinegar, salt, and water! Easily double or even triple the recipe and stock your canning pantry with these delicious hot and spicy morsels!

The easy to do recipe combines the flavour of the classic highway gas station pickled wieners with the bright, tart and sweet flavour of jarred pickled onions. Keep a jar in your fridge at all times for a quick snack or an easy lunch served with cheese and crackers!
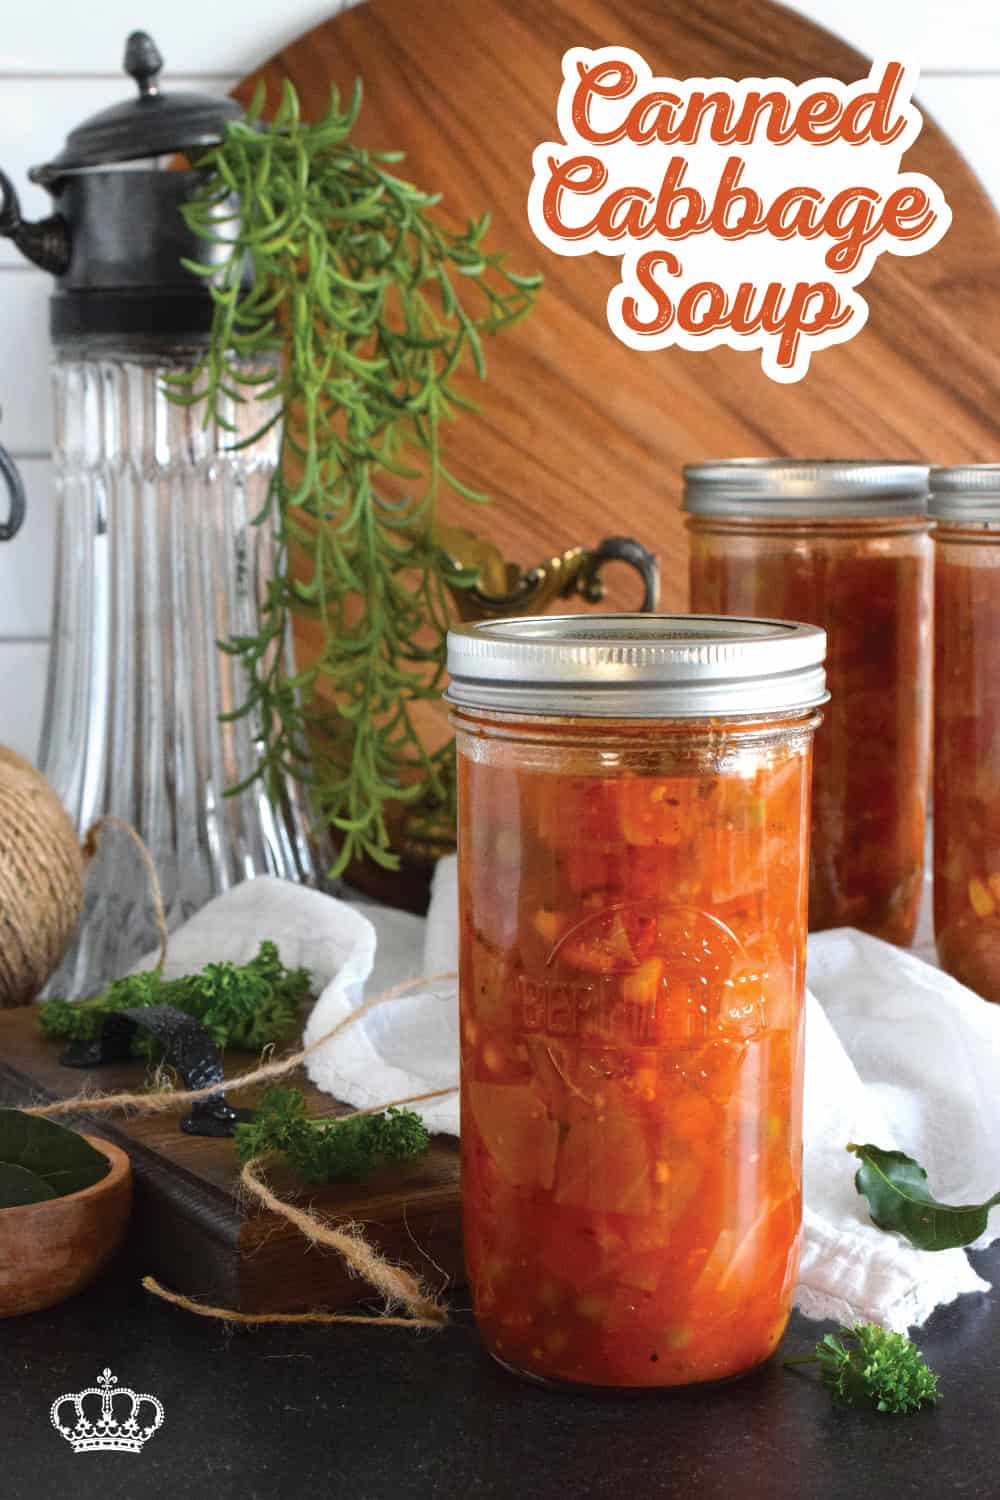
Once upon a time, there was a very popular diet called The Cabbage Soup diet. If you participated in that diet, I want you to know right away that this healthy Canned Cabbage Soup – even though it’s really good for you – tastes so much better than that diet version! Loaded with veggies and prepared with a delicious broth, this soup is cozy, filling, and nutritious! Canning is completely optional!

Canned Dill Pickle Slices
Ingredients
- 10 pickling cucumbers, washed well, ends trimmed and discarded, and sliced into 1/3 inch slices
- 5 cups water
- 3 1/2 cups white vinegar
- 5 teaspoons dried dill seeds
- 4 teaspoons mustard seeds
- 10 cloves garlic
- 1 tablespoon black peppercorns
- 4 tablespoons pickling salt
- 2 tablespoons sugar
- dill blossoms (optional)
Instructions
- This recipe comes together quite quickly, so begin by washing your canning jars and lids. Fill your water bath canner with water (enough to cover the jars by one inch) and bring to a full boil over high heat. Once boiling, reduce to a simmer and submerge the washed jars into water while you prepare the ingredientst for this recipe.
- Next, prepare the brine by adding the following ingredients to a sauce pan: water, vinegar, pickling salt, and sugar. Bring these ingredients to a boil over medium-high heat, stirring to make sure the salt and sugar are both completely dissolved. Turn off the heat once done.
- Once you have assembled and prepared the ingredients, remove the jars from the canner, pouring the water in the jars back into the pot.
- Drop one clove of garlic into each jar and then evenly distribute the dried dill seeds, mustard seeds, and black peppercorns into the jars as well.
- This is completely optional, but I like to insert a dill blossom into each jar for added flavour and visual appeal. You can skip this step completely.
- To pack the jars, carefully hold the jar on its side in your hand (use an oven mitt if the jars are hot to the touch) and lay the cucumber slices in to the jar so that they are standing on end. Pack the jars tight with the cucumbers slices. This will prevent floating, will ensure you have enough brine, and helps to keep the pickles crisp.
- Ladle the prepared brine into the packed jars, leaving 1/2 inch of headspace. Debubble and top up the brine if needed.
- Wipe the rim of the jars with a clean kitchen towel and apply the lid until just snug but not too tight.
- Use a jar lifter to transfer the jars back to the canning pot. Place a lid on the pot and water bath the jars for 10 minutes. (This processing time is for pint or 500mL-sized jars.)
- Once the pickles are processed, remove the jars from the canner and transfer them to a towel-lined cutting board to cool for 24 hours. Once fully cooled, check to see if the jars are properly sealed. Label the jars with the date and store in a cool, dry pantry for up to one year.
Did you make this recipe?
Upload a photo and tag me so that I can see it!






Leave a Reply