
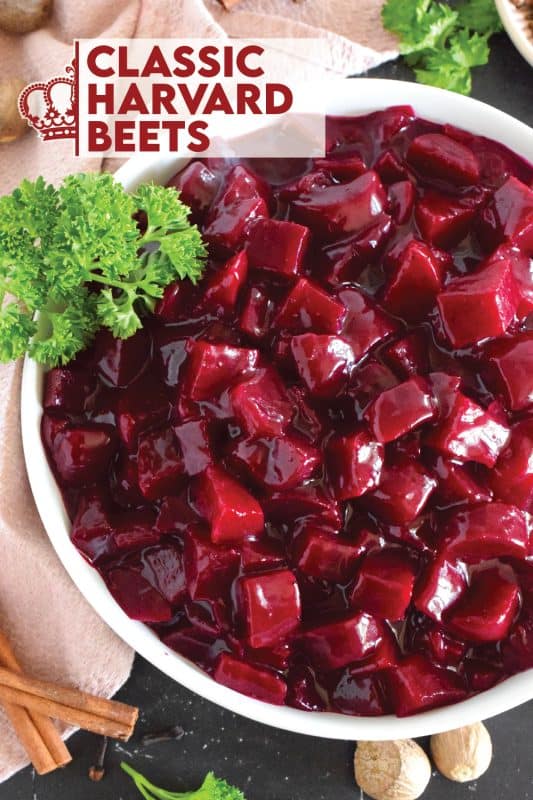
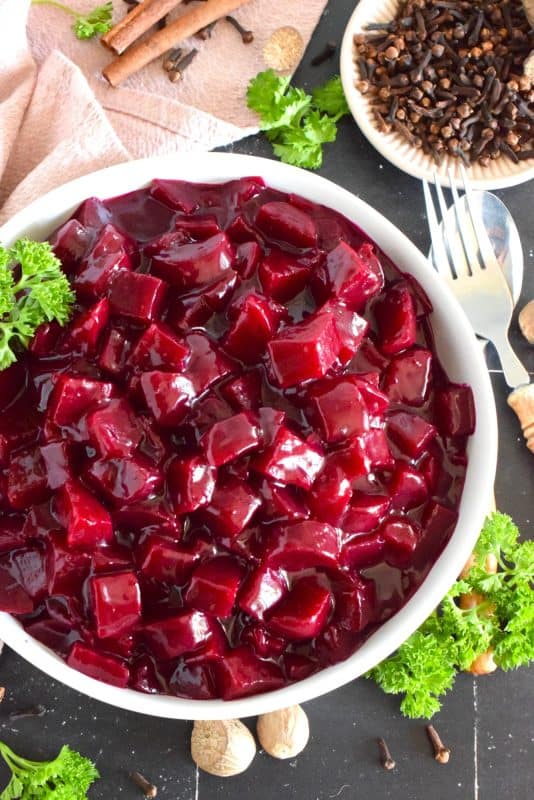
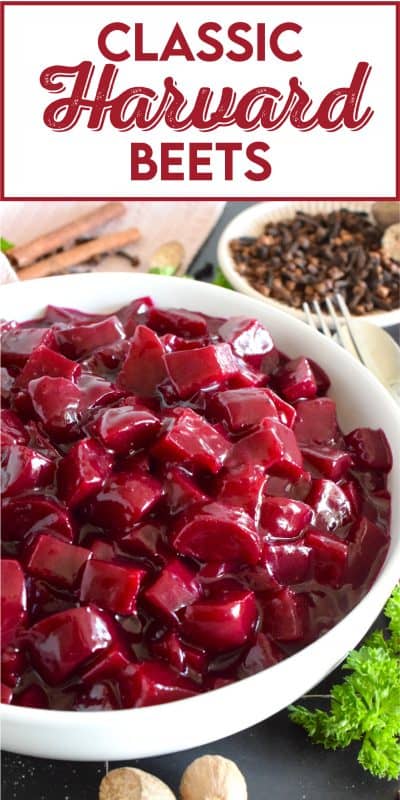
Harvard beets were a classic staple in our home when I was a child. My mom would purchase them in a can from the store and never ventured to prepare her own even though fresh beets were on hand in late summer. Serve these as a side or as a condiment and you will not be disappointed!
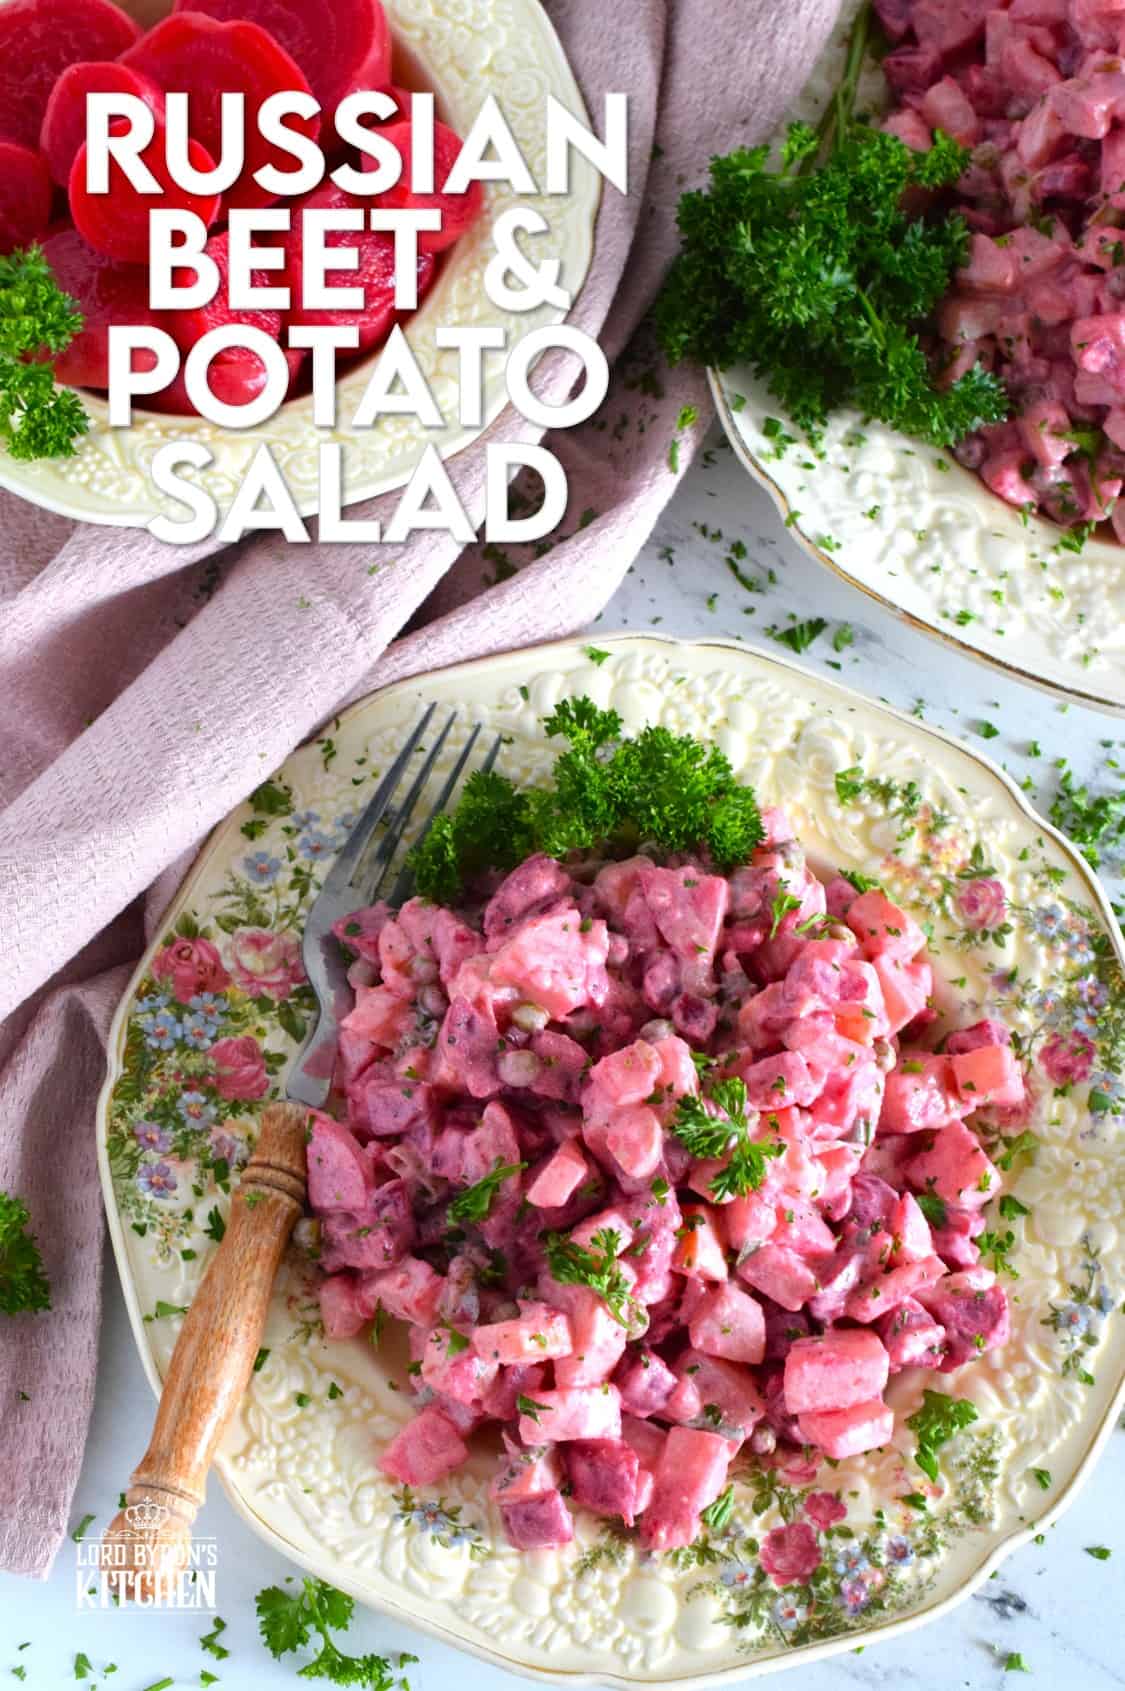
When I was a child, my mom used to use a store-bought can of Classic Harvard Beets to make her beet potato salad, but I was never a fan of it. I didn’t care for them in a potato salad, but they work really well with pan-fried liver. God, I miss eating liver! My Aunt Donna would fry liver that was coated in finely crushed Ritz crackers and serve it with chunks of boiled potatoes and a heaping spoonful of harvard beets. It was so delicious!
Make your own online recipe box!
Click the in the lower right corner of your screen
& follow the quick and easy instructions!
This particular recipe starts with cooked beets. If you are harvesting or buying fresh beets, please factor in the additional cooking time for the beets. I prefer to roast them, but you can use boiled beets here too. One of the main reasons I prefer to roast beets is that they have better flavour, and boiling beets can be quite messy because the water turns red and tends to splash out of the pot.
Roasted beets can be prepared ahead of time. In the event of a huge dinner like Thanksgiving – you know, when you have a million other things to do – preparing a few dishes ahead of time certainly cuts down on the stress level. I love to roast beets, allow them to cool completely, and then package them for freezing. They keep their texture and flavour quite well if you vaccum seal them before freezing.
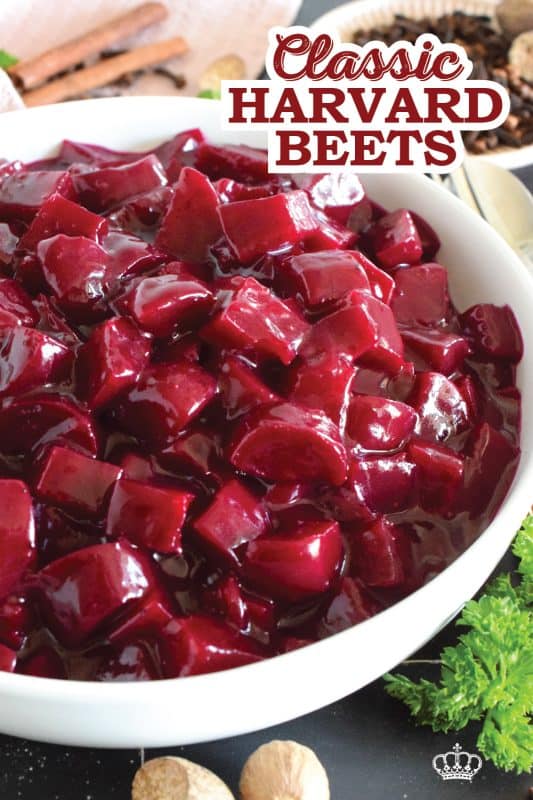
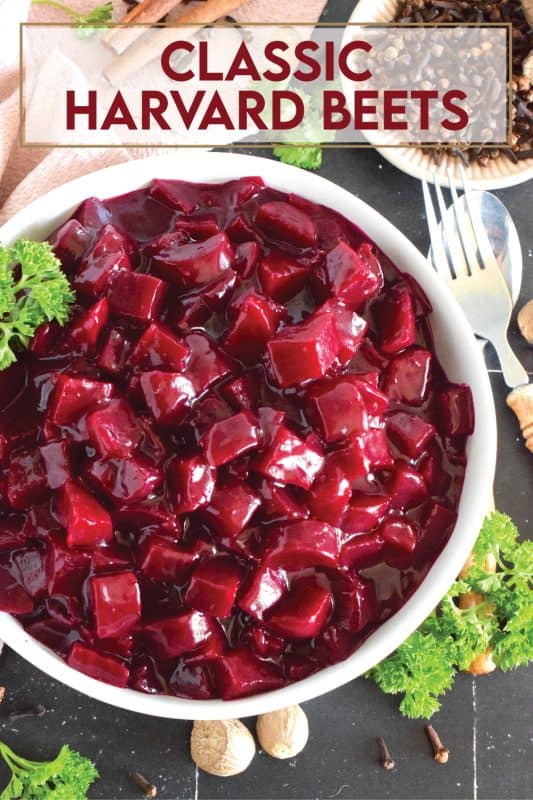
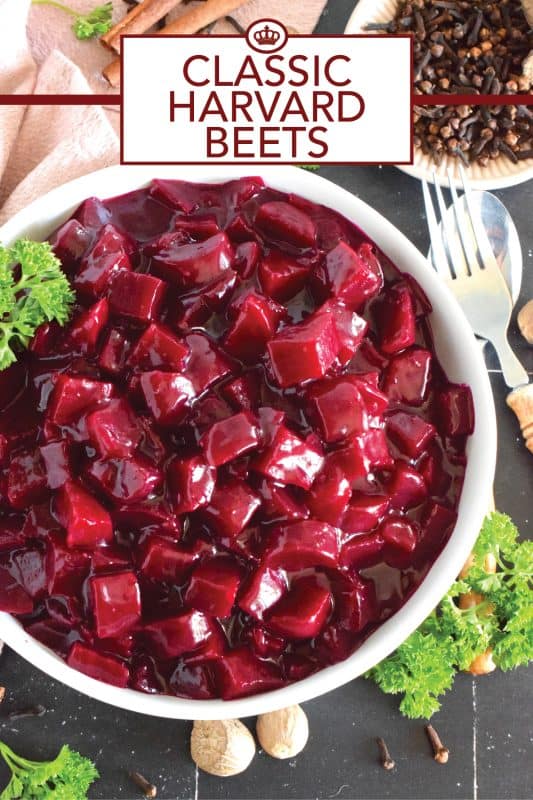
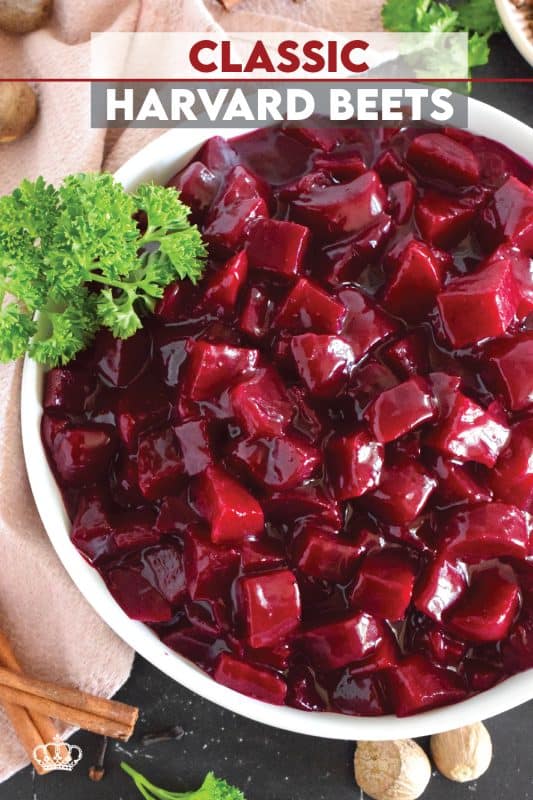
HARVARD BEETS
I’ve always been familiar with harvard beets, but in our home, they were just called canned beets. I don’t think I ever noticed the word ‘harvard’ on the tin can before. When I decided to try to make my own, research led me to discover that they were certainly called Harvard Beets.
But why are they called that and do they have anything to do with Harvard University? Well, unfortunately, I can’t find out for sure, but I red that they were named that because of the way the deep red colour looked like the Harvard Crimson football jersey. I also read that they originated in a tavern in England. The tavern was called The Harwood and that over time, they became known as Harvard Beets here in North America.
PREPARE AHEAD TO SAVE TIME LATER
If you plan on making these Classic Harvard Beets anytime soon, you can do some of the work ahead of time. The most time-consuming part of this recipe will be roasting the beets – that’s if you didn’t purchase pre-roasted beets. Beets can be prepared ahead of time. Once they are roasted and cooled, you can transfer them to a food-safe container with a tight-fitting lid. Refrigerate them for up to 5 days.
Preheat your oven to 400 degrees F. In the meantime, wash the beets really well, removing any soil residue. Do not cut the beets, leave the tails and a short stem intact! Wrap each beet loosely in aluminum foil and place on a baking sheet. Roast the beets for 40 minutes.
Once done, you should be able to easily pierce the beet with a toothpick with very little resistance apart from the skin. If the beet is still on the firm side, roast it for an additional 5-10 minutes and check again. Some beets take longer than others. Remove the beets from the oven and allow them to cool for 20 minutes. Remove the aluminum foil, and while holding the beet under running water, gently rub the skin with your hands/fingers to remove the skin. Once all of the skin has been removed, trim the tails and stems, cut the beets into a dice and transfer them to a food-safe container for refrigeration.
BEETS – ONE OF MY FAVOURITE ROOT VEGETABLES
We are getting very close to the end of the growing season here at the Thomas-Ewing household. When we bought our house a few years ago, little did I know that it would be the garden that gave me the most joy. Sure, the house is nice and comfortable, but after living in downtown Toronto for so long with just a balcony to grow a tomato or two, owning a backyard and having room to grow fruit, berries, and vegetables is a dream come true! The beets you see here were grown and nurtured by yours truly!
As I get older, I hate for summer to end. It’s odd because I used to really despise summer. I dreaded the hot and humid temperatures, but I now realize that it wasn’t summer that I didn’t like so much as it was living in a crowded, smoggy city. That daily commute, packed like sardines in a subway car that wasn’t airconditioned, certainly didn’t help much! Every single day I am thankful that those days are behind me now.
Do you have a question or comment?
Would you like to leave a review?
Scroll down to the comment section and write me a message.
I will personally respond as soon as possible!
There is something very calming and satisfactory about mixing different soils with fertilizer to get the right growing conditions. And that moment when you first witness those little yellow-ish green stems pushing their way up through the dirt is indescribable. All summer long, a grateful gardener will watch hydration levels, trim and cut away suckers, prop and lift heavy produce-bearing bushes, pull weeds, and gaze in complete wonderment as flower blossoms slowly turn into a favourite fruit or vegetable.
I had no idea how much gardening would consume me – not just in the summer months, but also in the cold of winter when I can be found shopping for seeds online, working on a visual representation of my raised bed planting guide at my computer, or researching which flowers or herbs to plant beside certainly fruits or vegetables.
All of this makes me think differently about preserving my home-grown produce. Because I grow so much, by the end of the season, I have a pantry full of canned tomatoes, salsa, relish, pickles, jams, jellies, beets, carrots, beans, etc. And time after time, when in the cold winter months I open a jar, I can’t help but smell the contents of that jar knowing full well that I managed to lock that summer fresh taste and scent into it. If you waste not, you want not, so with that in mind, let’s use up some of my home-grown beets!

INGREDIENTS NEEDED FOR THIS RECIPE
The following is a list of the ingredients needed to prepare this recipe. For exact amounts and measurements, refer to the printable recipe card located near the bottom of this post.
- Beets – You can buy roasted beets at some grocery stores. Costco has some really tasty roasted beets. If you have fresh beets at home, they are so easy to roast in your oven.
- Sugar – Classic Harvard Beets are slightly sweet.
- White Vinegar – They are slightly tart too!
- Water
- Cornstarch – This is used to thicken the sauce.
- Butter
- Seasonings – You will need ground cloves, ground cinnamon, ground nutmeg, ground black pepper, and salt.
HOW TO MAKE CLASSIC HARVARD BEETS
Measure the sugar, water, vinegar, and cornstarch into a large saucepan. Over medium heat, stir and bring the mixture to a boil. Lower the heat to simmer and continue to cook for 5 minutes. Add the beets and cook for 5 more minutes.
Add the remaining ingredients to the saucepan and stir to combine. Once the butter is fully melted, the beets are ready. Allow the beets to cool until warmed for serving or cool, cover, and refrigerate. Classic Harvard Beets can be served warm or chilled.
QUESTIONS?
If I have not answered all of your questions in the text above, don’t hesitate to reach out to me! You can contact me by sending me a message in the comments section further down the page. I will try my best to answer as soon as possible! You might reach me even faster by following me on Facebook and sending me a private message. Scroll down below the recipe card to find my Follow Me on Social Media box and never miss another recipe!
Do You Like This Recipe?
You should consider trying these other delicious recipes too!


Classic Harvard Beets
Ingredients
- 1 pound beets, roasted, cooled, and cut into a dice
- 1/3 cup sugar
- 1/3 cup white vinegar
- 1/3 cup water
- 1 tablespoon cornstarch
- 1/4 teaspoon ground cloves
- 1 tablespoon butter
- 1/4 teaspoon salt
- 1/4 teaspoon ground cinnamon
- 1/4 teaspoon ground nutmeg
- 1/4 teaspoon ground black pepper
Instructions
- Measure the sugar, water, vinegar, and cornstarch into a large saucepan. Over medium heat, stir and bring the mixture to a boil. Lower the heat to simmer and continue to cook for 5 minutes.
- Add the beets and cook for 5 more minutes.
- Add the remaining ingredients to the saucepan and stir to combine. Once the butter is fully melted, the beets are ready.
- Allow the beets to cool until warmed for serving or cool, cover, and refrigerate. Classic Harvard Beets can be served warm or chilled.
Nutrition
Did you make this recipe?
Upload a photo and tag me so that I can see it!


Joanne says
Harvard Beets what is the process for canning them. Thank You.
Byron Thomas says
Hi Joanne – I have not canned these.