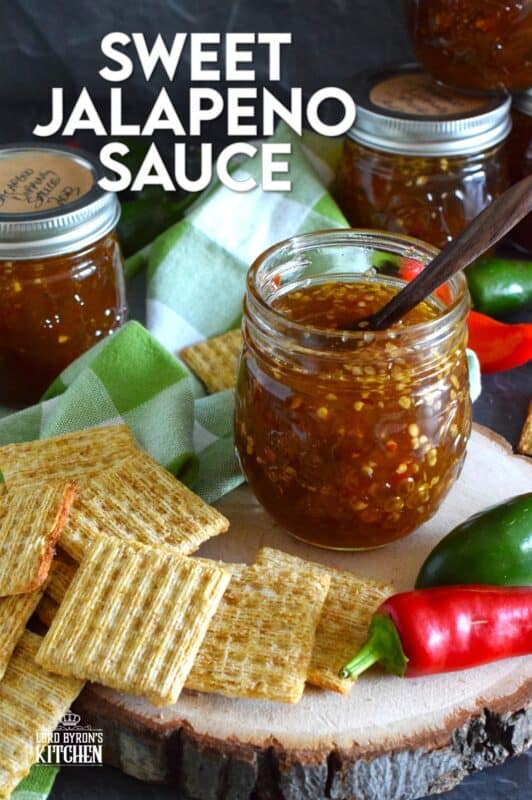
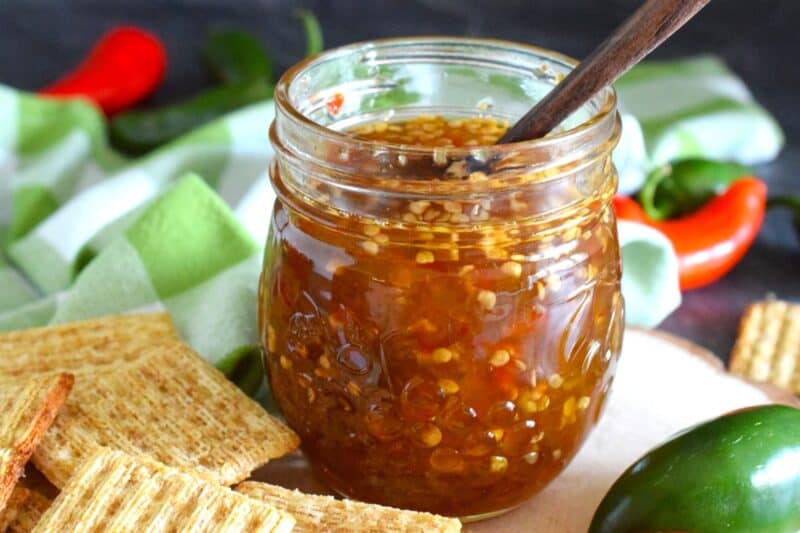
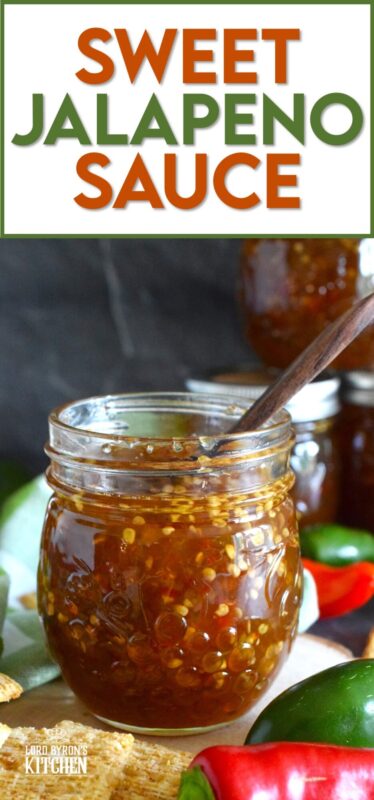
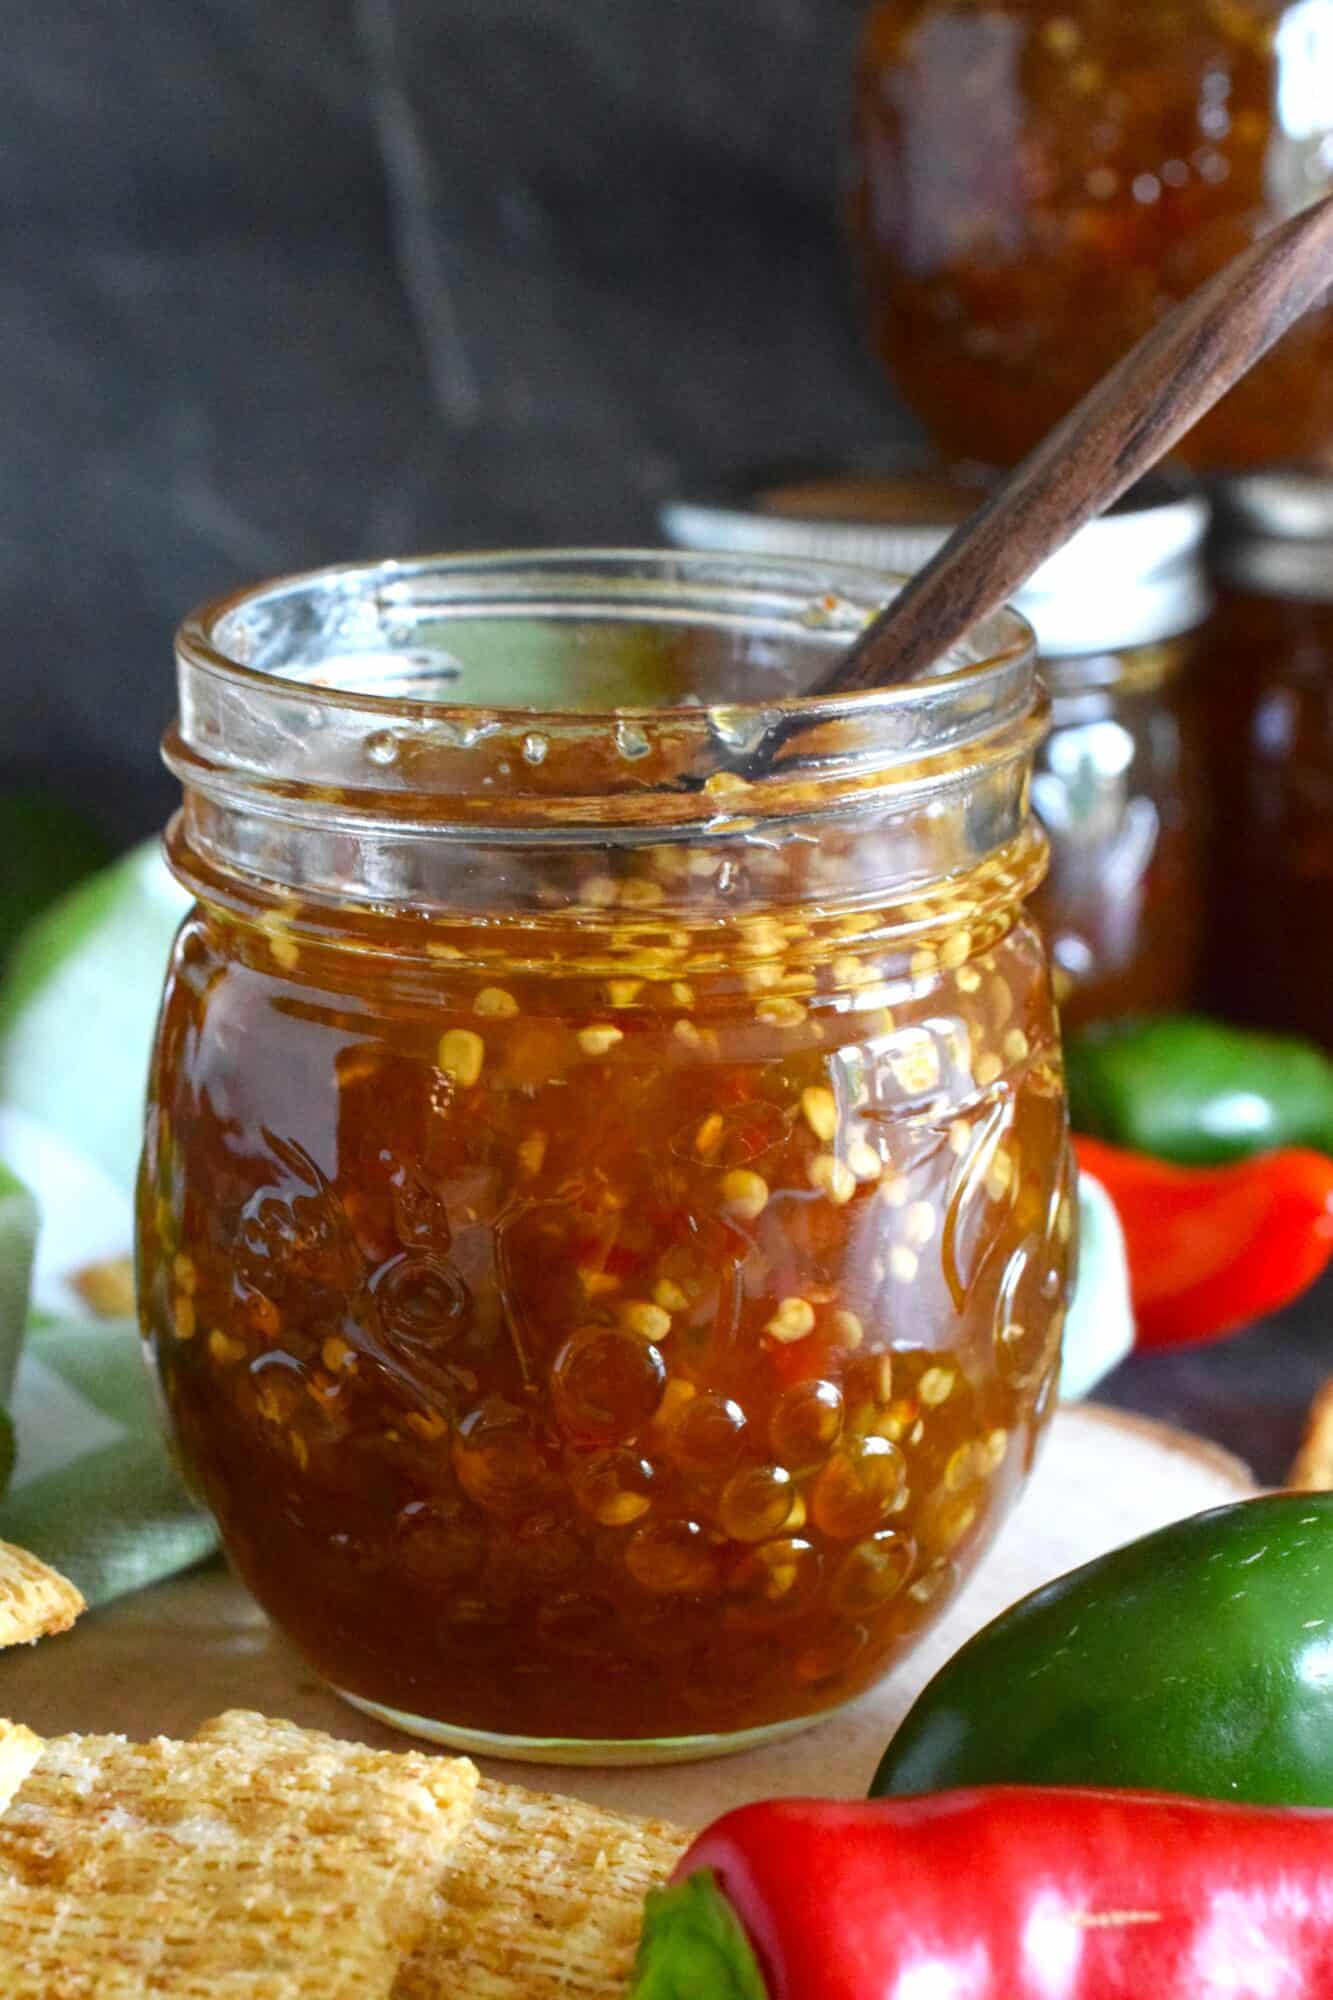
Easy to make using a water bath canning method, this Sweet Jalapeno Sauce can be used as a dip for things like chicken nuggets, used as a spread on baked chicken, pork chops, or even sandwiches. You can pour it generously over baked brie, or stir some into pasta salads. It’s also quite delicious on grilled meat and veggies!
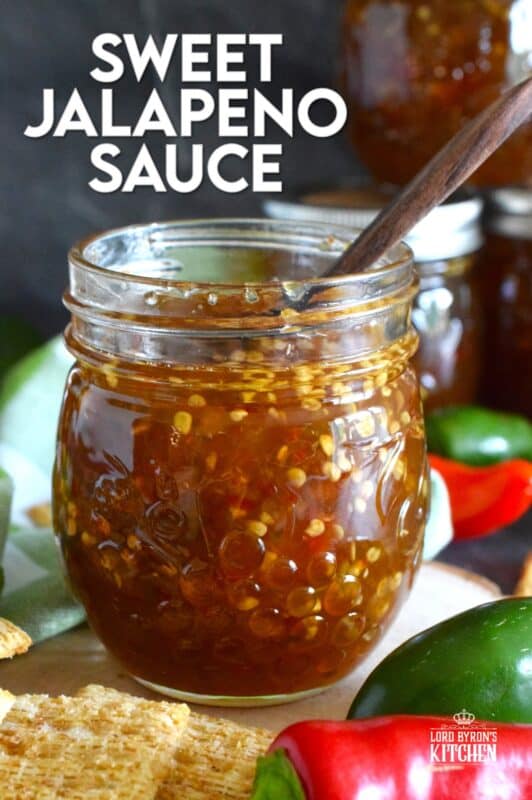
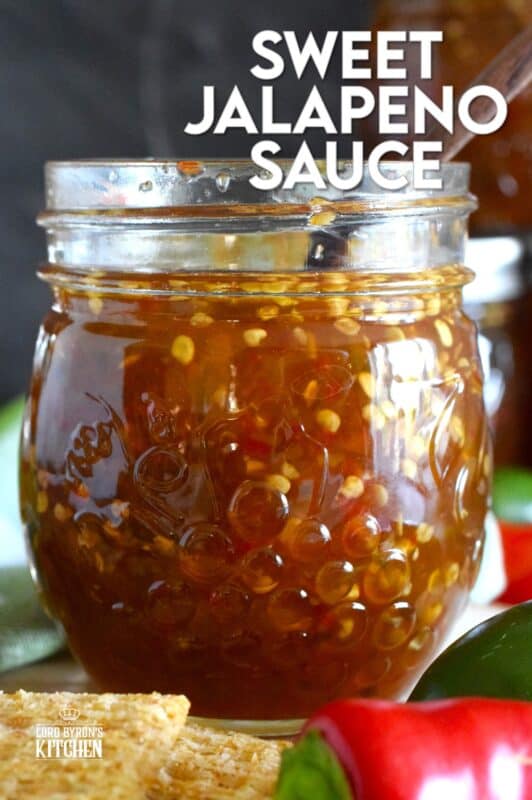
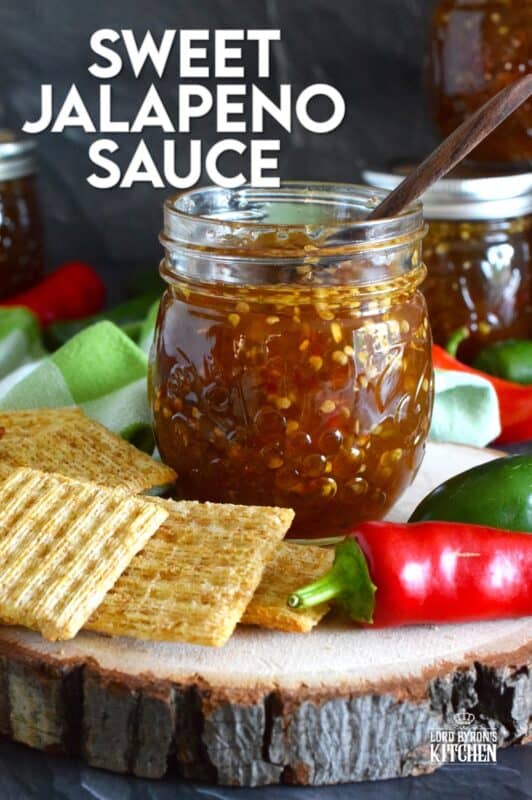
Sweet Jalapeno Sauce can easily be compared to a sweet pepper jelly, but in the case of this recipe, only jalapenos are used and the sauce is pourable even though it is quite thick and sticky. In contrast, jelly is a soft solid that needs to be spread with a knife. Sweet pepper jelly is also sweeter whereas Sweet Jalapeno Sauce is well balanced with both sweetness and a lot of heat.
This recipe does require the use of a water bath canner to preserve the sauce for longterm storage. If you are unfamiliar with the process of water bath canning or nervous about doing so, don’t be! I will walk you through it step by step. It’s so easy that you will find just about any reason to break out your water bath canner again – especially if you’re growing veggies in your backyard this summer!
Make your own online recipe box!
Click the in the lower right corner of your screen
& follow the quick and easy instructions!
PREPPING THE JALAPENOS
Like most canning recipes, the most time-consuming part of the whole thing is prepping the food itself. Remember, canning means you’re most likely working with very large quantities, so there’s bound to be lots of washing, chopping, peeling, etc.
If we were making a jelly, I would encourage you to chop the jalapenos by hand rather than in a food processor. For a jelly, a food processor will chop the peppers too finely. And, if you over-process them, there might be a little pulp. That will most definitely cloud your jelly. You want nice, clear jelly with very visible floating bits of peppers. That logic does not apply to this Sweet Jalapeno Sauce.
Still, even though you can wash the jalapenos, chop off the stem and discard it, and pile the flesh of the jalapenos into a food processer, chopping the peppers by hand gets my vote every single time. I firmly believe that home canning should be therapeutic. I have an old-fashioned radio in my kitchen. Whenever I’m canning, I tune it to a country music station and get to work. Sure, I might bop a little while I chop, but nobody is ever there to see it! Ha!
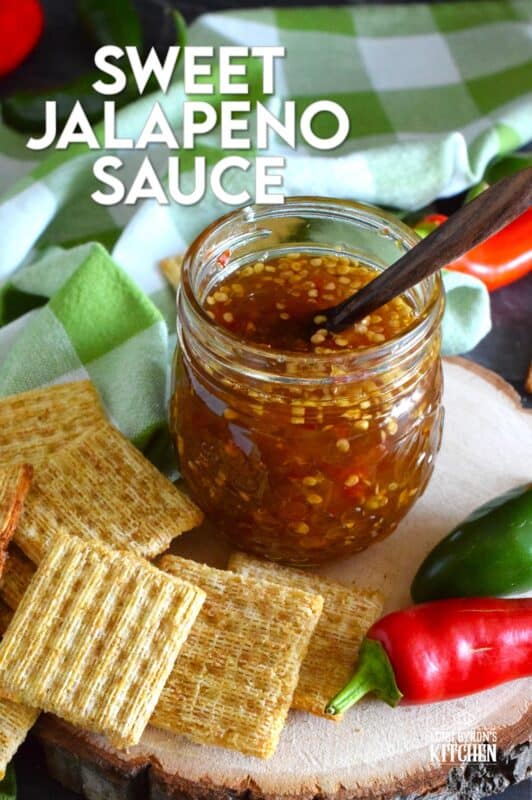
INGREDIENTS NEEDED TO PREPARE THIS RECIPE
The following is a list of the ingredients needed to prepare this recipe. For exact amounts and measurements, refer to the printable recipe card located near the bottom of this post.
- Jalapeno Peppers – You can use all green jalapenos or if you’re like me, you leave them on the plants to ripen until they are red. I had a lot of red jalapenos and just a few green ones. Both will work perfectly fine in this recipe.
- White Vinegar – This certainly adds enough acid to make this recipe water bath safe!
- Cider Vinegar – Again, adding acidity, but this one also adds flavour and colour.
- Sugar – There is a lot of sugar in this recipe, but it is needed! The sugar will sweeten, thicken the sauce, and act as a preservative.
- Pectin – I have not tested this recipe with liquid pectin. I have only used powdered pectin; it was the no sugar needed type.
- Dried Red Chilies – Sometimes jalapenos can be quite mild. Take a bite of the jalapenos you’re working with to see if they are hot enough for you. If you want the sauce to be hotter, add some dried red chilies. In contrast, if you want a mild sauce, remove the seeds and membrane from your jalapenos before finely chopping them.
HOW TO WATER BATH CAN
STEP 1: PREPARING THE JARS
Some canners say that if you need to boil the jars longer than 10 minutes, then you don’t need to sterilize the jars. I say no! Canning is not as simple and cheap as frying an egg. It takes time, and an investment if you don’t already have the equipment. Eliminate any risk whatsoever by always sterilizing your jars. It’s easy to do! Wash the jars in hot, soapy water. Rinse the jars well under running water to get rid of any soap residue.
Transfer the jars to a large pot of water. Bring to a boil and boil for 2-3 minutes. Using a jar wrench/lifter, lift the jars out of the water, tilting to pour out the water. Be careful; it’s hot! Stand the jar up on a baking sheet. Once all of the jars are on the baking sheet, place them into your preheated oven at 200 degrees F. This will keep them hot and away from any contamination.
STEP 2: PREPARING THE SEALS AND RINGS
Mason jars are equipped with three parts. The first is the jar. The second and third parts combine to form the lid. The flat disc with the rubber ring on the bottom is the seal. Finally, the circular part that actually screws onto the jar is called a screw band. Depending on the brand or the recipe you’re reading, the names of these things can vary. But, they all do the same thing.
The screw bands never come in contact with the food, so they do not need to be washed or sterilized. But, because I want to eliminate any risk of contamination, I make sure they’re clean. After all, they have been sitting in a warehouse before they got to the store, and then finally, to me. That’s too many germs for my comfort level! I wash them in hot, soapy water, rinse them well, and transfer them to a bowl until I need them. The sealing disk/sealing ring needs a little more consideration.
If you look at the bottom of the lid, you will see a reddish-brown rubber ring. It’s attached to the lid. This ring has a huge job! It is pretty much in charge of keeping your food safe for long-term storage. Place the lids into a glass bowl. I like to separate them so that they are not all stacked. When I’m ready to ladle the food into the jars, I pour a kettle of boiling water over the lids so that they are sterile and the rubber band softens. That’s it. You have now prepared your jars. Next, we need to get the canner ready!
STEP 3: PREPARING THE CANNER
You can buy a canning pot, but you don’t have to do that. Any stock pot will do just fine. Be sure that the pot is tall enough to hold enough water so that your jars are covered by at least an inch of water. Fill the canning pot accordingly. Also, be sure to insert a canning rack or mat into the bottom of your pot. If you buy a canning pot it will come with one. Otherwise, you can buy them for any pot size. Never let your jars touch the bottom of the pot when boiling. They could easily break. Once you’ve done this, bring the water to a full boil.
In most cases, if you’re new to canning, you might notice some white residue on the jars after all is said and done. This can easily be cleaned off once the jars are cool. A few tablespoons of white vinegar in the boiling water helps to eliminate most of it. I use it every single time.
Lastly, it’s always a good idea to keep a kettle of boiling water close by. Depending on how many jars you need to process, you might have to boil them in batches. You will be surprised at how quickly rapidly boiling water can evaporate. Having a kettle of boiling water will allow you to easily top up the canning pot without altering the temperature of the water.
Do you have a question or comment?
Would you like to leave a review?
Scroll down to the comment section and write me a message.
I will personally respond as soon as possible!
STEP 4: FILLING THE JARS
Depending on the recipe, filling the jars is quite easy. Having some inexpensive equipment on hand can make this process much easier. Invest in a canning funnel. It will help you ladle the food into the jars without making a mess. Also, it’s imperative to keep the rim of the jar clean to ensure a good seal. You will also need a bubble remover. You can buy these, but I’m not a fan of them. A clean wooden chopstick does the same thing. Removing bubbles will prevent mould from growing.
Lastly, you will need a magnetic lid lifter. Remember how I said the flat sealing lids will be submerged in a bowl of boiling water? Well, you can’t just pick them up with your hands. First of all, it’s hot! Secondly, you will want to eliminate the risk of any contamination. Do not touch the underside of the lid. Period! Using a magnetic lid lifter will allow you to pick up the lid and position it right onto the rim of the jar without ever touching it.
Finally, you will need to screw on the metal screw bands. In most cases, the food in the jars is scalding hot, so you can’t touch the jars to tighten the lids. But, that’s a good thing! You should never over-tighten the lids. Place the screw band over the jar and tighten it with one hand. It should be snug, not tight. Now, that’s it! You’re ready to boil these jars!
STEP 5: BOILING THE JARS OF FOOD
Carefully lift the jars straight up using a jar wrench/lifter. Lower the jar into the pot of boiling water. Fill the canning pot with jars in this manner. Don’t jam the jars in; leave a little bit of space between the jars. I aim for about a centimetre or a finger’s width. Remember, you can process the jars in batches.
Once the canning pot is loaded, place a lid on the pot, and start your timer according to the recipe you are following. If the water is not at a full boil, do not start timing until it is! When the time is up, use the jar wrench to lift the jars straight up out of the water. Transfer the jars to a flat surface that has been lined with a few layers of kitchen towels. Allow the jars to fully cool – at least 24 hours! Finally, wipe the jars down, label them with contents and date, and store them in a cool, dark cupboard or pantry.
Some people remove the screw bands after the jars have cooled for 24 hours. I remove them just to check if there is a good seal. I put them back on once I’ve checked. It’s up to you if you want to leave them off. If you notice that a jar has not sealed, you can either discard it, or refrigerate it for immediate consumption. Only do so if you are 100% sure the food has not been compromised and that it is safe to eat.

QUESTIONS?
If I have not answered all of your questions in the text above, don’t hesitate to reach out to me! You can contact me by sending me a message in the comments section further down the page. I will try my best to answer as soon as possible! You might reach me even faster by following me on Facebook and sending me a private message. Scroll down below the recipe card to find my Follow Me on Social Media box and never miss another recipe!
Do You Like This Recipe?
You should consider trying these other delicious recipes too!


Sweet Jalapeno Sauce
Ingredients
- 4 cups jalapenos, finely chopped (measure after chopping)
- 2 cups white vinegar
- 3 cups cider vinegar
- 1.75 ounces pectin (Sure Jell or Certo works very well!)
- 10 cups sugar
- 1 tablespoon dried red chili flakes, optional (only add if you prefer more heat)
Instructions
- Prepared jars and canner according to instructions in this post, or according to your canner's instruction manual.
- Add all ingredients to a large pot. Be sure the pot is tall enough to accommodate the bubbling up of the mixture as it boils.
- Turn the heat to medium-high. Bring to a full boil.
- Once boiling, time the mixture for 10 minutes. Stir continuously.
- Remove from heat.
- Using a canning funnel, fill the jars leaving 3/4 inch head space. Wipe down the rim of each jar with a damp paper towel to ensure none of the jelly has come in contact with the rim.
- Carefully remove the sealing discs from the hot water with a magnetic lid lifter. Position the sealing disc directly onto the lid of the jars. Do not touch the underside of the lid.
- Screw on the screw bands until firm – do not apply pressure! Just use your fingertips to tighten the screw bands.
- Using the jar lifter, place the jars into the canner, leaving a finger-width of space between each jar. You can process the jars in batches if your canning pot is not large enough.
- With the lid on the pot, boil the jars for 10 minutes. Do not time the boiling until the water has come to a full boil.
- Carefully remove each jar from the canner using the jar lifter. Do not tilt the jars or try to wipe them dry. Place jars onto a wire cooling rack that has been covered with a clean kitchen towel.
Notes
Nutrition
Did you make this recipe?
Upload a photo and tag me so that I can see it!




Tonne Madden says
Delicious!!!!