Canned Roasted Peppers
Canned Roasted Peppers are a versatile condiment, ingredient, and topping. The ways to use Roasted Red Peppers are endless, and making your own is both easy and fun! If you grow your own, and have an abundance of peppers that you prefer not to freeze, try canning them for longterm pantry storage!
Print Recipe
Ingredients
- 16 bell peppers, washed and dried
- water
Instructions
INSTRUCTIONS FOR OVEN ROASTING
- Begin by preheating your oven to 500 degrees F. Line a baking sheet with parchment paper. Set aside. Wash and dry the peppers well. Remove the core and cut them into quarters. Once the red peppers are prepared, lay them on the baking sheet, skin side up. Place in the oven on the middle rack. Allow to broil until skin is blistered and has blackened. Remove from oven and transfer immediately to a large Ziploc bag. Seal and set aside for 30 minutes. Remove the peppers and gently peel away the blackened skin before moving on to canning for preservation.
INSTRUCTIONS FOR FLAME ROASTING
- For a flame/gas stovetop or an outdoor grill, you do not need to cut the peppers into quarters. Even though you are removing and discarding the skin, still wash and dry the peppers to ensure that there is absolutely no room for contamination. Over a very high flame, place the whole peppers directly on to the grill and allow the skin to blacken. Turn the peppers so that all sides are charred. Once done, transfer the peppers to a large Ziploc bag and seal for 30 minutes. If you are canning a very large batch, you can also transfer the charred peppers to a large baking sheet and cover them with a clean, damp kitchen towel.
PRESSURE CANNING ROASTED RED PEPPERS
- Once cooled, massage the peppers with your thumb and index fingers to remove the skin. The charred skin should slide off quite easily. Not every single bit of char need to be removed! Just get most of it off. Remove the stem an scoop out the seeds. You can quarter the peppers, slice them or dice them, but I like to leave them whole once I have removed the stem and seeds. Flatten the peppers and slide them into a clean pint-sized mason jars. You can fit 4-5 regular sized peppers in the jar. Set the jars aside and prepare your pressure canner.
- While the pressure canner is heating up, bring to a full boil a kettle of water. Once the water is boiled, pour it into the jars with the peppers leaving one inch of headspace. Debubble the jars and top them up with more boiled water if needed. Wipe the rim of the jars and place the seal and ring on, tightening just finger tight. Transfer the jars to your prepared pressure canner and tighten the lid.
- Allow the canner to steam vent for ten minutes. Next, process for 35 minutes using a 10 pound (69 kPa) weighted gauge. Be sure to adjust pressure for your altitude if over 1000 feet. Time the processing from the time the canner has reached full pressure. Once done, turn off the heat and allow canner to de-compress naturally.. (Ten pounds if recommended for those of you who are 0-2000 feet above sealevel.)
- Carefully remove each jar from the canner using the jar lifter. Do not tilt the jars or try to wipe them dry. Place jars onto a wire cooling rack that has been covered with a clean kitchen towel. Leave the jars to cool for a minimum of 12 hours. Once cooled, wipe the jars of any residue that might have been transferred to the outside of the jar during the boiling process. Label the jars and store in a dark, cool cabinet. Peppers will keep for 12-18 months.
Notes
This recipe will make 4 pint-sized jars. You can increase the number of jars. For every jar, you will need at least 4 regular-sized bell peppers.
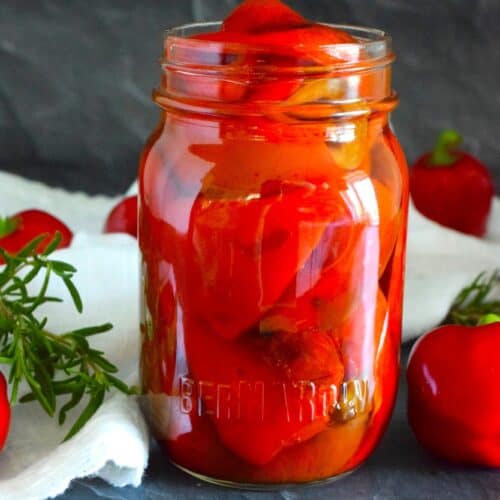
Please note that the larger jar of peppers pictured are for illustration purposes only. I tried to photograph my pint-sized jars, but they didn't do the peppers justice, so I opened several jars and tranferred the peppers to a larger jar just for that purpose. The recipe is written and was prepared using pint-sized jars. I have not tested the canning process with larger jars.