
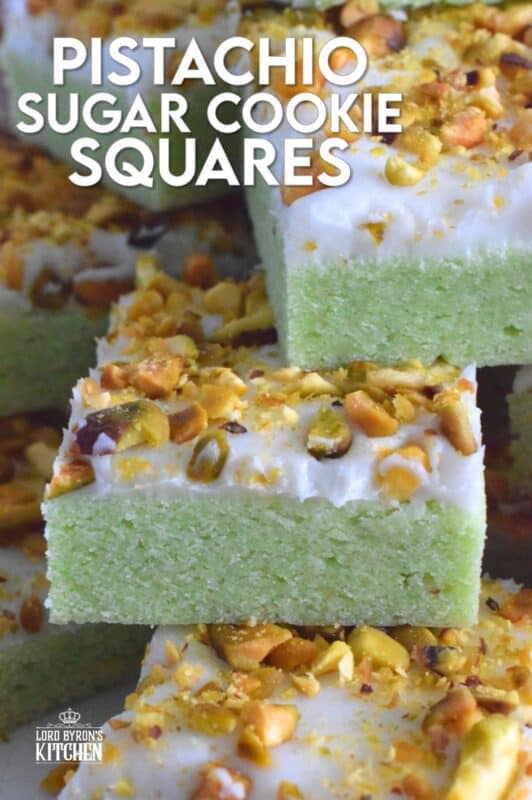
The uncomplicated and delicious sugar cookie gets a fresh, new flavour profile, and an upgrade in this Pistachio Sugar Cookie Squares recipe. The classic sugar cookie base is pistachio flavoured and prepared with boxed pistachio pudding powder. Topped with a layer of delicious buttercream frosting and sprinkled with roasted, salted chopped pistachios, this cookie is simply irresistible!
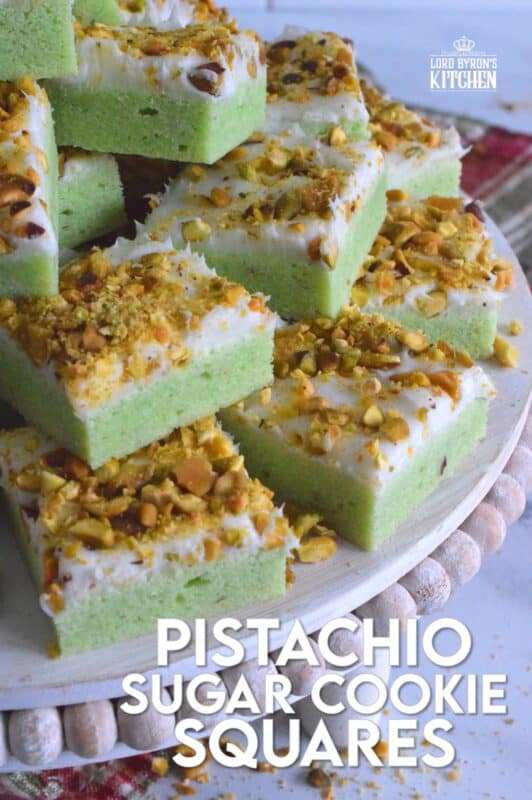
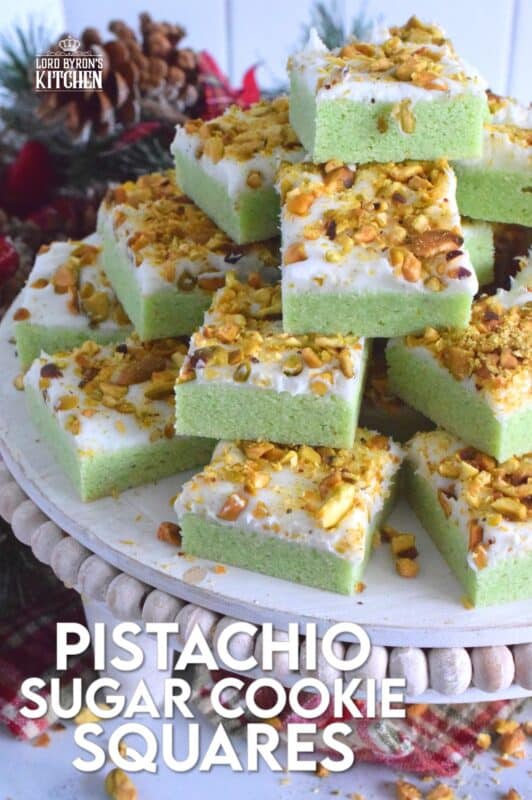
I think the past few Christmases, I have prepared a pistachio-flavoured cookie as a part of my holiday baking. We absolutely love pistachios and because of that beautiful green colour, these Pistachio Sugar Cookie Squares are perfectly festive too!
Christmas and sugar cookies go hand in hand, so creating a pistachio sugar cookie base for these squares was a no-brainer. And, because I’m a firm believer in topping squares or bars with frosting or chocolate, I opted for a buttercream. Topping the squares with roasted, salted chopped pistachios balances out the sweetness of the buttercream quite well. These really are quite extraordinary!
Make your own online recipe box!
Click the in the lower right corner of your screen
& follow the quick and easy instructions!
If this so happens to be your first time trying sugar cookie squares – especially one that is pistachio flavoured – you are in for a treat! In this square, you get the familiar flavour of a sugar cookie; we are all familiar with that much at least! Then, because of the addition of the pistachio pudding, you get that recognizable flavour.
When you decide to make sugar cookie squares rather than sugar cookies, you get to forego the task of rolling out dough and breaking out your stash of cookie cutters. There’s no messy flour all over your kitchen counter either! Baked all at once, cooled, frosted, and cut into bars is much easier, isn’t it? I can’t wait for you to sink your teeth into one of these!
LORD BYRON’S 12 BARS AND SQUARES OF CHRISTMAS
Pistachio Sugar Cookie Squares are the second holiday confection in my new series! Yes, that’s right, Dear Reader! I’m kicking off another holiday baking series, just like I have for the past few Christmases! Welcome to Lord Byron’s 12 Bars and Squares of Christmas!!!
If you have been reading my blog for while – well, at least anytime around Christmas for the past few years – you must have run into at least one of my Christmas baking countdowns. This particular countdown is all about bars and squares. For 12 consecutive days, I will share a holiday-based bar or square recipe with you. That means on Saturday and Sunday too! I usually publish new recipes three times a week, so I hope you’re up for this!
You really don’t want to miss one of these recipes, so if you have not yet subscribed to Lord Byron’s Kitchen, I encourage you to do so. That way, a new recipe will be emailed to you every day. You won’t have to bother to come looking for it! Like in previous holiday baking countdowns, I like to mix up the recipes in the series so that there is something for everyone. There will be bars and squares with chocolate, some with candy, and some with nuts too. Are you ready for day 2!!??
Looking For More Christmas Confections?
Lord Byron’s Kitchen has more than enough to satisfy your sweet tooth! Click on the links below to see a countdown series of holiday recipes from that category!
INGREDIENTS NEEDED TO PREPARE THIS RECIPE
The following is a list of the ingredients needed to prepare this recipe. For exact amounts and measurements, refer to the printable recipe card located near the bottom of this post.
For the Base:
- Salted Butter – Make sure your butter is softened and at room temperature! I always use salted butter, unless stated otherwise. If you use unsalted butter, add 1/4 teaspoon of salt when you add the flour and baking powder.
- Pistachio Pudding Mix – You will need two packages. Please read the recipe card and the section below for more details.
- Sugar – Sugar has more than one function in baking. Not only does it add sweetness, but it will caramelize too, which will help to brown cookies and cakes.
- Eggs – Whenever you set out to bake, make sure your eggs are at room temperature too – just like your butter!
- Vanilla Extract – Probably the most common extract and the most common flavouring used in cakes and cookies.
- Almond Extract – This extract certainly makes up the bulk of the almond flavour. If you don’t have any, you can use all vanilla extract instead.
- Green Food Colouring
- Flour – No need for anything special. Just use regular all-purpose flour. I have not tried this recipe with any other type of flour.
- Baking Powder – This is used to increase the volume of the batter and to add texture as well.
For the Frosting:
- Confectioner’s Sugar – This superfine sugar is sometimes called powdered sugar. It is used in frostings quite often.
- Vegetable Shortening – Make sure your shortening is at room temperature!
- Vanilla Extract – Probably the most common extract and the most common flavouring used in cakes and cookies.
- Milk – When a baking recipe requires milk, I always use whole milk, unless otherwise stated.
WHAT TYPE OF PISTACHIO PUDDING SHOULD I USE?
Basically, there are two types of boxed pistachio pudding – regular and instant. In most cases, you’ll be hard-pressed to find regular pudding mix anymore, because the world has gone and got itself in a hurry. Don’t worry; the instant works perfectly and that’s what I used in this recipe.
WHOLE, RAW, ROASTED, SALTED – WHAT TYPE OF PISTACHIO CAN I USE?
Again, you can have total flexibility here. You will want to use chopped pistachios, or you can buy whole as I did and chop them yourself. I must confess, I’m not a fan of raw nuts of any kind. I know they’re better for me, but I grew up with roasted, salted nuts and seeds.
So, that’s what I used here. I used whole, dry-roasted, salted pistachios from Trader Joe’s. If you are only able to find raw pistachios, there’s no need to worry; you can easily roast them yourself. Or should I say toast? Ha!
Do you have a question or comment?
Would you like to leave a review?
Scroll down to the comment section and write me a message.
I will personally respond as soon as possible!
TOASTING NUTS
The first thing you should do is toast the nuts. How do you do that? It’s very simple! To be perfectly honest, this applies to any nuts or seeds, not just the nuts in this recipe. If you are not familiar with toasted nuts, then please try it just once. You will probably never revert to using nuts in your cooking or baking again without toasting them first!
I have tried using non-stick frying pans for toasting, but nothing works as well as a stainless steel pan. You could use a cast iron pan, but since they get very hot and retain heat so well, it’s easier to burn the nuts. See the frying pan in this picture? That’s the exact one that I use all the time. I’m not suggesting you run out and buy this same cookware set, but I want you to see the pan – remember, do not use non-stick if possible. You’ll get better results with plain stainless steel.
So, unlike most cooking where you’re required to preheat first, you don’t want to apply that same rule to toasting nuts. Add the nuts to a cold pan. Place the pan on the burner and turn the heat on – no higher than medium and probably even less if using a gas burner.
Keep the nuts moving about. I use a rubber spatula. Once you start to smell that warm and toasty aromatic smell, pay close attention. The nuts will take on a darker colour. Don’t let them get too dark. Once you’re satisfied, immediately remove them from the hot pan and transfer them to a dinner plate where they can be spread out to cool.

HOW TO MAKE PISTACHIO SUGAR COOKIE SQUARES
Begin by preheating your oven to 350 degrees F. Line a 9×9 baking pan with parchment paper. Fold the parchment paper so that it fits snugly in the pan. I use two sheets – one folded to fit the length of the pan and another folded to fit across the pan. Allow the excess parchment paper to hang out over the side of the pan. Once the confection is firm, use the excess parchment to lift the whole block out of the pan to make it easy to cut into squares.
Next, add the softened butter, dry pistachio pudding mix, and sugar to a large mixing bowl. Beat until creamy and well combined. Add in the eggs, vanilla extract, and almond extract. At this point, add a drop or two of liquid green food colouring as well if you prefer a more vibrant green colour to your finished squares. Beat into the butter mixture. Finally, add the flour and baking powder. Beat to combine.
Press the cookie dough into the prepared baking pan. Bake for 20 minutes or until the outer edges of the cookie dough are just very lightly browned. Remove from the oven and allow to fully cool before frosting.
Lord Byron’s Annual Christmas Cookie Series
Did you know that Lord Byron’s Kitchen has been sharing a 24 Cookies of Christmas Series for the past several years? Click on the links below to see all of the recipes from each series on one page!
HOW TO MAKE THE FROSTING
Beat the vegetable shortening in a large mixing bowl. Add the confectioner’s sugar one cup at a time, beating well after each addition. Next, beat in the vanilla extract and milk. Note that my frosting is really bright white. If you use butter, your frosting will have a yellow tint to it. Actually, different brands of butter can be more yellow in colour than others. Your frosting might have more than a yellow tint; it might actually turn out yellow!
There is a secret used by bakers to get perfectly white buttercream frosting. Instead of using butter, they substitute the butter with vegetable shortening. Another secret is to use white vanilla extract rather than the regular amber or brown-coloured stuff. It can also tint the frosting. To get the whitest frosting possible, I used vegetable shortening rather than butter in this particular case.

PUTTING IT ALL TOGETHER
Once the sugar cookie base is fully cooled, you can frost it. If you want to remove the base from the pan before frosting, lift it straight up and out using the excess parchment paper you left draped over the sides when preparing the pan for baking. If you prefer, you can leave the sugar cookie base in the pan and frost it as is. Lifting it out makes it easier to slice it into squares.
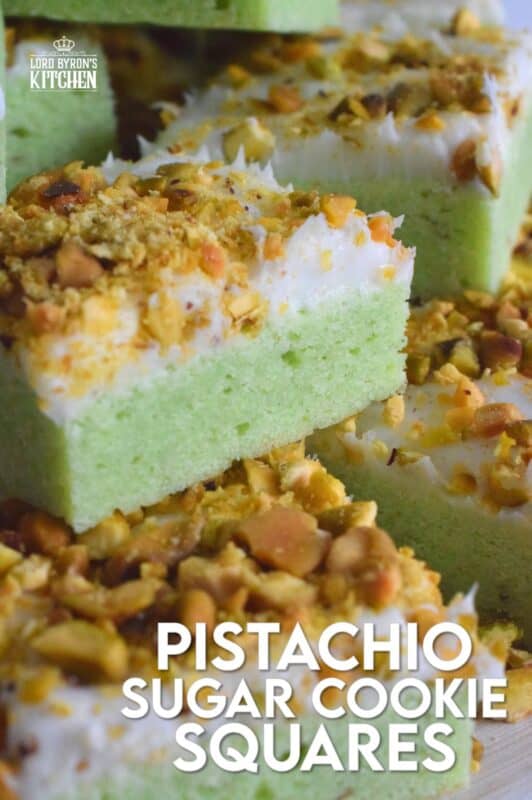
Make sure your frosting is at room temperature. Smear the frosting evenly onto the sugar cookie base. Once the frosting is applied, sprinkle over the prepared pistachios. The thickness of the frosting and the light airiness of the chopped pistachios means that in all probability, they will not stick to the frosting. This is easy to fix. Simply lay your hand gently onto the pistachios and push down to embed them just slightly into the frosting.
FAQs
- I can’t find pistachio pudding. Well, the good news is that you don’t have to use pistachio pudding, in fact, you can use any flavour you like! You can use chocolate, vanilla, butterscotch, etc. Just be sure to top the frosting with nuts that make sense. For example, chocolate goes great with peanuts!
- Can I use anything other than buttercream-style frosting? Cream cheese frosting would be a great alternative! Beat half a cup of softened butter with 8 ounces of softened cream cheese. Beat in 3 cups of confectioner’s sugar and two teaspoons of vanilla extract.
- Is the food colouring optional? Yes! I tinted the sugar cookie dough with a little bit of green food colouring because there isn’t enough green tint in the pistachio pudding to make the cookies really vibrant. It’s completely optional.
- Want thinner squares? I’m using a 9×9 inch baking pan, however, you can use a 9×13 pan if you prefer a thinner square. If you use a larger pan, cut back on the baking time by 2 minutes.

STORING, PACKAGING, AND FREEZING
These squares will stay fresh for about 3-5 days in a covered container and in a cool place. But, if you plan to freeze these squares, use a food-safe container that can be frozen. You’ll want to ensure a very tight-fitting lid too. (I use these quite often when freezing baked goods.) I like to place a sheet of plastic wrap over the top of the container before pushing the lid on. This helps to create a better seal. The goal is to keep all of that freshness locked in!
You can freeze these Pistachio Sugar Cookie Squares for up to three months. They will come out of the freezer looking just like they did when you put them in there as long as you don’t stack them. If you must stack, lay a sheet of parchment paper between each layer. To thaw, remove bars from the freezer and place them on a wire cooling rack for 20 minutes. Once you thaw them, they will taste just as fresh, and be just as soft, as the day you first baked them.
Do You Like This Recipe?
You should consider trying these other delicious recipes too!


Pistachio Sugar Cookie Squares
Ingredients
For the Sugar Cookie Base:
- 3/4 cup salted butter, softened
- 2 packages Pistachio Pudding Mix
- 1/2 cup sugar
- 2 large eggs, room temperature
- 1 1/2 teaspoons vanilla extract
- 1/2 teaspoon almond extract
- 1-2 drops green food colouring, optional
- 2 cups all-purpose flour
- 1/4 teaspoon baking powder
For the Frosting:
- 3/4 cup vegetable shortening, softened
- 2 cups confectioner's sugar
- 2 teaspoons vanilla extract
- 2 tablespoons milk
- 1/2 cup chopped roasted salted pistachios
Instructions
- Begin by preheating your oven to 350 degrees F. Line a 9×9 baking pan with parchment paper. Fold the parchment paper so that it fits snugly in the pan. I use two sheets – one folded to fit the length of the pan and another folded to fit across the pan. Allow the excess parchment paper to hang out over the side of the pan. Once the confection is firm, use the excess parchment to lift the whole block out of the pan to make it easy to cut into squares.
- Next, add the softened butter, dry pistachio pudding mix, and the sugar to a large mixing bowl. Beat until creamy and well combined.
- Add in the eggs, vanilla extract, and almond extract. At this point, add a drop of two of liquid green food colouring as well if you prefer a more vibrant green colour to your finished squares. Beat into the butter mixture.
- Finally, add in the flour and baking powder. Beat to combine.
- Press the cookie dough into the prepared baking pan. Bake for 20 minutes or until the outer edges of the cookie dough is just very lightly browned. Remove from the oven and allow to fully cool before frosting.
- To prepare the frosting, beat the vegetable shortening in a large mixing bowl. Add the confectioner’s sugar one cup at a time, beating well after each addition. Next, beat in the vanilla extract and milk.
- Once the sugar cookie base is fully cooled, you can frost it. If you want to remove the base from the pan before frosting, lift it straight up and out using the excess parchment paper you left draped over the sides when preparing the pan for baking. If you prefer, you can leave the sugar cookie base in the pan and frost it as is. Lifting it out makes it easier to slice it into squares.
- Make sure your frosting is at room temperature. Smear the frosting evenly onto the sugar cookie base.
- Once the frosting is applied, sprinkle over the prepared pistachios. The thickness of the frosting and the light airiness of the chopped pistachios means that in all probability, they will not stick to the frosting. This is easy to fix. Simply lay your hand gently onto the pistachios and push down to embed them just slightly into the frosting.
- These squares will stay fresh for about 3-5 days in a covered container and in a cool place.
Notes
Nutrition
Did you make this recipe?
Upload a photo and tag me so that I can see it!


Kam says
I made these with the cream cheese frosting and they are just sooooo good! They came together easily and quickly. I can’t wait to try other pudding flavors. Thank you for sharing. I love your Christmas cookie posts. We do a Cookie Day every year in my family and I always get such good ideas from you!