
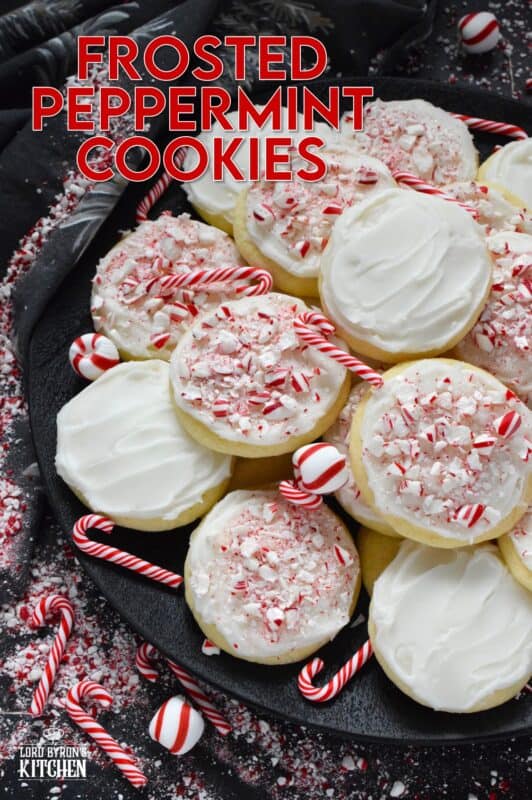
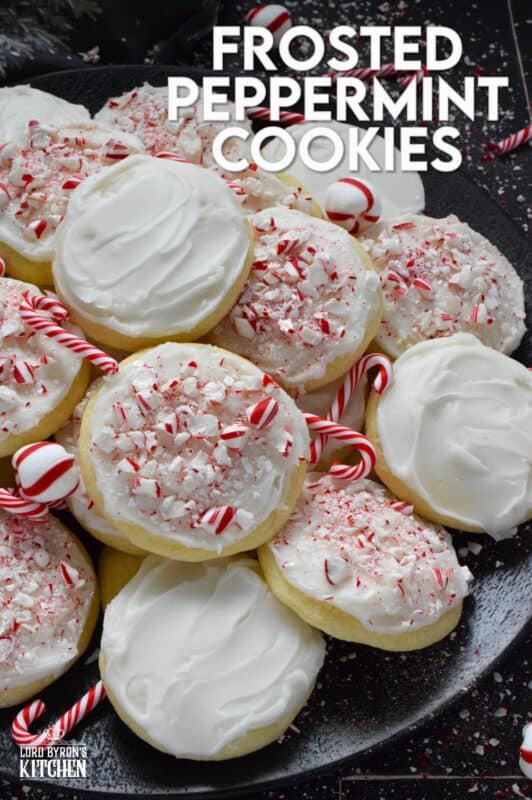
If you love peppermint, these cookies have all the peppermint you could possibly need! Frosted Peppermint Cookies have a buttercream peppermint frosting and lots of crushed candy canes on top. These cookies are soft and moist and melt in your mouth!
I have a love-hate relationship with sugar cookies. They are so simple to make, yet they are readily available at almost any grocery store. Those, Dear Reader, are not a proper sugar cookie! So, if you’ve only ever had those, then don’t discount the deliciousness of a homemade sugar cookie. They cannot compare to these Frosted Peppermint Cookies.
You know the cookies I’m talking about. They’re most often set on a lower shelf so that they catch the eye of children. Did you know that marketers will often strategically place items at the same height as the little seated area of your grocery buggy? Yes, they want your kids to not only see it but reach for it as well! Store-bought sugar cookies are fine, but I prefer to make my own. That way, I know they’re fresh!
Make your own online recipe box!
Click the in the lower right corner of your screen
& follow the quick and easy instructions!
I’m going to tell you all about this cookie recipe and how you can make it in your home this holiday season, but first, I want to tell you about what you can expect from Lord Byron’s Kitchen this Christmas. I know we’re just kicking off the holiday season, but I have a lot of Christmas-themed recipes to share with you this year, so I’ve had to get started early.
Back in October, I kicked off the holiday season with a holiday recipe series called Lord Byron’s 12 Christmas Donuts and followed that up with a second series called Lord Byron’s 12 Christmas Appetizers. And now, I’m starting out on this new series, which is the sixth annual installment! I cannot believe that this is the sixth year in a row that I’ve shared Lord Byron’s 24 Cookies of Christmas! But, before we get to a list of ingredients and instructions for today’s recipe, let me tell you about this series and more!

LORD BYRON’S 24 COOKIES OF CHRISTMAS SERIES
Another holiday series, Lord Byron? Yes – why not!? Welcome, Dear Reader, to the fourth of my annual holiday recipe series for this season! This one is called Lord Byron’s 24 Cookies of Christmas – Volume 6! I will try to keep the recipes in this series quick and easy, just like in previous years. Even if a recipe looks complex, I promise you that it is not! My goal, as always, is to share recipes with you that are not too complex to whip up as a holiday treat for your family.
Like every other holiday series I’ve shared over the years, this series will share a new recipe every day for the next 24 days – even on Saturday and Sunday! You might be asking yourself, how many Christmas recipes could one possibly have or need? Well, I say you can never have too much of a good thing. And, I love having lots of choices. Who wants to prepare the same holiday recipes year after year?
Lord Byron’s Annual Christmas Cookie Series
Did you know that Lord Byron’s Kitchen has been sharing a 24 Cookies of Christmas Series for the past several years? Click on the links below to see all of the recipes from each series on one page!
SUBSCRIBE NOW SO THAT YOU NEVER MISS OUT ON NEW RECIPES!
So, welcome, Dear Reader, to Lord Byron’s 24 Cookies of Christmas series! Even though this is the fourth series for this holiday season, you can always look back at previous years if you just cannot wait until the next recipe is published. Also, some of my favourite recipe collections from previous years are my 75 Homemade Gifts from Your Kitchen, my 50 Make Ahead Freezer Friendly Christmas Recipes, and my 30 No-Bake Christmas Recipes post.
You really don’t want to miss one of these recipes, so if you have not yet subscribed to Lord Byron’s Kitchen, I encourage you to do so. That way, a new recipe will be emailed to you every day. You won’t have to bother to come looking for it! Like in previous holiday recipe countdowns, I like to mix up the recipes in the series so that there is something for everyone. Are you ready!!??
Looking For More Christmas Confections?
Lord Byron’s Kitchen has more than enough to satisfy your sweet tooth! Click on the links below to see a countdown series of holiday recipes from that category!
INGREDIENTS NEEDED TO MAKE FROSTED PEPPERMINT COOKIES:
Here is a list of what you will need to make these cookies. For exact measurements, scroll down to the bottom of this page where you will find a printable recipe card.
- Flour – No need for anything special. Just use regular all-purpose flour. I have not tried this recipe with any other type of flour.
- Baking Powder – This is used to increase the volume of the batter and to add texture as well.
- Salt – In baking it helps to enhance and balance sweetness.
- Butter – Make sure your butter is at room temperature!
- Sugar – Sugar will caramelize when baked, which will help to brown cookies and cakes. In cookies, the sugar will help the dough to spread, and will create a crispness to the bottom of the cookie.
- Eggs – Whenever you set out to bake, make sure your eggs are at room temperature too – just like your butter!
- Peppermint Extract
For the Frosting:
- Unsalted Butter
- Confectioner’s Sugar
- Peppermint Extract
- Crushed Candy Canes
HOW TO MAKE FROSTED PEPPERMINT COOKIES
Preheat oven to 350 degrees F. Line a baking sheet with parchment paper or a silicone baking mat. Set aside. In a large bowl, use a mixer to beat together the butter and sugar until creamy and light yellow in colour. (About 4-5 minutes.) Add the eggs one at a time and beat into the butter and sugar mixture. Beat in the peppermint extract. Sift in the flour, salt, and baking powder. Beat into the wet mixture until well combined.
Portion the cookie dough into heaping tablespoons. Roll into a ball and place onto the prepared baking sheet. Press down on each ball until the ball is flattened to just over 1/4 inch thick. (I used the bottom of a drinking glass.) Bake for 10 minutes. Remove from oven and allow to cool for 2-3 minutes before transferring to a wire cooling rack to finish cooling.
Once completely cooled, beat the butter until the colour turns to a very pale yellow – at least 5 minutes of continuous beating! Beat in the confectioner’s sugar one cup at a time until very well incorporated. Next, beat in the peppermint extract. Using an offset spatula, smear the desired amount of frosting onto a cookie. Place the cookie onto a baking sheet lined with a wire cooling rack. Sprinkle generously with crushed candy canes.
Allow the frosting to set for at least 2 hours before transferring to food-safe storage container.
MAKING YOUR OWN CRUSHED CANDY CANES
If you don’t want to use the red and white crushed candy canes that you can find just about anywhere this time of year, you can crush your own candy canes by placing unwrapped, broken candy canes into a sturdy bag and firmly rolling over them with a wooden rolling pin.
Either way you look at it, the candy canes should not be crushed too finely. Many times, you’ll find they have too much powder, meaning that they have been crushed too much. You want chunky pieces in order to get the red and white speckled pattern.
I’ve tried crushing them myself and have crushed them a little too much. Even the type you buy in the store can sometimes have too much candy cane dust. You can easily fix it by filtering out the dust. Working in small amounts, place a heaping spoonful of the crushed candy canes into a colander. Sift out the dust so that you are left with nice little pieces.

STORING, PACKAGING, & FREEZING
When it comes to most cookies, they taste best at room temperature, but they don’t hold up well to being left out on your countertop for long periods of time. Cookies will stay fresh in a cookie jar or food-safe container with a lid for 3-5 days if left to sit on your kitchen countertop. You can store them in a food-safe container in your fridge. When you want one, two, or half a dozen, take them out of the container and place them in a single layer on a plate. Let them sit at room temperature for 5 minutes and they’re ready!
If you plan to freeze your Frosted Peppermint Cookies, you certainly can! Keep in mind that buttercream frosting has a slightly different texture if frozen and then thawed. Personally, I would apply the frosting and candy canes AFTER the frozen cookies are completely thawed. Once all is said and done, pile them into a clean, food-safe container and separate the layers of cookies with a sheet of parchment paper.

QUESTIONS?
If I have not answered all of your questions in the text above, don’t hesitate to reach out to me! You can contact me by sending me a message in the comments section further down the page. I will try my best to answer as soon as possible! You might reach me even faster by following me on Facebook and sending me a private message. Scroll down below the recipe card to find my Follow Me on Social Media box and never miss another recipe!
Finally, as I stated previously, every day I will be posting a new recipe. If you miss one, don’t fret. You can find my entire collection of Christmas Recipes right here! There are over 200 Christmas recipes and counting. There’s something for everyone! Cheers!

Do You Like This Recipe?
You should consider trying these other delicious recipes too!


Frosted Peppermint Cookies
Ingredients
- 3/4 cup butter, softened
- 1 1/2 cups sugar
- 2 large eggs
- 2 teaspoons peppermint extract
- 2 3/4 cups all-purpose flour
- 1/2 teaspoon salt
- 1/2 teaspoon baking powder
For the Frosting:
- 1 cup unsalted butter, softened
- 2 cups confectioner's sugar
- 1 teapsoon peppermint extract
- 1/2 cup crushed candy canes
Instructions
- Preheat oven to 350 degrees. Line a baking sheet with parchment paper or a silicone baking mat. Set aside.
- In a large bowl, use a mixer to beat together the butter and sugar until creamy and light yellow in colour. (About 4-5 minutes.)
- Add the eggs one at a time and beat into the butter and sugar mixture.
- Beat in the peppermint extract.
- Sift in the flour, salt, and baking powder. Beat into the wet mixture until well combined.
- Portion the cookie dough into heaping tablespoons. Roll into a ball and place onto the prepared baking sheet.
- Press down on each ball until ball is flattened to just over 1/4 inch thick. (I used the bottom of a drinking glass.)
- Bake for 10 minutes. Remove from oven and allow to cool for 2-3 minutes before transferring to a wire cooling rack to finish cooling.
- Once completely cooled, beat the butter until the colour turns to a very pale yellow – at least 5 minutes of continuous beating!
- Beat in the confectioner's sugar one cup at a time until very well incorporated.
- Next, beat in the peppermint extract.
- Using an offset spatula, smear the desired amount of frosting onto a cookie. Place the cookie onto a baking sheet lined with a wire cooling rack. Sprinkle generously with crushed candy canes.
- Allow the frosting to set for at least 2 hours before transferring to food-safe storage container.
Nutrition
Did you make this recipe?
Upload a photo and tag me so that I can see it!


Leave a Reply