
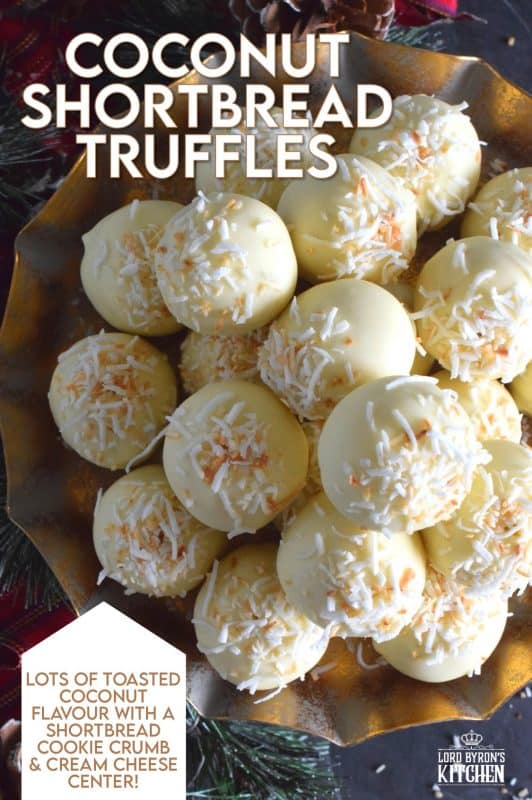
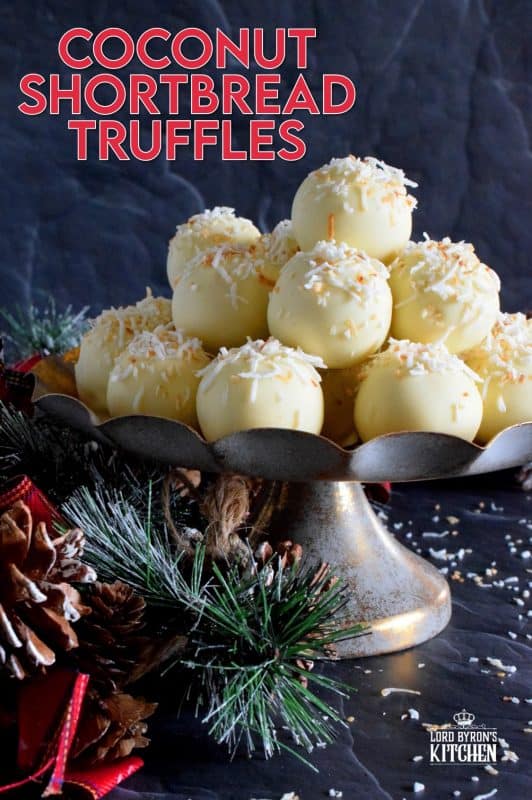
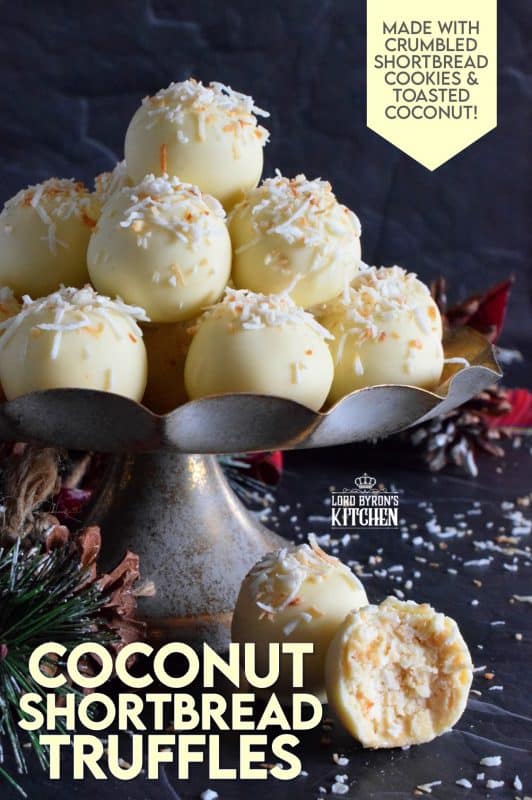
You will not believe how easy these Coconut Shortbread Truffles are to prepare! With lots of coconut flavour, these truffles are made with crumbled shortbread cookies and dipped in velvety white chocolate. Be sure to toast the coconut first to really get the best out of this holiday confection!

Every time I run a Christmas baking series, I have to find a way to incorporate a recipe that is absolutely laden with coconut flavour! I love coconut in any form, but when it comes to baking, nothing reminds me so much of my mom as a cookie made with coconut! Coconut Shortbread Truffles are the second truffle in Lord Byron’s 12 Truffles of Christmas series!
Most of the coconut recipes that you see here at Lord Byron’s Kitchen were inspired by my mom. I really do think that I get my love of coconut from her! Although, unlike mom, I don’t bake with coconut regularly. I tend to save it for special occasions, where she would bake with it almost weekly. If she were still with us, I’m sure she would love one of these truffles with a glass of Newfoundland Purity Raspberry Syrup! The Newfoundlanders reading this will totally understand!
For years I have been baking with coconut. But, it was only a few years ago that I learned that the best way to get the most coconut flavour from shredded baking coconut is to toast it first. It’s so easy to do and I do it now without fail! Remember last year’s Toasted Coconut Biscotti? Or the Toasted Coconut Bundt Cake?
Make your own online recipe box!
Click the in the lower right corner of your screen
& follow the quick and easy instructions!
MOM’S COCONUT FAVOURITES!
I can’t help but think of my mom when working with coconut. She absolutely loved it! It will be four years on November 17th since mom passed, so making these Coconut Shortbread Truffles are certainly triggering a lot of fond memories today. When I was young, I never baked or cooked with her. But, back in the late 90s, my sister and I shared an apartment together. Mom spent many evenings there with us while we stocked the freezer with some of her holiday favourites.
Just in case you’re wondering, some of her favourites were these Marshmallow Coconut Balls and these Jumbo Marshmallow Balls. Yes, she loved marshmallows too! Another one of her favourites where Traditional Newfoundland Snowballs. But, that’s no surprise at all. Everyone – and, I mean everyone! – loves those!! The same can be said for these Chocolate Coconut Balls.
But, without any doubt or reservation, I can honestly say that one of her favourite holiday cookies to prepare were Jello balls. In fact, when I shared her recipe here at Lord Byron’s Kitchen, I called them Mom’s Christmas Jello Balls. So, as you can see, Dear Reader, I get my love of coconut from her. As I’m writing this, I’m smiling to myself thinking about how delighted she would be if she could read this. She loved to share her recipes; in fact, I have fond memories of her scribbles in a collection of notebooks. Which reminds me, I have to steal those from my sister!
MORE CHRISTMAS CONFECTIONS!
Maybe you don’t care much for truffles. Or, maybe you’re impatient and can’t wait to see what tomorrow’s recipe will be! If either one of those applies to you, I have a remedy. Last year, I published a series called Lord Byron’s 12 Biscotti of Christmas. The year before that, I published a series called Lord Byron’s 12 Bundt Cakes of Christmas. You can click on the image below and see the entire series on one page! Don’t worry, you won’t lose this page. It will open up a new webpage so that you can easily get back to these truffles!
Looking For More Christmas Confections?
Lord Byron’s Kitchen has more than enough to satisfy your sweet tooth! Click on the links below to see a countdown series of holiday recipes from that category!
INGREDIENTS NEEDED TO PREPARE THIS RECIPE
The following is a list of the ingredients needed to prepare this recipe. For exact amounts and measurements, refer to the printable recipe card located near the bottom of this post.
- Cream Cheese – When baking with cream cheese it is always best to use brick style rather than whipped or cream cheese in a tub. The brick style is firmer and more condensed. Cream cheese adds texture and flavour to baked items. Even though these truffles are no-bake, the brick-style cream cheese still works best. The firmness ensures a firmer truffle which is easier to roll into balls.
- Shortbread – You will need two cups of crumbled shortbread for this recipe. I used the store-bought Walker’s Shortbread. You can bake your own shortbread and crumble it once completely cooled, if you wish. You will need a dense shortbread like this.
- Coconut – Because shortbread is slightly sweet and the white chocolate is super sweet, use an unsweetened coconut.
- Coconut Extract
- White Chocolate – Use a brand that you trust. I’ve used no-name white chocolate before and it wouldn’t melt smoothly.
MAKING SHORTBREAD CRUMBS
When it comes to getting the right consistency of shortbread crumbs for this recipe, think of the consistency of graham crumbs. You’re aiming for the look of sand. And, it couldn’t be easier to do! Using your hands, break the cookies into smaller pieces, adding them to the bowl of a food processor as you go. Pulse the cookies a few times until the mixture resembles sand. Don’t turn on the processor and walk away! Just a few pulses will do it. You want crumbs not puree!
Alternatively, if you don’t have access to a food processor, you can add the broken cookies to a large resealable food-safe bag. Push out the excess air and seal the bag. Place it flat onto a cutting board and use a wooden rolling pin to pound the cookie bits into crumbs. The crumbs may not be as consistent as those from a food processor, but just get them to resemble sand and it will all work out in the end!
THE TYPE OF COCONUT IS IMPORTANT
When it comes to coconut to bake with, there are two kinds – sweetened and unsweetened. Those two types can be found in different levels of fineness and coarseness. It’s important to use unsweetened coconut for this recipe. Otherwise, with the addition of the shortbread and the white chocolate, these Coconut Shortbread Truffles may be too sweet to eat!
You’ll want to use an unsweetened coconut. The size of the shredded coconut won’t make a difference to the taste, but it certainly will make a difference when you try to roll the mixture into balls. The longer shreds of coconut will make for a messier bite and you want your delicious truffle to look just as amazing as it tastes!
Depending on the brand, some coconut is shredded, grated, or desiccated. Shredded usually refers to larger pieces, while grated tend to be smaller. Desiccated has nothing to do with the size of the pieces but means the coconut is dried or that the moisture has been removed. In most cases, you will find a fine or medium grade. Medium is my personal coconut of choice in most cases and it is what I used here.
HOW TO TOAST COCONUT
Toasting coconut is easier than frying an egg! I use that comparison, because when my daughter was learning to cook, she was so excited when was able to master the perfect over-easy egg. When toasting coconut, all you need is a skillet, a whisk, and some patience. Place the coconut into the skillet and turn the heat to medium. Do not for one minute think that you can walk away from the skillet to do something else. And, don’t ever think that you can stop moving the coconut around the pan. It will burn. And, it will burn fast!
Use a stainless steel skillet; not one of those non-stick types. And use a metal whisk or wooden spoon. Continuously – and, I mean continuously! – move the coconut around the skillet. Slowly, but eventually, you’ll notice that the coconut is losing that bright white colour. It will fade into a off-white, until finally, it begins to turn a nice golden, yellowish-brown colour.
Turn off the heat and get the coconut out of the hot skillet. The residual heat will continue to brown the coconut and you don’t want that to happen. Transfer the coconut to a wide, shallow bowl so that it can spread out. This will stop the toasting and you’ll be left with the most delicious coconut ever!

HOW TO MAKE COCONUT SHORTBREAD TRUFFLES:
I said this in yesterday’s post, but it’s worth repeating again today. Even though truffles are super easy to make, they do require a little bit of patience. I’m speaking of course about the time it takes for the truffle mixture to set up in the fridge before they can be rolled into balls. I hate that! I can’t tell you how many times I refuse to make a recipe because I have to wait for something to chill. I have no patience, I tell you! Ha!
Place the softened cream cheese into a large mixing bowl and use a handheld mixer to smooth the texture of the cream cheese. Beat until there are no lumps. Add the coconut extract and beat together until well incorporated. Next, beat in the crumbled shortbread and the toasted coconut until well combined. Cover and refrigerate mixture for 30 minutes.
When firm, measure out a tablespoon of the mixture. Roll into balls and place on a parchment-lined baking tray. Once all of the balls are rolled, place the baking tray in the fridge. It’s always best to dip truffles into chocolate after they have had some time to chill in the fridge. If the mixture is too soft, return it to the fridge for a while longer.
TIPS & TRICKS: Because brands can differ slightly, and because not everyone measures exactly like everyone else, there might be some differences when it comes to the thickness of the truffle mixture. If it’s too soft to roll into balls after refrigerating for a full hour, stir through a scant 1/4 cup of toasted coconut.
THE BEST WAY TO COAT TRUFFLES IN CHOCOLATE!
I used to think that perfectly dipped chocolate truffles was witchcraft! Of course I’m kidding, but honestly, I could never master it. Either the chocolate was too thick, or not smooth enough. And, I was always left with a pool of chocolate at the bottom of the truffle that would harden. There’s nothing wrong with extra chocolate, but I so badly wanted to make my truffles look better.
I tried that fancy little tool for dipping things into chocolate. It’s like a two-tined fork with really long tines. Apparently, the truffle is supposed to balance on there, while the thin tines allow the excess chocolate to drip off. Lies! There is no fancy tool needed to get perfect chocolate dipped truffles. All you need is melted chocolate with a good consistency and two toothpicks. Here’s how I do it.
If you use melting chocolate right out of the bag, like candy melts or chocolate chips, for example, you will end up with very thick chocolate. The thicker the chocolate, the longer it will take to harden, which means more time for it to run. Thin your chocolate by adding a teaspoon of coconut oil or butter to the bowl before you start to melt it. This will thin it without any risk of your chocolate seizing or compromising the flavour.

DIP, LIFT, TAP AND TOOTHPICKS???
Working with chilled truffles, which I keep refrigerated until the chocolate is ready, I insert a toothpick about 1/3rd of an inch into the truffle. Dunk the truffle into the bowl of chocolate and gently move the toothpick in a circular motion so that the entire truffle is enrobed. Carefully lift the truffle out of the chocolate and slightly tap the toothpick on the rim of the bowl. The excess chocolate will fall back into the bowl.
I cannot stress enough the importance of using a chilled truffle center. The coldness will help to harden the chocolate right away. The rest is just semantics! With a second toothpick, run it very gently under the truffle to wipe away the excess chocolate. Do not press against the truffle; just wipe against the dripping chocolate.
Next, transfer the truffle to the prepared baking tray. You should still be holding the toothpick sticking out of the truffle and the truffle should be sitting on the parchment paper. Using the second toothpick, push it gently into the hole where the first toothpick is standing. Gently twist the first toothpick between your thumb and finger to loosen. Pull the toothpick up and out. Finally, remove the second toothpick, and use it to carefully smooth the still melted chocolate over the hole.

MORE CHRISTMAS RECIPES!
Did you know that I’ve been posting a 24 Cookies of Christmas series for a few years now? There are over 100 Christmas cookie recipes that you can find right here at Lord Byron’s Kitchen! To make it easier to find, I have created a page for each series. Just click on the image below and you’ll find the full series for that volume all one page!
Lord Byron’s Annual Christmas Cookie Series
Did you know that Lord Byron’s Kitchen has been sharing a 24 Cookies of Christmas Series for the past several years? Click on the links below to see all of the recipes from each series on one page!
WHEN ALL ELSE FAILS, GARNISH!
I had to practice quite a bit to get truffles looking their best. Even now, there are sometimes when I’ll run into a problem and they don’t turn out as nicely as I’d like them to! I learned a long time ago from watching re-runs of Julia Child’s cooking series that garnish can cover up little mishaps. There’s a running joke in my family that parsley is my best friend, because I love to garnish everything!
Even if you dipped the perfect truffle, it’s still nice to add something to the outside of it. As you can see in the photographs, I garnished the truffles with a little bit of the toasted coconut. Not only does it look better, it covers any holes left behind from the toothpick! Also, it tells everyone what is in the truffle. This is especially important if you have a holiday platter with more than one type of truffle!

STORING, PACKAGING, AND FREEZING
When it comes to truffles of any kind, they taste best at room temperature, but they don’t hold up well to being left out on your countertop. Store them in a food-safe container in your fridge. When you want one, two, or half a dozen, take them out of the container and place them in a single layer on a plate. Let them sit at room temperature for 5 minutes and they’re ready!
If you plan to freeze these truffles, again, pile them into a food-safe, freezer-friendly container. You’ll want to ensure a very tight fitting lid too. (I use these quite often when freezing baked goods.) I like to place a sheet of plastic wrap over the top of the container before pushing the lid on. This helps to create a better seal. The goal is to keep all of that freshness locked in! You can freeze these for up to three months. Enjoy!
Do You Like This Recipe?
You should consider trying these other delicious recipes too!


Coconut Shortbread Truffles
Ingredients
- 8 ounces brick-style cream cheese, softened
- 2 cups crumbled shortbread cookies
- 1 1/2 cups toasted coconut
- 1 teaspoon coconut extract
- 2 cups white chocolate chips
- 1 teaspoon coconut oil
Instructions
- Place the softened cream cheese into a large mixing bowl and use a handheld mixer to smooth the texture of the cream cheese. Beat until there are no lumps.
- Add the coconut extract and beat together until well incorporated.
- Next, beat in the crumbled shortbread and the toasted coconut until well combined. Cover and refrigerate mixture for 30 minutes.
- When firm, measure out a tablespoon of the mixture. Roll into balls and place on a parchment-lined baking tray. Once all of the balls are rolled, place the baking tray in the fridge.
- Place the white chocolate chips and the coconut oil into a microwave-safe bowl. On medium power, microwave the chocolate for 30 seconds. Remove and stir. Continue to microwave in 15 second increments on half powder until chocolate is smooth. Stir between each increment.
- Working with chilled truffles, insert a toothpick about 1/3rd of an inch into the truffle. Dunk the truffle into the bowl of chocolate and gently move the toothpick in a circular motion so that the entire truffle is enrobed. Carefully lift the truffle out of the chocolate and slightly tap the toothpick on the rim of the bowl. The excess chocolate will fall back into the bowl.
- Next, transfer the truffle to a baking sheet lined with parchment paper. Top with just a scant sprinkling of the remaining 1/2 cup toasted coconut.
- Continue to coat all of the truffles in the melted white chocolate. Once done, transfer baking sheet to fridge until chocolate is firm.
- Transfer to food safe container. Keep refrigerated.
Nutrition
Did you make this recipe?
Upload a photo and tag me so that I can see it!


Janelle says
I am SO trying these! I am a coconut fanatic!!!!!
byronethomas@gmail.com says
They’re so good, Janelle! 🙂
Linda says
Oh my…these truffles are so good! Love every bite of these truffles and how easy to make them
Allyssa says
Thank you so much for sharing this amazing recipe! Will surely have this again! It’s really easy to make and it tasted so delicious! Highly recommended!
Ana says
Quick question: is it possible to freeze the truffles before coating them with chocolate or after?
Wanda says
Hi there, I love your recipes and your blogging is FANTASTIC!!!!! Just wondering if these truffles can be frozen.
Linda says
These Truffles are very good. These are lovely bite-size treats! I would absolutely recommend them.
Tonya Taylor says
Do you have to toast the coconut?
byronethomas@gmail.com says
No, you do not need to do it, however, toasted coconut does taste better. 🙂